clickhouse集群部署(一)
1、rpm包下载安装部署
完整包地址:https://packages.clickhouse.com/rpm/stable/
📎clickhouse-common-static-dbg-22.8.4.7.x86_64.rpm📎clickhouse-common-static-22.8.4.7.x86_64.rpm📎clickhouse-server-22.8.4.7.x86_64.rpm📎clickhouse-client-22.8.4.7.x86_64.rpm
ck安装部署是基于zookeeper的,需要zk提前进行安装部署。
测试环境选择4台主机进行安装部署ck
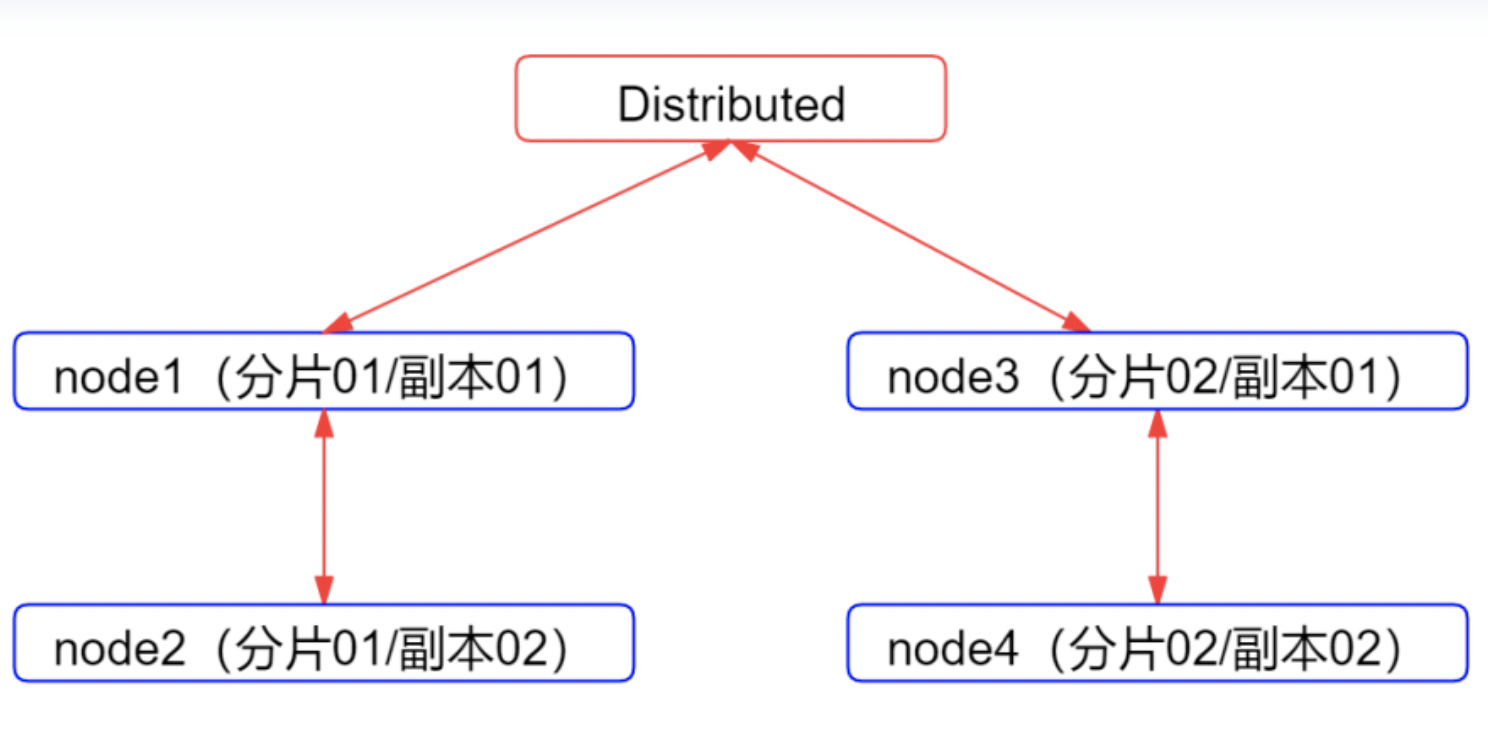
大概架构如下所示,整个集群一共 4 个节点,分为两个分片,每个分片一个副本。除了在每个节点创建 ReplicatedMergeTree 表,还会创建 Distributed 引擎的总表(建表方式在本文后面会讲解),各个节点上的本地表代理,写入、查询、分发等操作都经过分布式总表路由。
将包下载到主机后,进行yum安装部署
每个节点都需要进行安装
rpm -ihv clickhouse-common-static-22.8.4.7.x86_64.rpm
rpm -ihv clickhouse-common-static-dbg-22.8.4.7.x86_64.rpm
rpm -ihv clickhouse-client-22.8.4.7.x86_64.rpm
rpm -ihv clickhouse-server-22.8.4.7.x86_64.rpm
2、创建磁盘目录并授权
每个节点都需要这样操作
mkdir -p /data/clickhouse-server/{access,data,format_schemas,logs,tmp,user_files}
chown -R clickhouse:clickhouse /data/clickhouse-server
3、修改配置文件
cd /etc/clickhouse-server/
vim config.xml

<!--日志-->
<logger>
    <!-- Possible levels: https://github.com/pocoproject/poco/blob/poco-1.9.4-release/Foundation/include/Poco/Logger.h#L105 -->
    <level>trace</level>
    <log>/data/clickhouse-server/logs/clickhouse-server.log</log>
    <errorlog>/data/clickhouse-server/logs/clickhouse-server.err.log</errorlog>
    <size>1000M</size>
    <count>10</count>
</logger>

<!--端口-->
<http_port>8123</http_port>
<tcp_port>9000</tcp_port>‘
<mysql_port>9004</mysql_port>
<postgresql_port>9005</postgresql_port>
<interserver_http_port>9009</interserver_http_port>
<!--每个节点都不一样-->
<interserver_http_host>hadoop001</interserver_http_host>

<!--监听相关-->
<listen_host>::</listen_host>

<!--路径相关-->
<path>/data/clickhouse-server/data/</path>
<tmp_path>/data/clickhouse-server/tmp/</tmp_path>
<user_files_path>/data/clickhouse-server/user_files/</user_files_path>
 <local_directory>
            <!-- Path to folder where users created by SQL commands are stored. -->
            <path>/data/clickhouse-server/access/</path>
        </local_directory>

<!--将默认的zookeeper集群和macros配置、remote_servers部分给注释掉-->
 <!--
    <zookeeper>
        <node>
            <host>example1</host>
            <port>2181</port>
        </node>
        <node>
            <host>example2</host>
            <port>2181</port>
        </node>
        <node>
            <host>example3</host>
            <port>2181</port>
        </node>
    </zookeeper>
    -->

     <!--
    <macros>
        <shard>01</shard>
        <replica>example01-01-1</replica>
    </macros>
    -->

<!--在文档最后添加集群配置相关信息-->
<show_addresses_in_stack_traces>false</show_addresses_in_stack_traces>
<include_from>/etc/clickhouse-server/config.d/metrika.xml</include_from>
<remote_servers incl="clickhouse_remote_servers" />
<macros incl="macros" optional="true" />
<zookeeper incl="zookeeper-servers" optional="true" />
扩展:config.xml其他配置
<!--连接相关-->
<max_connections>4096</max_connections>
<keep_alive_timeout>3</keep_alive_timeout>
<max_concurrent_queries>100</max_concurrent_queries>

<!--内存限制相关-->
<mlock_executable>false</mlock_executable>              # 在20.xx版本启动受到内存限制导致OOM时,可尝试调整该参数
<max_server_memory_usage>0</max_server_memory_usage>
<max_server_memory_usage_to_ram_ratio>0.9</max_server_memory_usage_to_ram_ratio>
<total_memory_profiler_step>4194304</total_memory_profiler_step>
<total_memory_tracker_sample_probability>0</total_memory_tracker_sample_probability>
<uncompressed_cache_size>8589934592</uncompressed_cache_size>
<mark_cache_size>5368709120</mark_cache_size>
在/etc/clickhouse-server/config.d路径中设置metrika.xml文件,将配置按照集群信息进行配置
<?xml version="1.0"?>

<yandex>
  <zookeeper-servers>
    <node index="1">
      <host>172.16.121.0</host>
      <port>2181</port>
    </node>
    <node index="2">
      <host>172.16.121.59</host>
      <port>2181</port>
    </node>
    <node index="3">
      <host>172.16.121.130</host>
      <port>2181</port>
    </node>
  </zookeeper-servers>


<clickhouse_remote_servers>
  <!-- 2分片1副本 -->
  <cluster_test>
    <!-- 数据分片1 -->
    <shard>
      <weight>1</weight>
      <!-- Optional. Whether to write data to just one of the replicas. Default: false (write data to all replicas). -->
      <internal_replication>true</internal_replication>
      <replica>
        <host>172.16.121.0</host>
        <port>9000</port>
        <user>default</user>
        <password>123456</password>
        <password_sha256_hex>8d969eef6ecad3c29a3a629280e686cf0c3f5d5a86aff3ca12020c923adc6c92</password_sha256_hex>
      </replica>
      <replica>
         <host>172.16.121.59</host>
         <port>9000</port>
         <user>default</user>
         <password>123456</password>
        <password_sha256_hex>8d969eef6ecad3c29a3a629280e686cf0c3f5d5a86aff3ca12020c923adc6c92</password_sha256_hex>
      </replica>

    </shard>
    <!-- 数据分片2 -->
    <shard>
      <weight>1</weight>
      <internal_replication>true</internal_replication>
      <replica>
        <host>172.16.121.130</host>
        <port>9000</port>
        <user>default</user>
        <password>123456</password>
        <password_sha256_hex>8d969eef6ecad3c29a3a629280e686cf0c3f5d5a86aff3ca12020c923adc6c92</password_sha256_hex>
      </replica>
      <replica>
        <host>172.16.104.226</host>
        <port>9000</port>
        <user>default</user>
        <password>123456</password>
        <password_sha256_hex>8d969eef6ecad3c29a3a629280e686cf0c3f5d5a86aff3ca12020c923adc6c92</password_sha256_hex>
      </replica>

    </shard>
  </cluster_test>

</clickhouse_remote_servers>


<macros>
  <cluster>cluster_test</cluster>
  <shard>01</shard>
  <replica>replica01</replica>
</macros>

</yandex>
注意⚠️每个节点中的macros配置不同
172.16.121.0节点
<macros>
  <cluster>cluster_test</cluster>
  <shard>01</shard>
  <replica>replica01</replica>
</macros>

172.16.121.59节点
<macros>
  <cluster>cluster_test</cluster>
  <shard>01</shard>
  <replica>replica02</replica>
</macros>

172.16.121.130节点

macros>
  <cluster>cluster_test</cluster>
  <shard>02</shard>
  <replica>replica01</replica>
</macros>

172.16.104.226节点
macros>
  <cluster>cluster_test</cluster>
  <shard>02</shard>
  <replica>replica02</replica>
</macros>
4、启动服务
/etc/init.d/clickhouse-server start
启动时会设置密码,记住密码
5、客户端冒烟测试
clickhouse-client --host=172.16.121.0 --port=9000 --database=default --user=default --password
#输入启动服务时创建的用户密码(本集群设置的密码是123456)
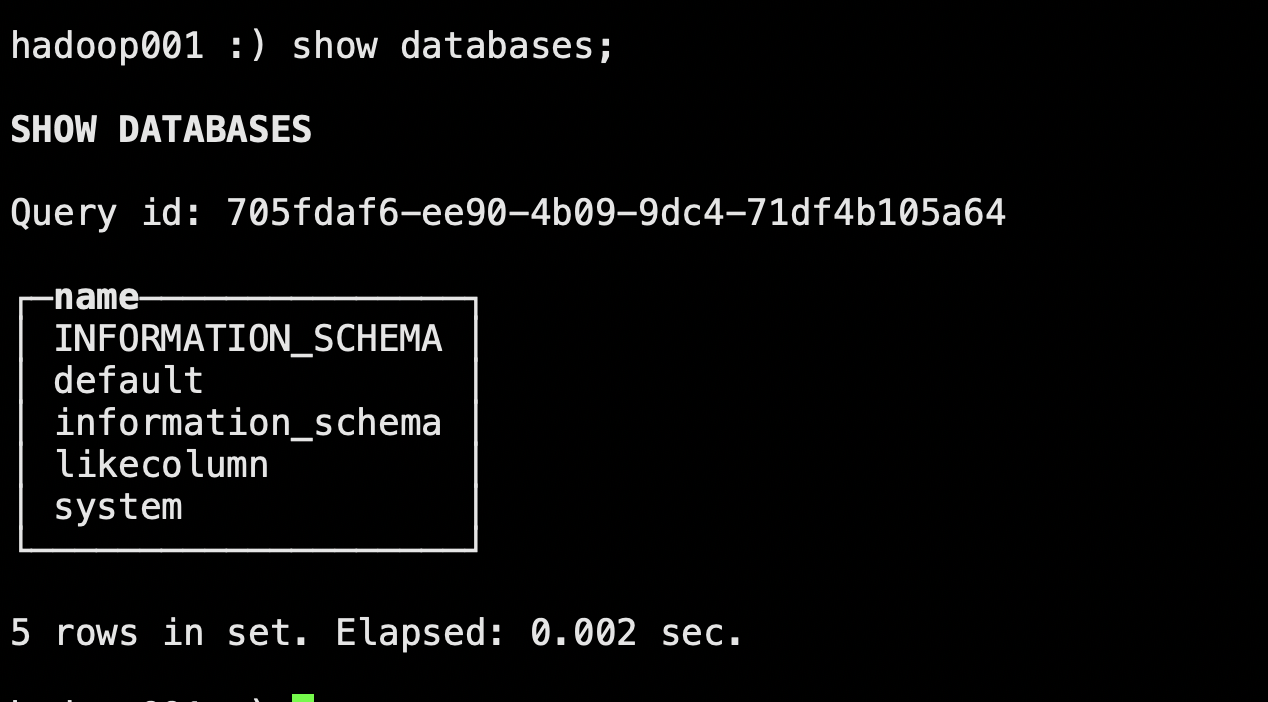
show databases;
#查看集群信息
select * from system.clusters;


高可用测试
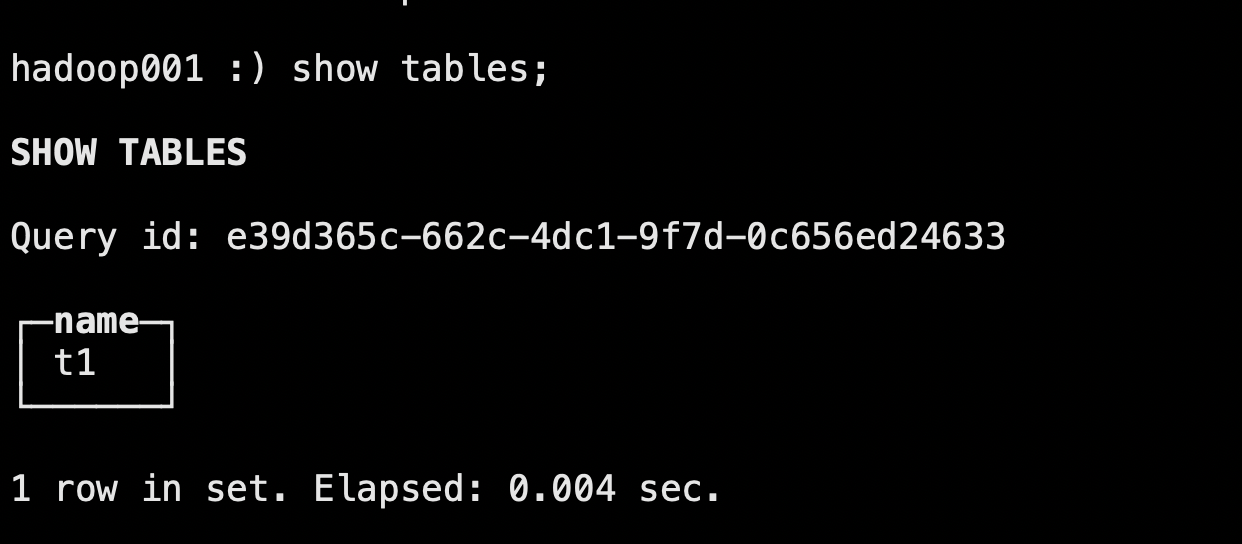
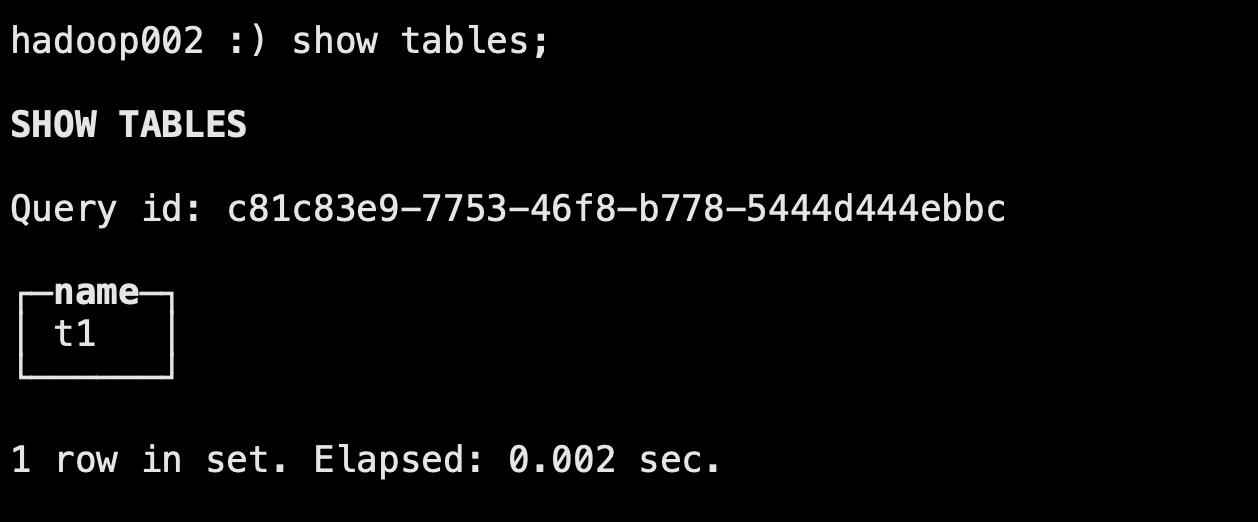
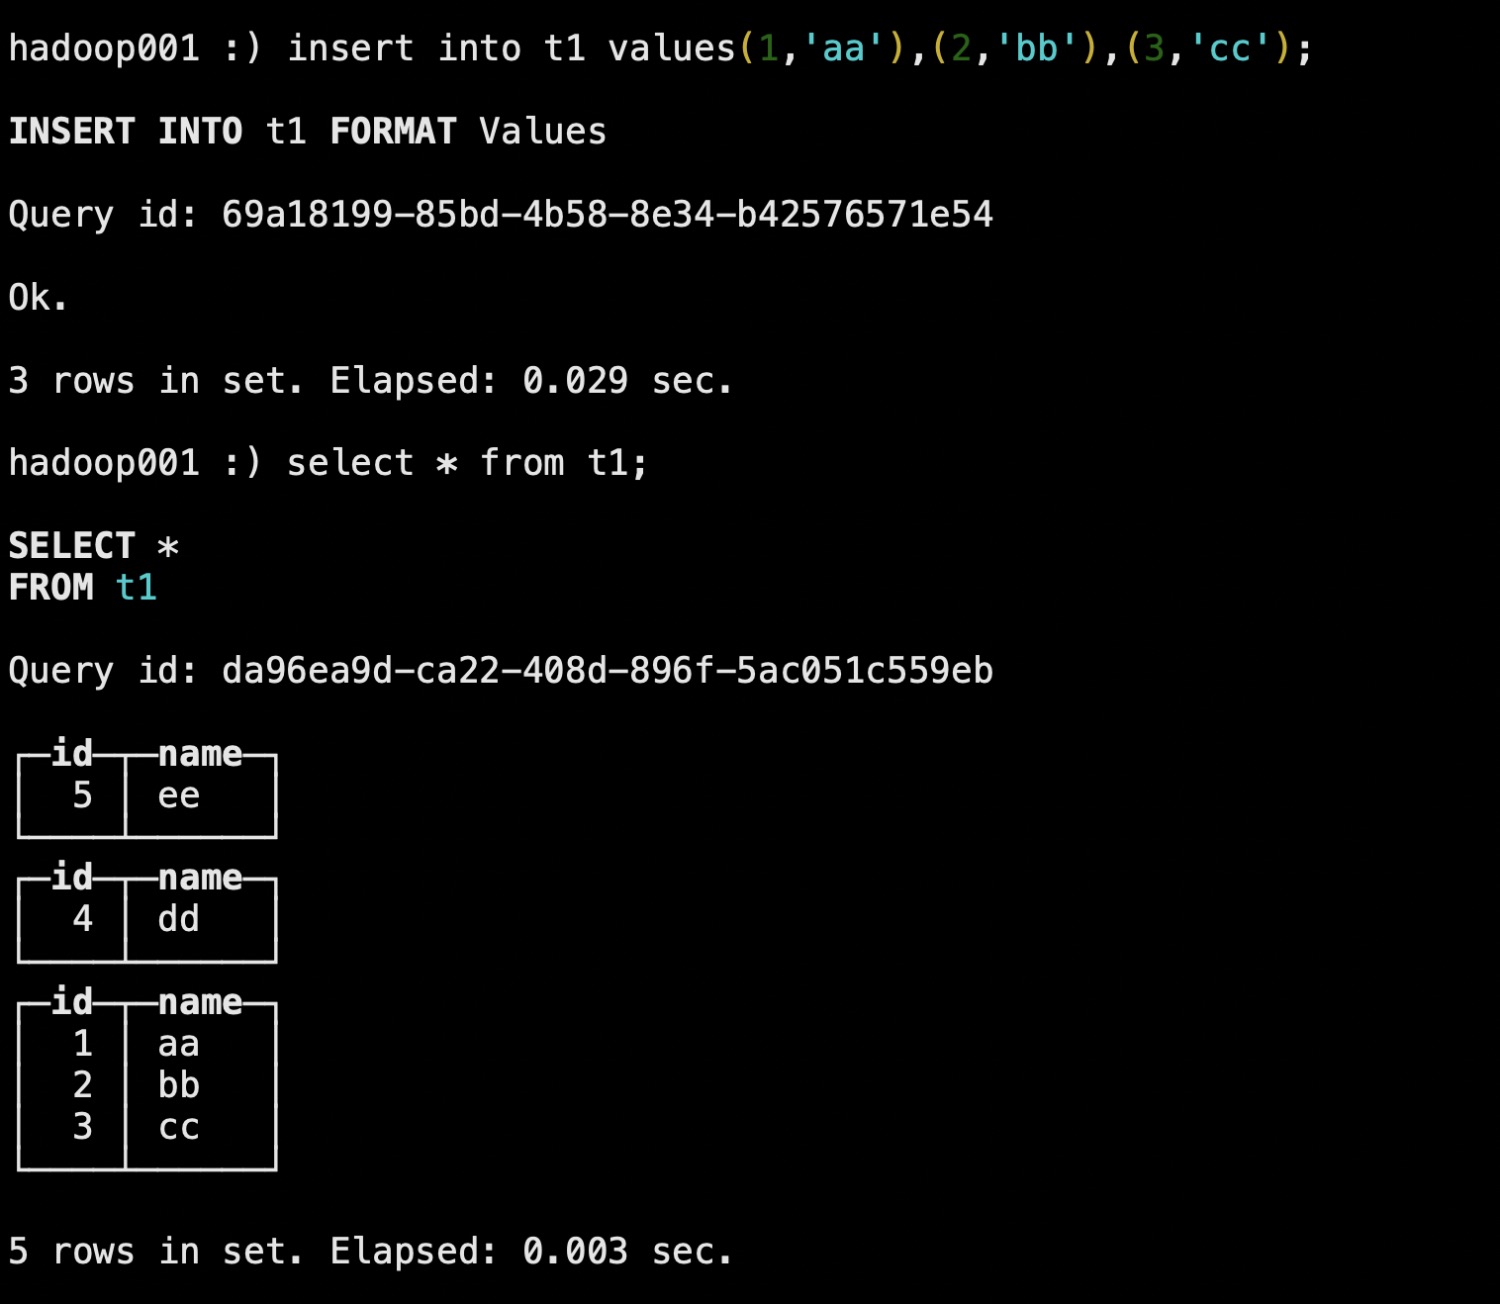
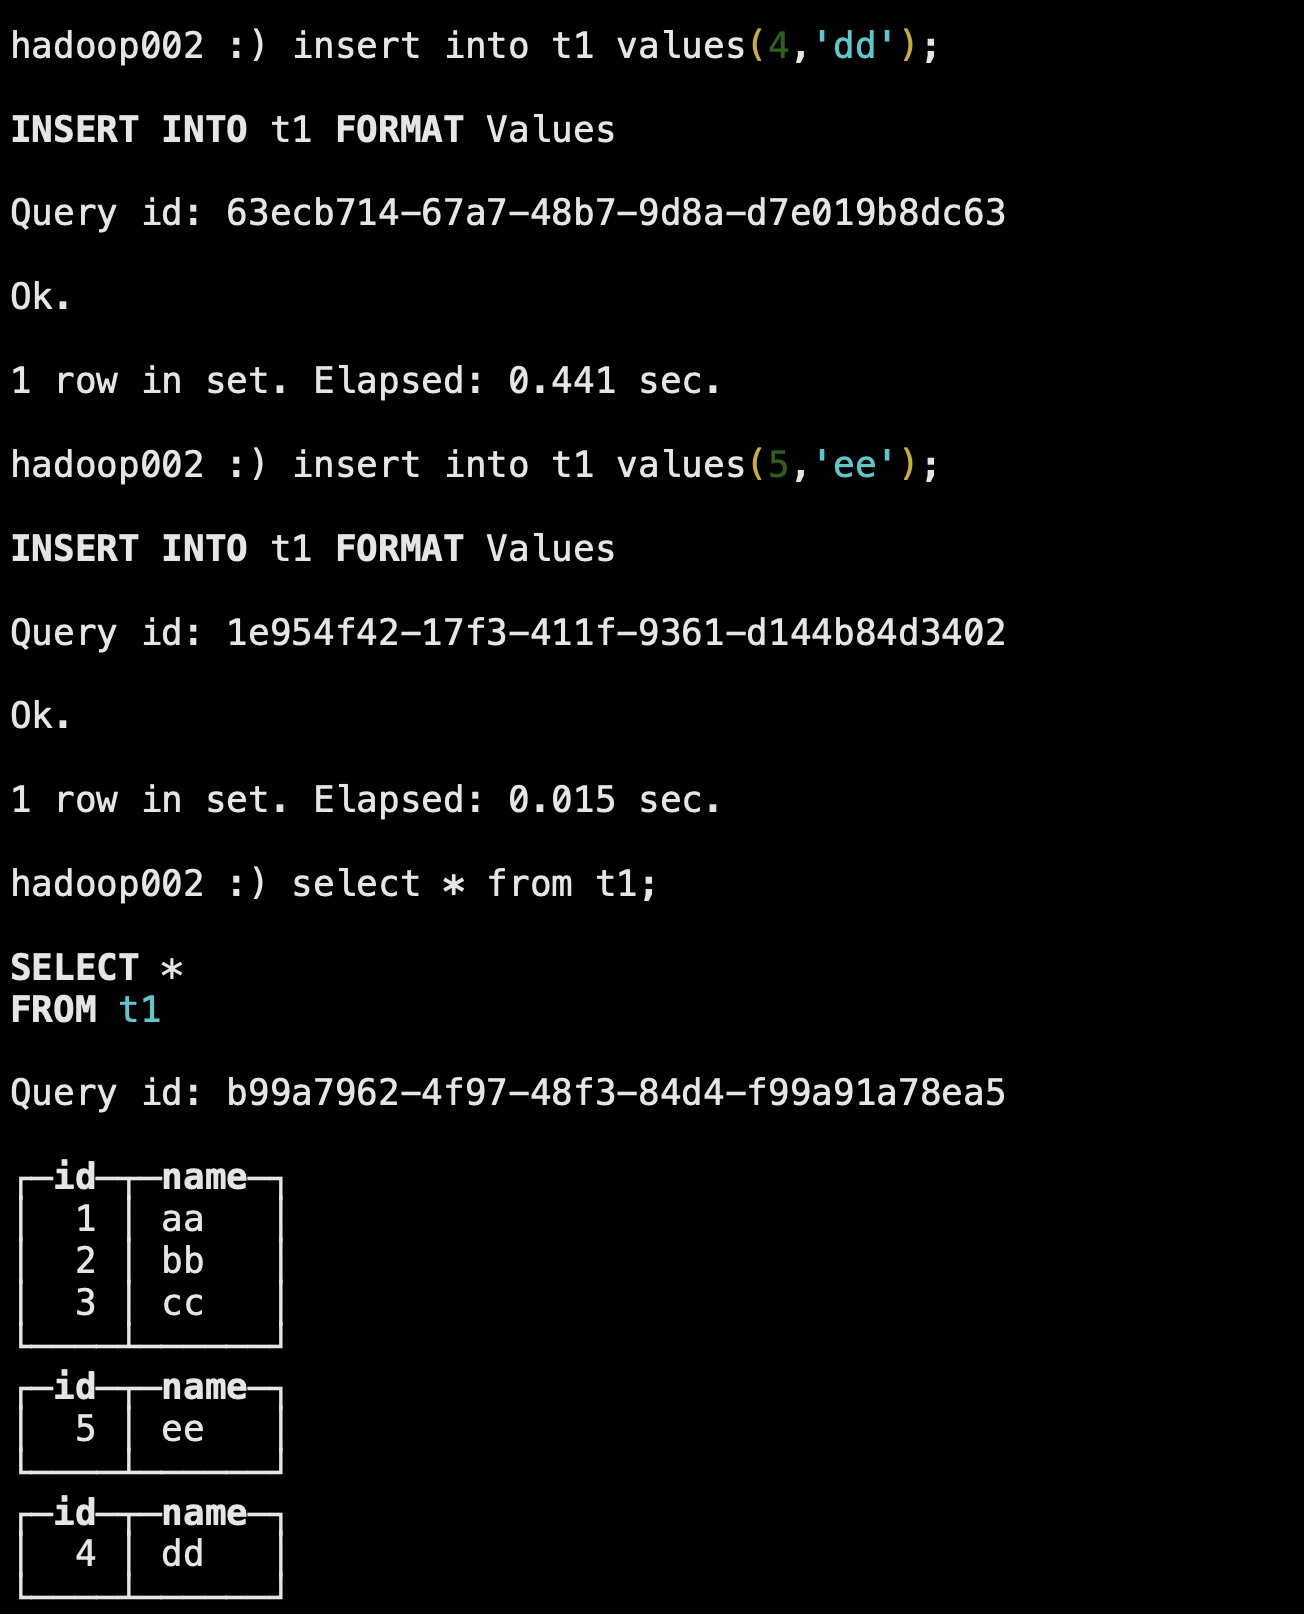
1)0分片多副本模式创建表,在Hadoop001和hadoop002上测试
#创建表
hadoop001 :) create database db2;
hadoop001 :) use db2;
hadoop001 :) CREATE TABLE t1(`id` Int32,`name` String) ENGINE = ReplicatedMergeTree('/clickhouse/cluster_test/01/t1','replica01') ORDER BY id ;

hadoop002 :) create database db2;
hadoop002 :) use db2;
hadoop002 :) CREATE TABLE t1(`id` Int32,`name` String) ENGINE = ReplicatedMergeTree('/clickhouse/cluster_test/01/t1','replica02') ORDER BY id ;

#插入数据
hadoop001 :) insert into t1 values(1,'aa'),(2,'bb'),(3,'cc');

hadoop002 :) insert into t1 values(4,'dd');
hadoop002 :) insert into t1 values(5,'ee');

#查询数据
hadoop001 :) select * from t1;

hadoop002 :) select * from t1;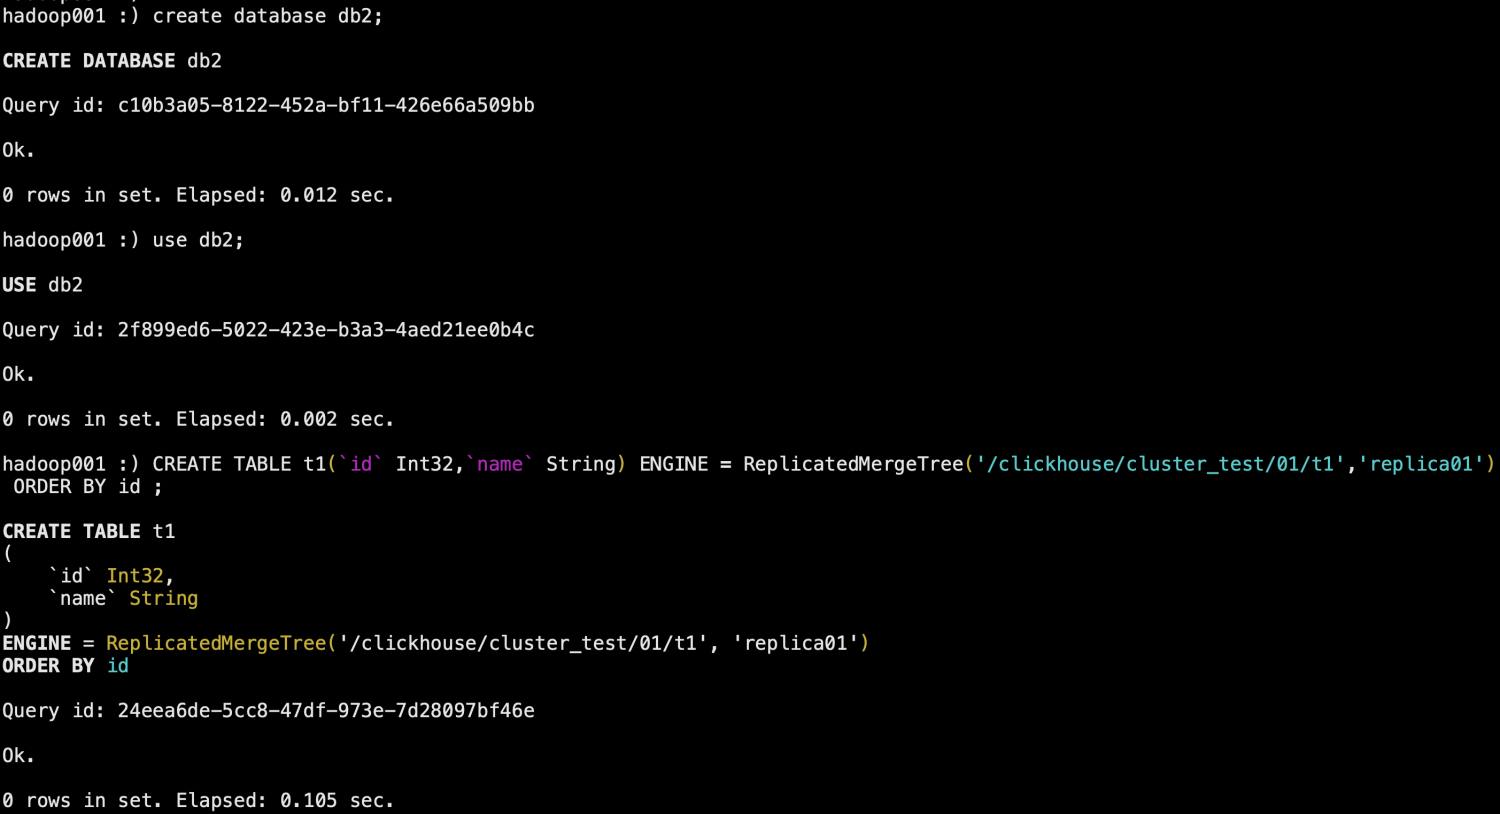

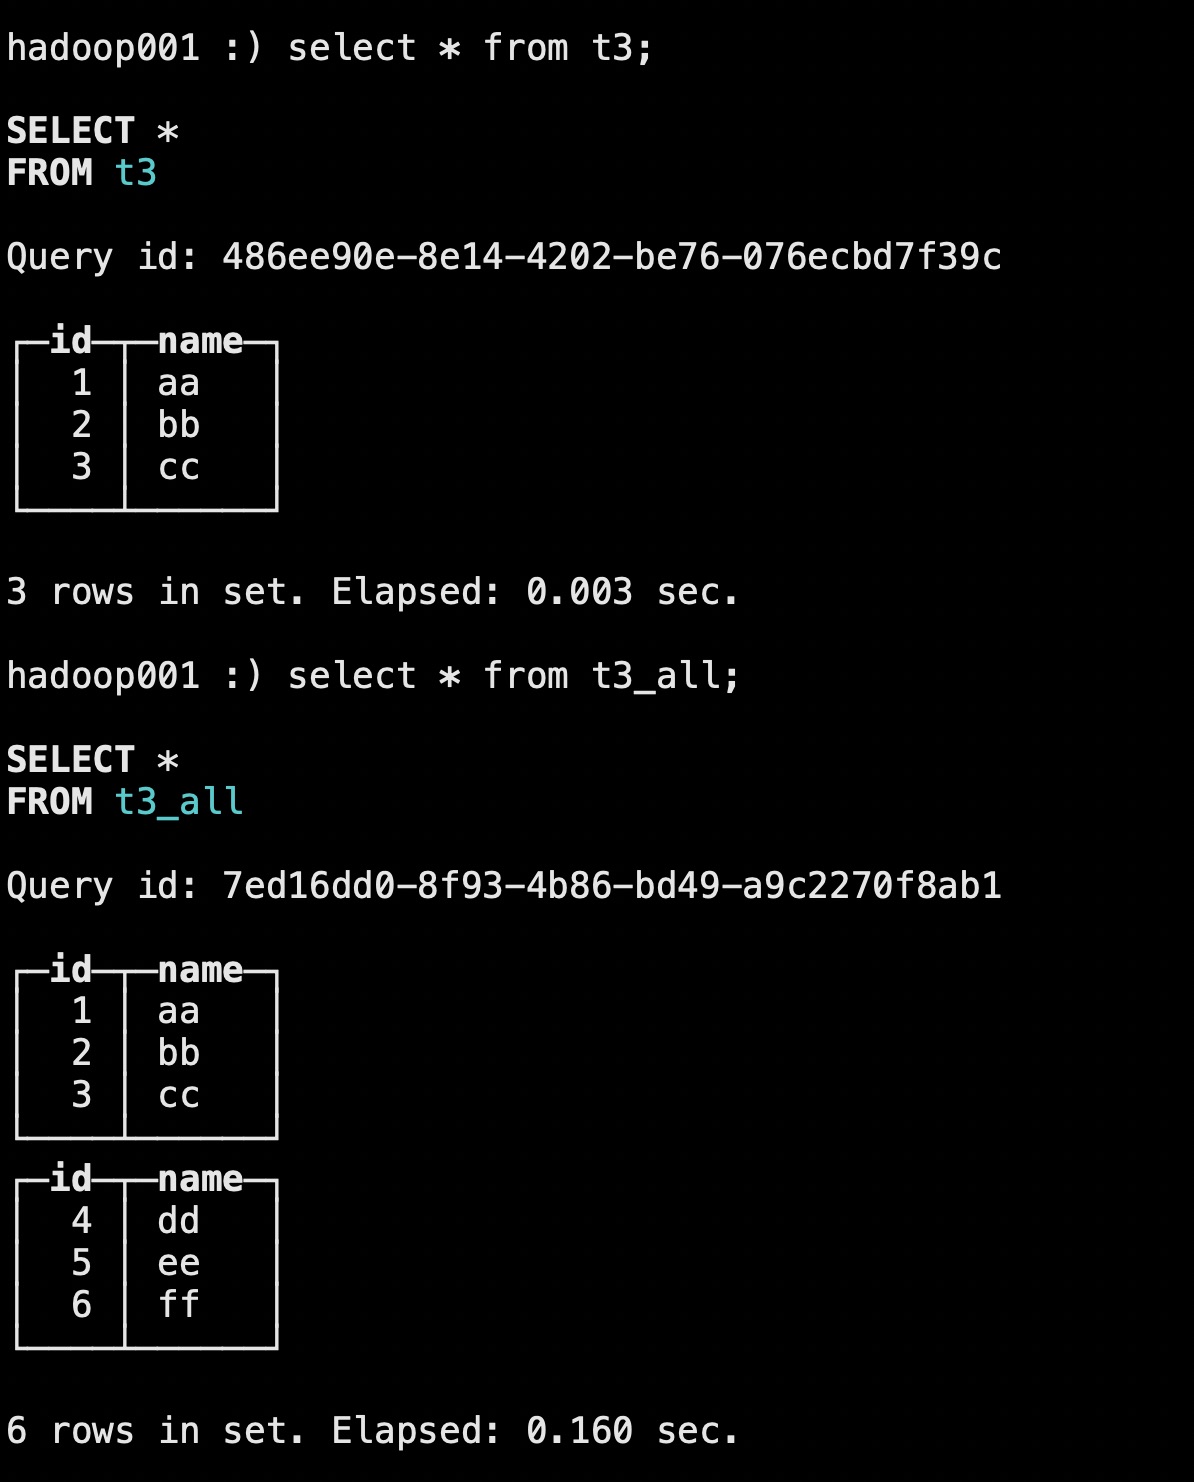
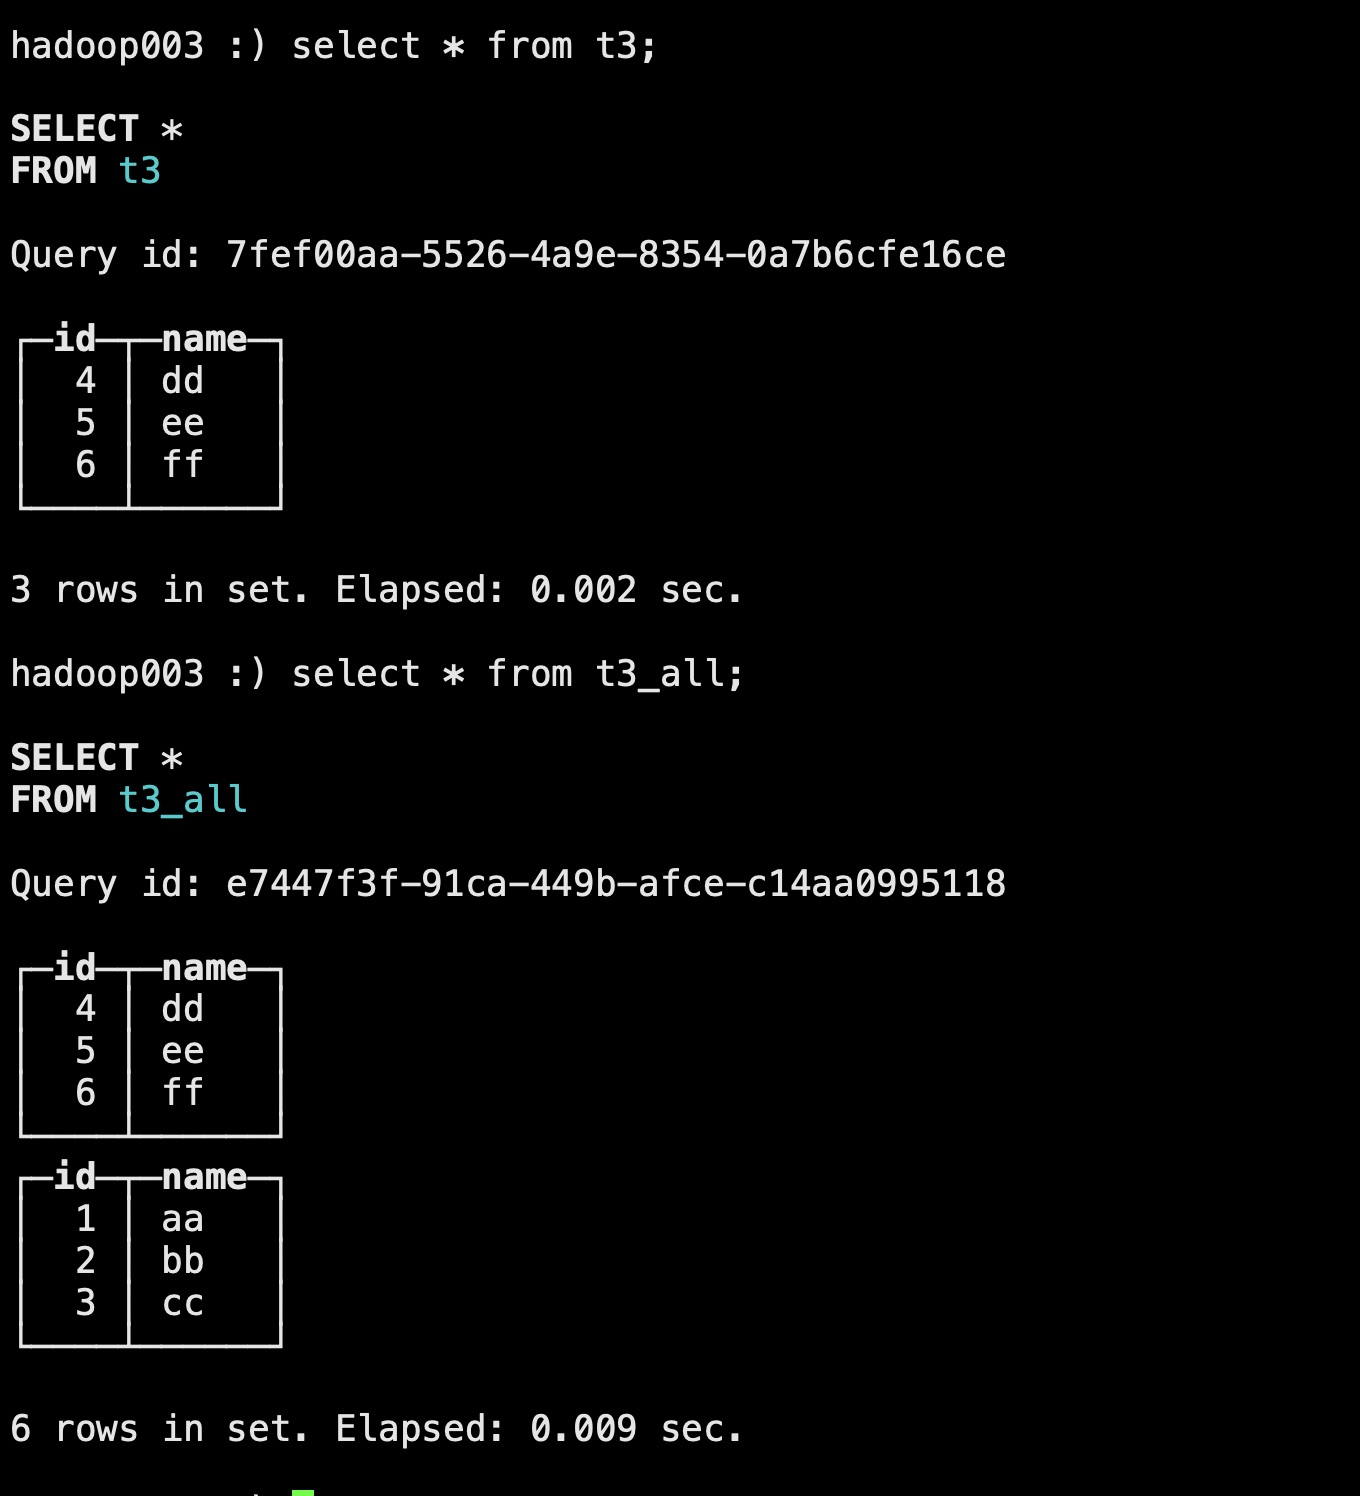
2)2分片0副本模式创建分布式表
在hadoop001和hadoop003节点上进行测试
#创建表
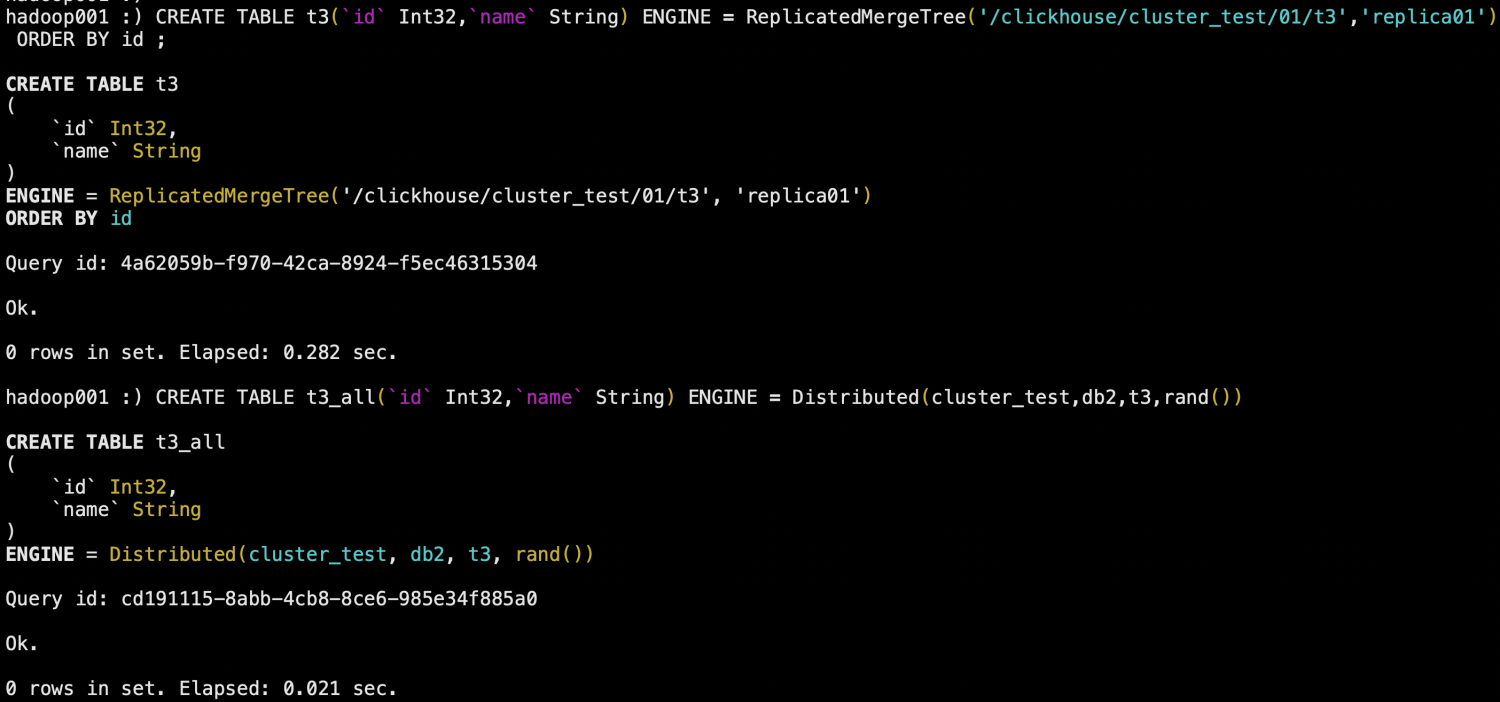
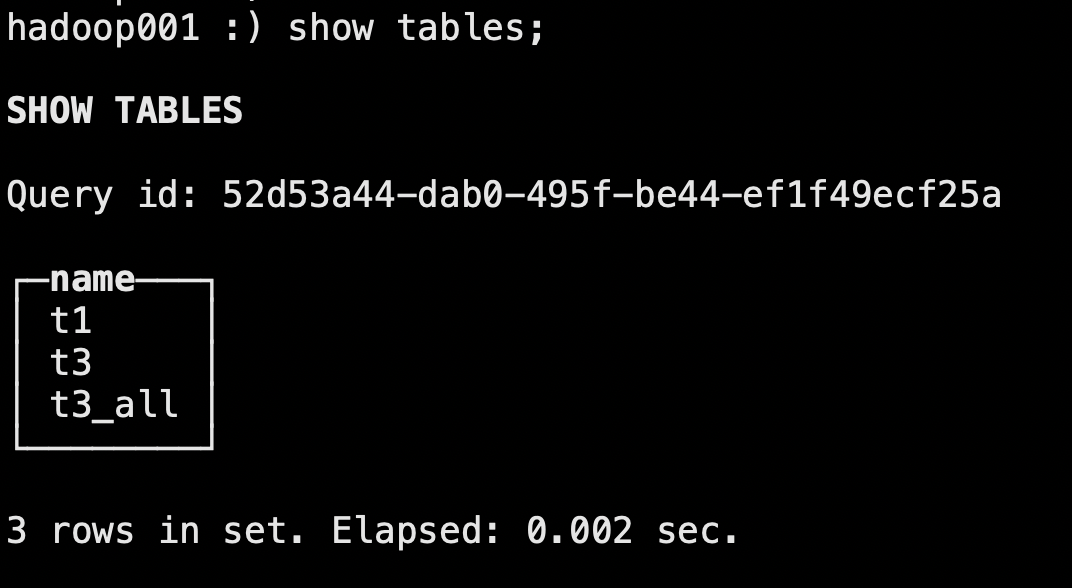
hadoop001 :) CREATE TABLE t3(`id` Int32,`name` String) ENGINE = ReplicatedMergeTree('/clickhouse/cluster_test/01/t3','replica01') ORDER BY id ;
hadoop001 :) CREATE TABLE t3_all(`id` Int32,`name` String) ENGINE = Distributed(cluster_test,db2,t3,rand())

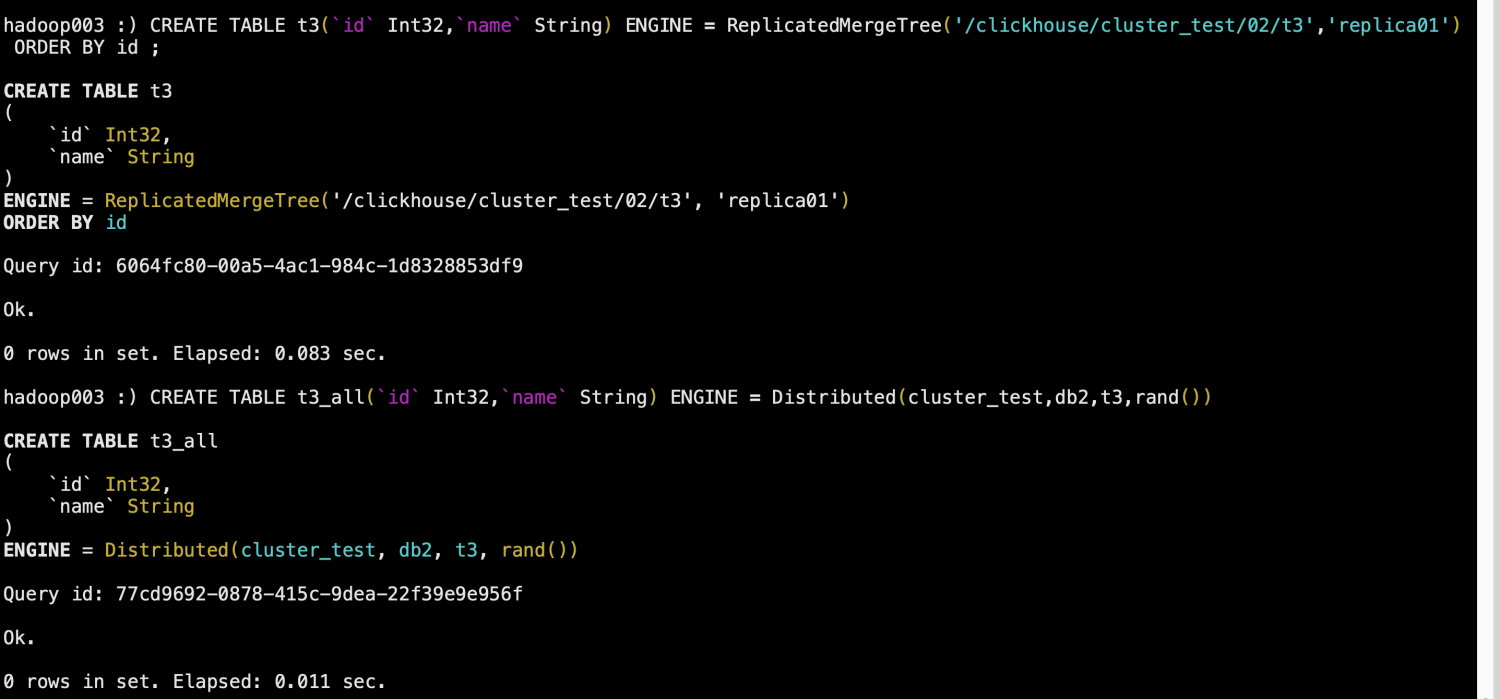
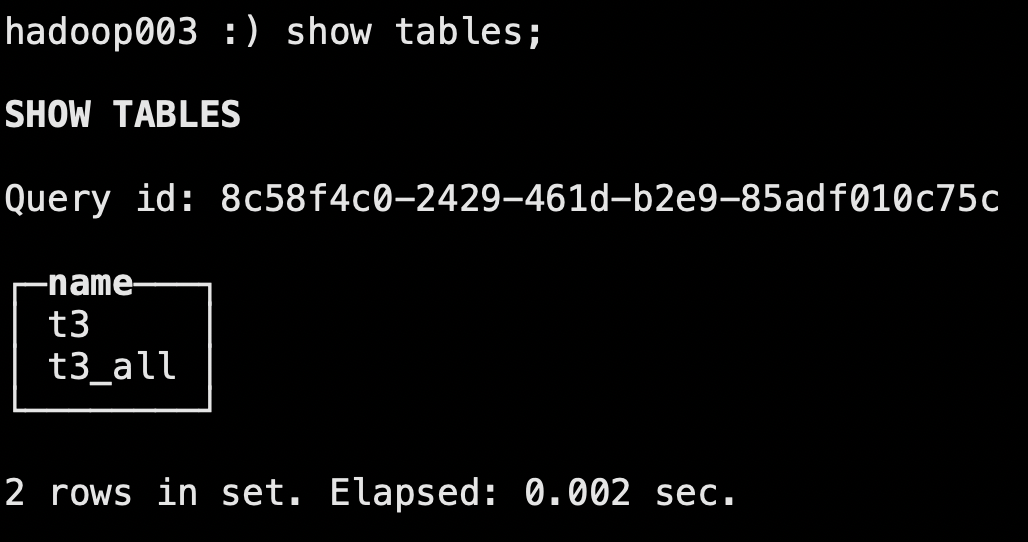
hadoop003 :) CREATE TABLE t3(`id` Int32,`name` String) ENGINE = ReplicatedMergeTree('/clickhouse/cluster_test/02/t3','replica01') ORDER BY id ;
hadoop003 :) CREATE TABLE t3_all(`id` Int32,`name` String) ENGINE = Distributed(cluster_test,db2,t3,rand())

#插入数据
hadoop001 :) insert into t3 values(1,'aa'),(2,'bb'),(3,'cc');

hadoop003 :) insert into t3 values(4,'dd'),(5,'ee'),(6,'ff');

#查询数据
hadoop001 :) select * from t3;
hadoop001 :) select * from t3_all;

hadoop003 :) select * from t3;
hadoop003 :) select * from t3_all;