一、环境准备
1、Centos7系统
2、切换英文系统
[root@master02 ~]# tail -n2 /etc/profile

export LANG="en_US.UTF-8"
3、下载、安装jdk1.9
[root@master02 ~]# wget http://dtsre-ops.oss-cn-hangzhou.aliyuncs.com/xiaoya-tmp/jdk-19_linux-x64_bin.tar.gz
[root@master02 ~]# tar -zxvf jdk-19_linux-x64_bin.tar.gz -C /usr/local/java/

[root@master02 ~]# tail /etc/profile

export JAVA_HOME=/usr/local/java/jdk-19.0.1
export JRE_HOME=${JAVA_HOME}/jre
export CLASSPATH=.:${JAVA_HOME}/lib:${JRE_HOME}/lib
export PATH=${JAVA_HOME}/bin:$PATH

[root@master02 ~]# source /etc/profile
[root@master02 ~]# java -version
4、关闭防火墙和selinux
setenforce 0
systemctl stop firewalld
二、部署elasticsearch8.5
1、下载
wget https://artifacts.elastic.co/downloads/elasticsearch/elasticsearch-8.5.3-linux-x86_64.tar.gz
2、解压
tar -zxvf elasticsearch-8.5.3-linux-x86_64.tar.gz -C /usr/local/
3、修改系统的配置文件
[root@master02 ~]# tail /etc/security/limits.conf
#@student        -       maxlogins       4

* hard nofile 65536
* soft nofile 65536
* soft nproc 2048
* hard nproc 4096

# End of file

[root@master02 ~]# grep -v "^#" /etc/sysctl.conf
vm.max_map_count=262144
使其生效
[root@master02 ~]##sysctl -p
4、修改elasticsearch.yml的配置文件
[root@master02~]# cd /usr/local/elasticsearch-8.5.3/config
[root@master02 config]#  grep -nv "^#"  elasticsearch.yml
17:cluster.name: my-application
23:node.name: master02
33:path.data: /usr/local/elasticsearch-8.5.3/data
37:path.logs: /usr/local/elasticsearch-8.5.3/logs
56:network.host: 0.0.0.074:cluster.initial_master_nodes: ["master02"]
98:xpack.security.enabled: true100:xpack.security.enrollment.enabled: true
103:xpack.security.http.ssl:
104:  enabled: false
105:  keystore.path: certs/http.p12
108:xpack.security.transport.ssl:
109:  enabled: true
110:  verification_mode: certificate
111:  keystore.path: certs/transport.p12
112:  truststore.path: certs/transport.p12

[root@master02 config]# mkdir -p /usr/local/elasticsearch-8.5.3/data
5、创建专有用户,并授权
[root@master02 ~]#useradd esuser
[root@master02 ~]#chown -R esuser:esuser  /usr/local/elasticsearch-8.5.3
6、启动elasticsearch8.5
[root@master02 ~]#su esuser
cd /usr/local/elasticsearch-8.5.3/bin/
./elasticsearch -d
7、创建elastic新用户,并设置密码123456
 cd /usr/local/elasticsearch-8.5.3/bin/
 ./elasticsearch-reset-password -u elastic -i
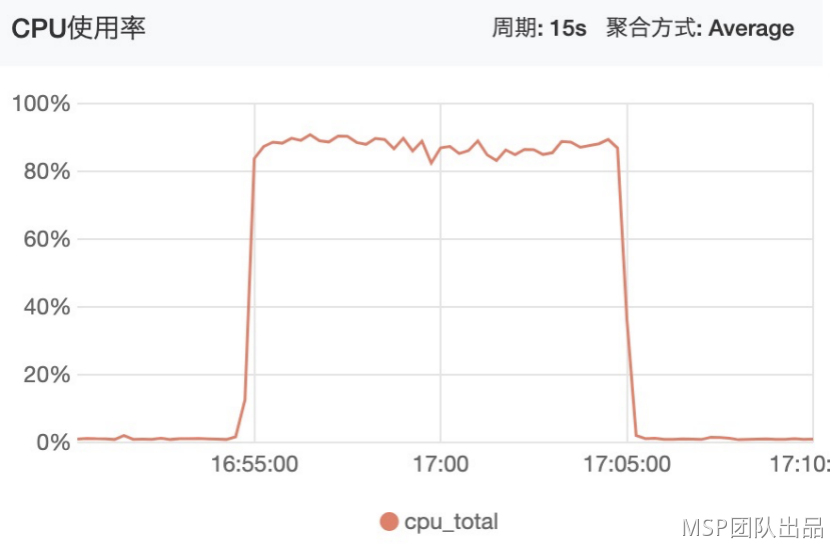
8、结果展示

三、kibana-8.5.3安装部署
1、下载安装包
wget http://dtsre-ops.oss-cn-hangzhou.aliyuncs.com/xiaoya-tmp/kibana-8.5.3-linux-x86_64.tar.gz
2、解压
tar -zxvf kibana-8.5.3-linux-x86_64.tar.gz -C /usr/local/
cd /usr/local/
mv kibana-8.5.3 kibana
3、修改配置文件
[esuser@master02 config]$ grep -nv "#"  kibana.yml
170:elasticsearch.hosts: "http://172.16.104.101:9200"
172:server.host: "0.0.0.0"
173:server.port: 5601
174:
175:elasticsearch.username: "test"
176:elasticsearch.password: "123456"
4、新增kibana-8.5.3登录用户,并授权
 cd /usr/local/
 chown -R  esuser:esuser kibana
 su esuser

 cd /usr/local/elasticsearch-8.5.3/bin
 #新增一个test登录用户
 ./elasticsearch-users useradd test
#授权到kibana登录
 ./elasticsearch-users roles -a superuser  test
 ./elasticsearch-users roles -a kibana_system test
5、启动kibana-8.5.3
cd /usr/local/kibana/bin

./kibana /var/log/kibana.log 2>&1 &
#等待若干分钟之后
exit
#查看端口监听
[root@master02 config]# netstat  -tlnp |grep 5601
tcp        0      0 0.0.0.0:5601    0.0.0.0:*        LISTEN      5374/./../node/bin/
[root@master02 config]#
6、 查看显示结果