离线部署Mysql 8.X
安装包和环境准备
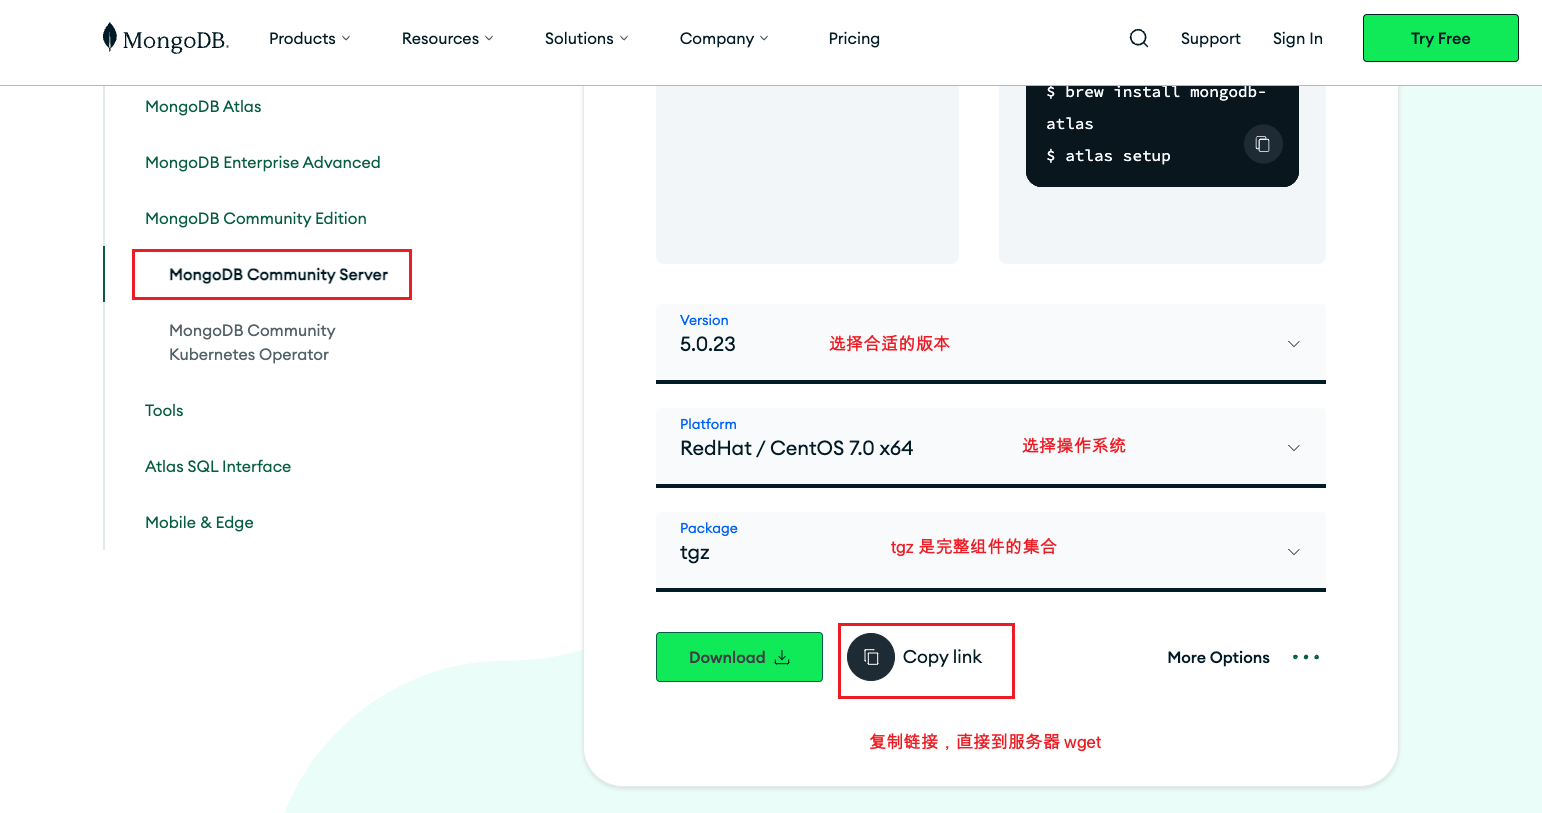
将mysql-8.0.23-el7-x86_64.tar.gz安装包上传至服务器
wget https://cdn.mysql.com/archives/mysql-8.0/mysql-8.0.23-el7-x86_64.tar.gz
解压mysql压缩包
tar -xvf mysql-8.0.23-el7-x86_64.tar.gz
重命名mysql包
mv mysql-8.0.23-el7-x86_64 /usr/local/mysql
创建 data 存储文件
cd /usr/local/mysql
mkdir /usr/local/mysql/data
创建用户和用户组
groupadd mysql
useradd -g mysql mysql
给用户赋予权限
chown -R mysql:mysql /usr/local/mysql
初始化 mysql 基本信息
./mysqld --user=mysql --basedir=/usr/local/mysql/ --datadir=/usr/local/mysql/data/ --initialize
Ps注意
./mysqld: error while loading shared libraries: libaio.so.1: cannot open shared object file: No such file or directory
如果报错缺少libaio.so.1文件
安装:yum install -y libaio
————
离线安装:
下载地址:http://www.rpmfind.net/linux/rpm2html/search.php?query=libaio(x86-64)
wget http://www.rpmfind.net/linux/centos/7.9.2009/os/x86_64/Packages/libaio-0.3.109-13.el7.x86_64.rpm
命令:rpm -ivh libaio-0.3.109-13.el7.x86_64.rpm

将 mysqld 服务添加到系统中
cd /usr/local/mysql
cp -a ./support-files/mysql.server /etc/init.d/mysql
授权以及添加服务
chmod +x /etc/init.d/mysql
chkconfig --add mysql
创建my.cnf
vim /etc/my.conf
# Example MySQL config file for small systems.
#
# This is for a system with little memory (<= 64M) where MySQL is only used
# from time to time and it's important that the mysqld daemon
# doesn't use much resources.
#
# MySQL programs look for option files in a set of
# locations which depend on the deployment platform.
# You can copy this option file to one of those
# locations. For information about these locations, see:
# http://dev.mysql.com/doc/mysql/en/option-files.html
#
# In this file, you can use all long options that a program supports.
# If you want to know which options a program supports, run the program
# with the "--help" option.
# The following options will be passed to all MySQL clients
[client]
default-character-set=utf8
port=3306
socket=/tmp/mysql.sock
# Here follows entries for some specific programs
# The MySQL server
[mysqld]
#配置mysql的文件夹 和 mysql data目录
basedir=/usr/local/mysql
datadir=/usr/local/mysql/data
default-storage-engine=INNODB
character-set-server=utf8
collation-server=utf8_general_ci
port = 3306
socket = /tmp/mysql.sock
skip-external-locking
key_buffer_size = 16K
max_allowed_packet = 1M
table_open_cache = 4
sort_buffer_size = 64K
read_buffer_size = 256K
read_rnd_buffer_size = 256K
net_buffer_length = 2K
thread_stack = 128K
# Don't listen on a TCP/IP port at all. This can be a security enhancement,
# if all processes that need to connect to mysqld run on the same host.
# All interaction with mysqld must be made via Unix sockets or named pipes.
# Note that using this option without enabling named pipes on Windows
# (using the "enable-named-pipe" option) will render mysqld useless!
#
#skip-networking
server-id = 1
# Uncomment the following if you want to log updates
#log-bin=mysql-bin
# binary logging format - mixed recommended
#binlog_format=mixed
# Causes updates to non-transactional engines using statement format to be
# written directly to binary log. Before using this option make sure that
# there are no dependencies between transactional and non-transactional
# tables such as in the statement INSERT INTO t_myisam SELECT * FROM
# t_innodb; otherwise, slaves may diverge from the master.
#binlog_direct_non_transactional_updates=TRUE
# Uncomment the following if you are using InnoDB tables
#innodb_data_home_dir = /usr/local/mysql/data
#innodb_data_file_path = ibdata1:10M:autoextend
#innodb_log_group_home_dir = /usr/local/mysql/data
# You can set .._buffer_pool_size up to 50 - 80 %
# of RAM but beware of setting memory usage too high
#innodb_buffer_pool_size = 16M
#innodb_additional_mem_pool_size = 2M
# Set .._log_file_size to 25 % of buffer pool size
#innodb_log_file_size = 5M
#innodb_log_buffer_size = 8M
#innodb_flush_log_at_trx_commit = 1
#innodb_lock_wait_timeout = 50
[mysqldump]
quick
max_allowed_packet = 16M
[mysql]
no-auto-rehash
# Remove the next comment character if you are not familiar with SQL
#safe-updates
[myisamchk]
key_buffer_size = 8M
sort_buffer_size = 8M
[mysqlhotcopy]
interactive-timeout
设置my.cnf权限
sudo chmod 664 /etc/my.cnf
启动mysql服务
service mysql start

进入mysql并修改密码配置
mysql -u root -p
ALTER user 'root'@'localhost' IDENTIFIED BY '密码';
flush privileges;
use xxxx
update user set host = '%' where user = 'root';


