Prometheus+Consul服务自动发现监控
为什么使用consul
prometheus作为新一代的监控利器,有很多优点,部署起来也十分方便。部署prometheus后自然会需要使用prometheus去监控物理机或者虚拟机的资源,这里就需要使用到node_exporter。同时根据prometheus的架构来看,server会主动从node上拉取数据。而我们每增加一个node,就要告诉prometheus需要到新的node上去拉去数据(更改prometheus配置),这个明显是不合理的,而且维护难度较高。所以这里引入consul来进行自动发现,降低维护难度。
prometheus-server部署
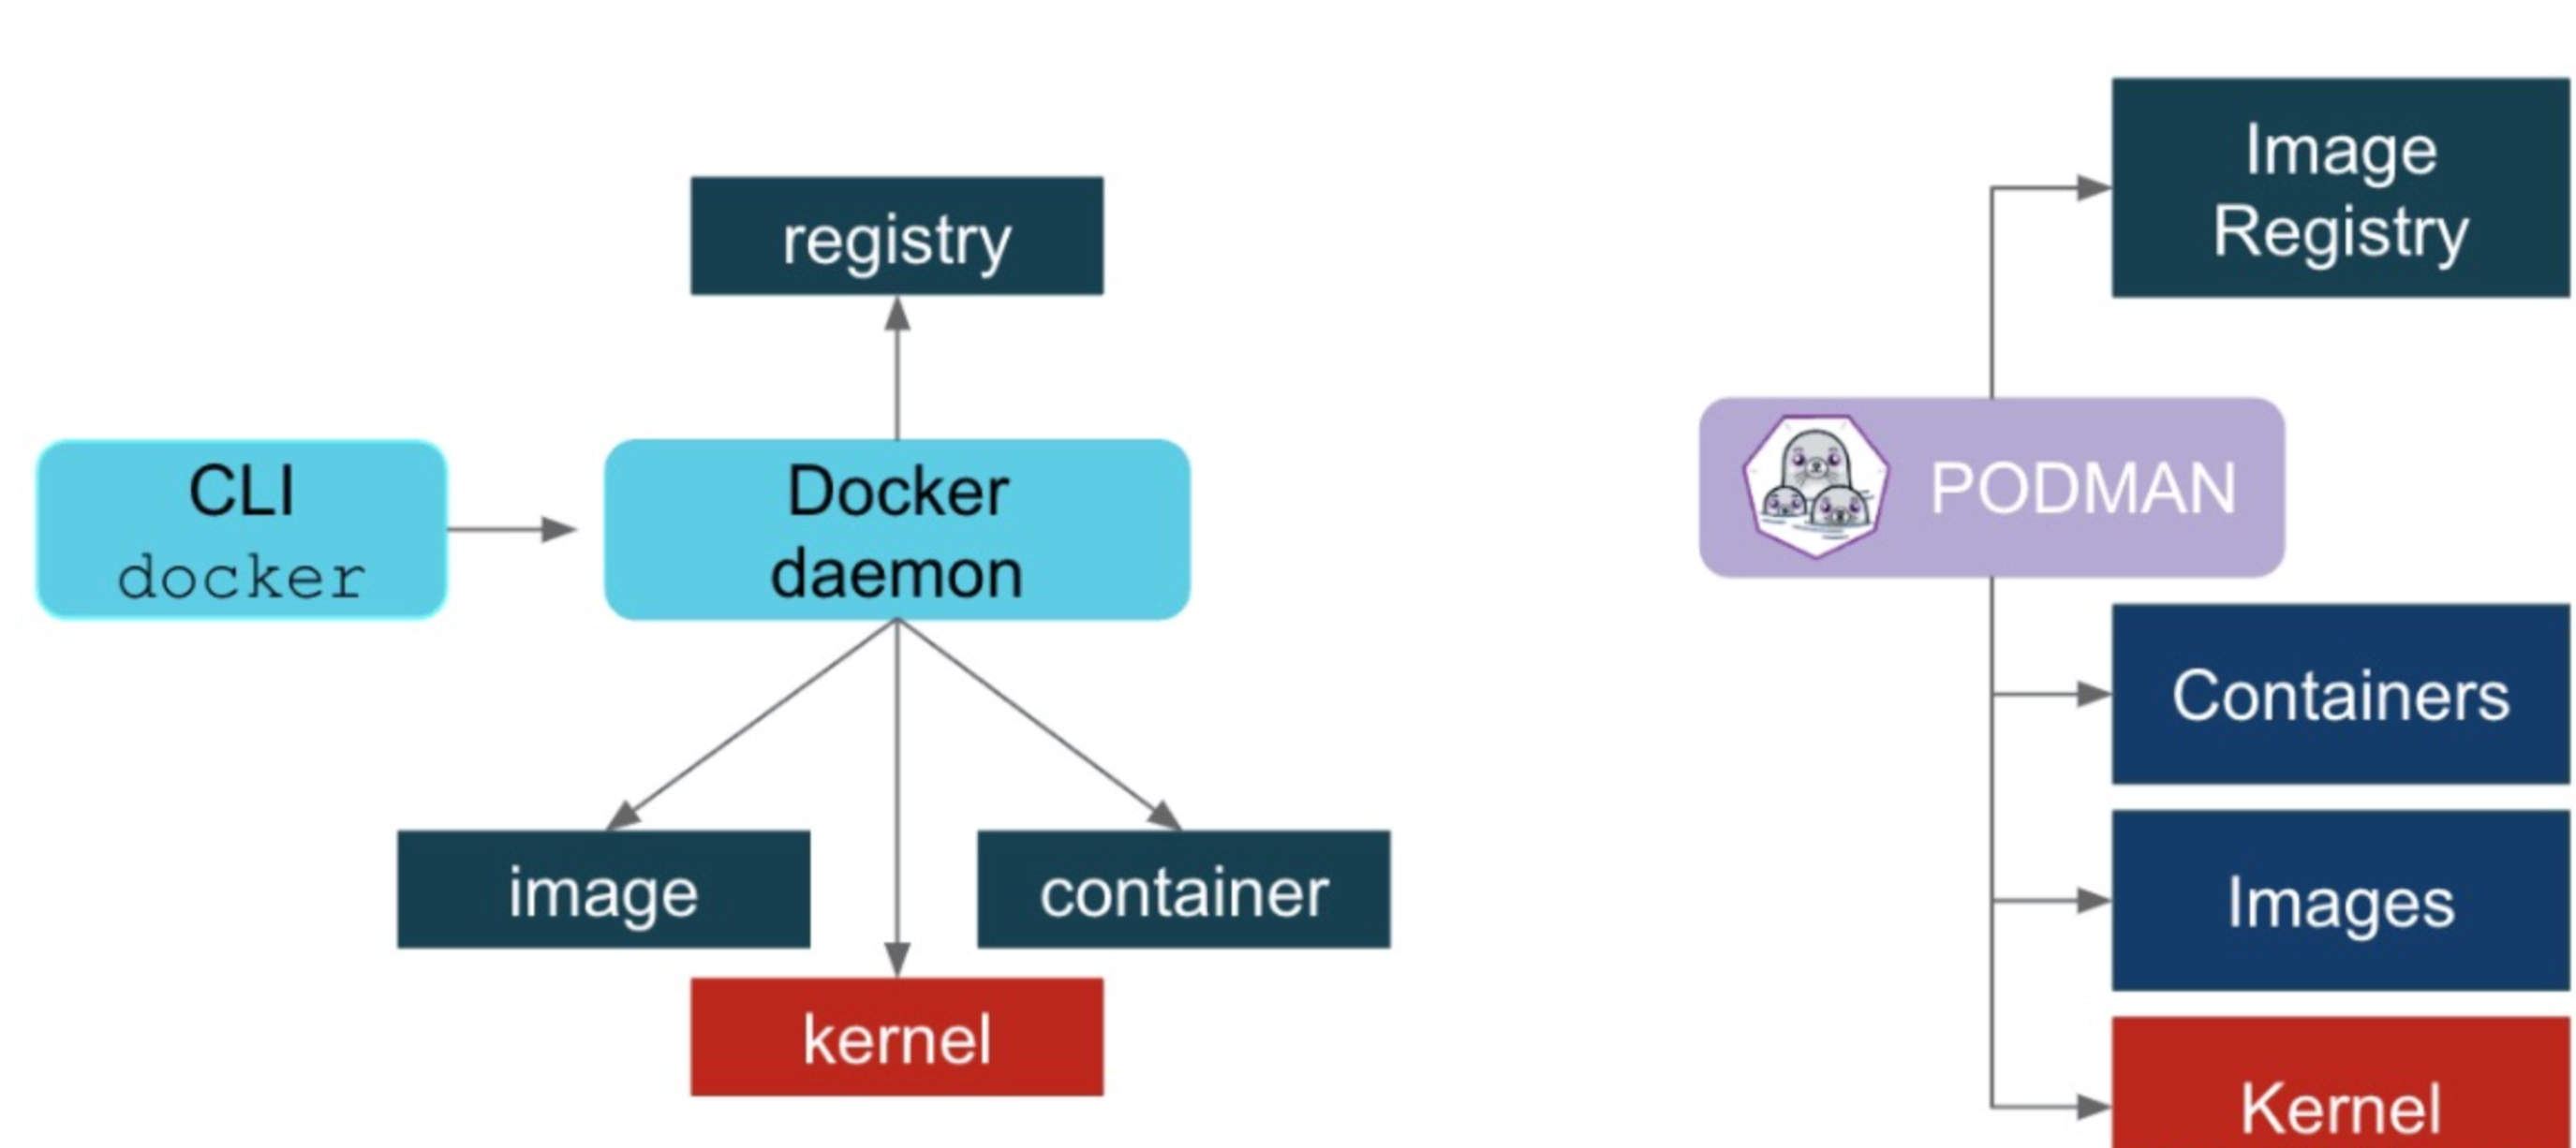
prometheus的部署很简单,二进制文件下载后直接执行即可。这里我们不使用二进制文件进行部署,改用docker进行部署。
sudo docker run -d --net=host -v /opt/prometheus/config:/etc/prometheus --name=prometheus prom/prometheus
这里net指定host是为了方便我们后续和consul进行配合使用。
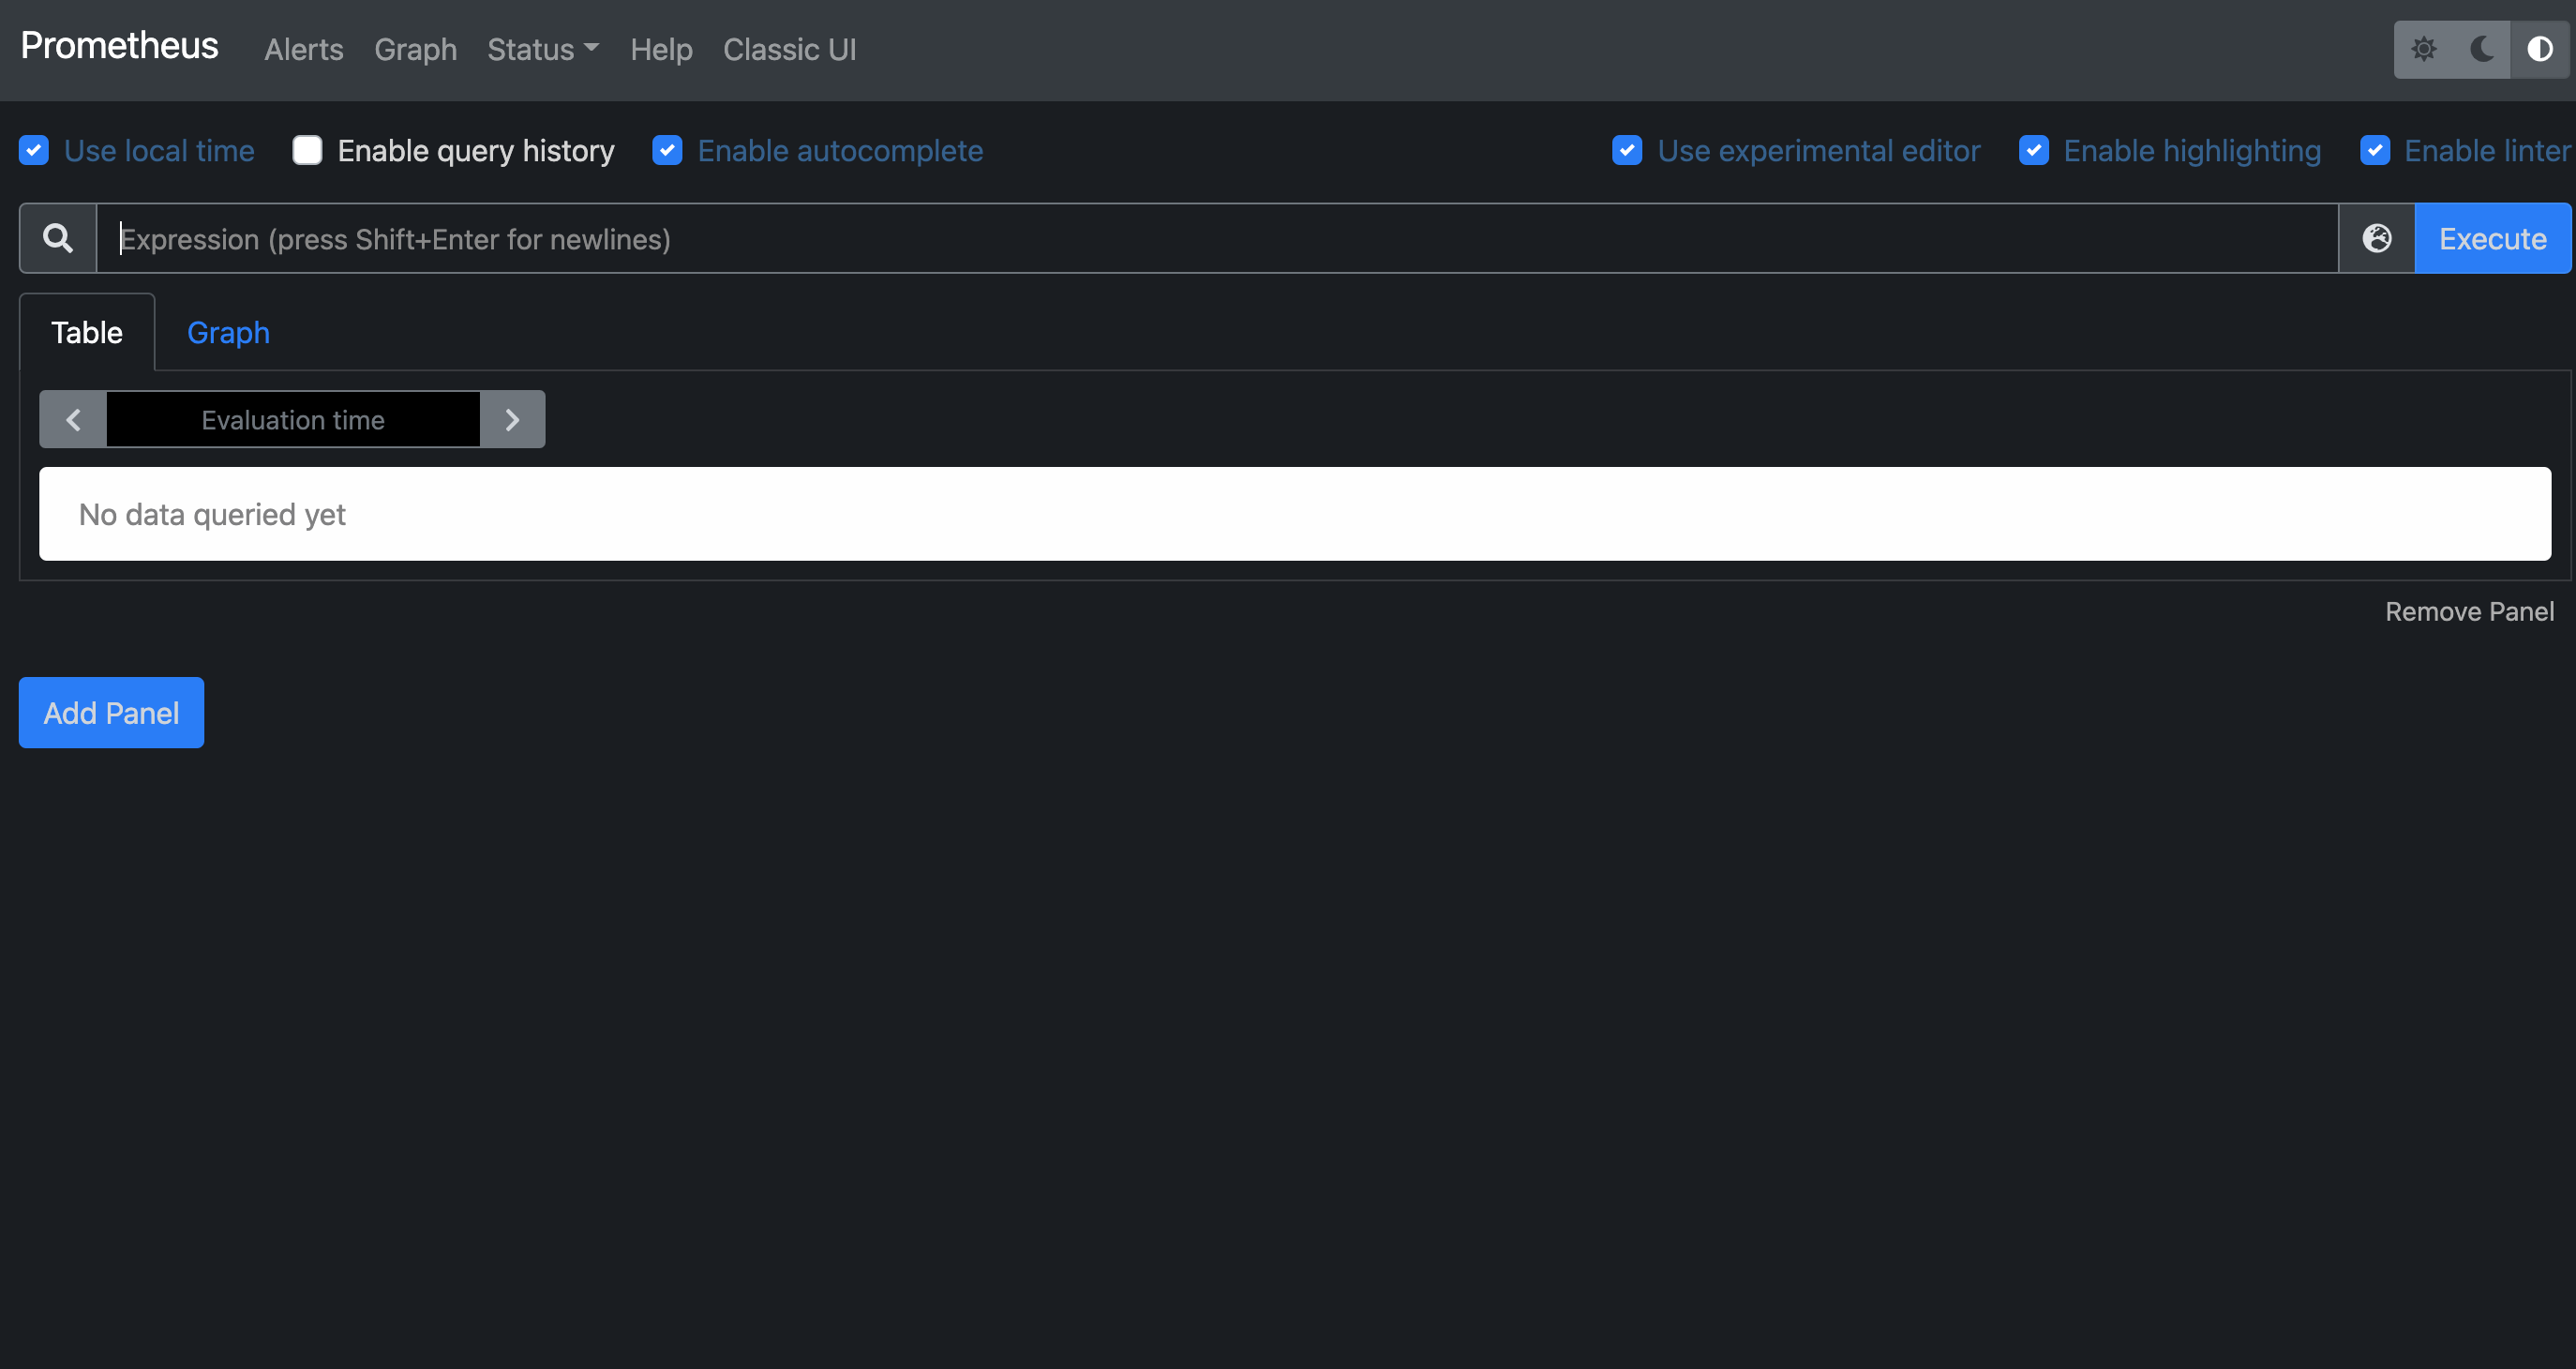
访问地址
http://localhost:9090
consul部署
简介
Consul 是基于 GO 语言开发的开源工具,主要面向分布式,服务化的系统提供服务注册、服务发现和配置管理的功能。Consul 提供服务注册/发现、健康检查、Key/Value存储、多数据中心和分布式一致性保证等功能。之前我们通过 Prometheus 实现监控,当新增一个 Target 时,需要变更服务器上的配置文件,即使使用 file_sd_configs 配置,也需要登录服务器修改对应 Json 文件,会非常麻烦。不过 Prometheus 官方支持多种自动服务发现的类型,其中就支持 Consul。
部署
sudo docker run -d --name=consul --net=host -v /opt/consul/data:/consul/data -v /opt/consul/config:/consul/config consul
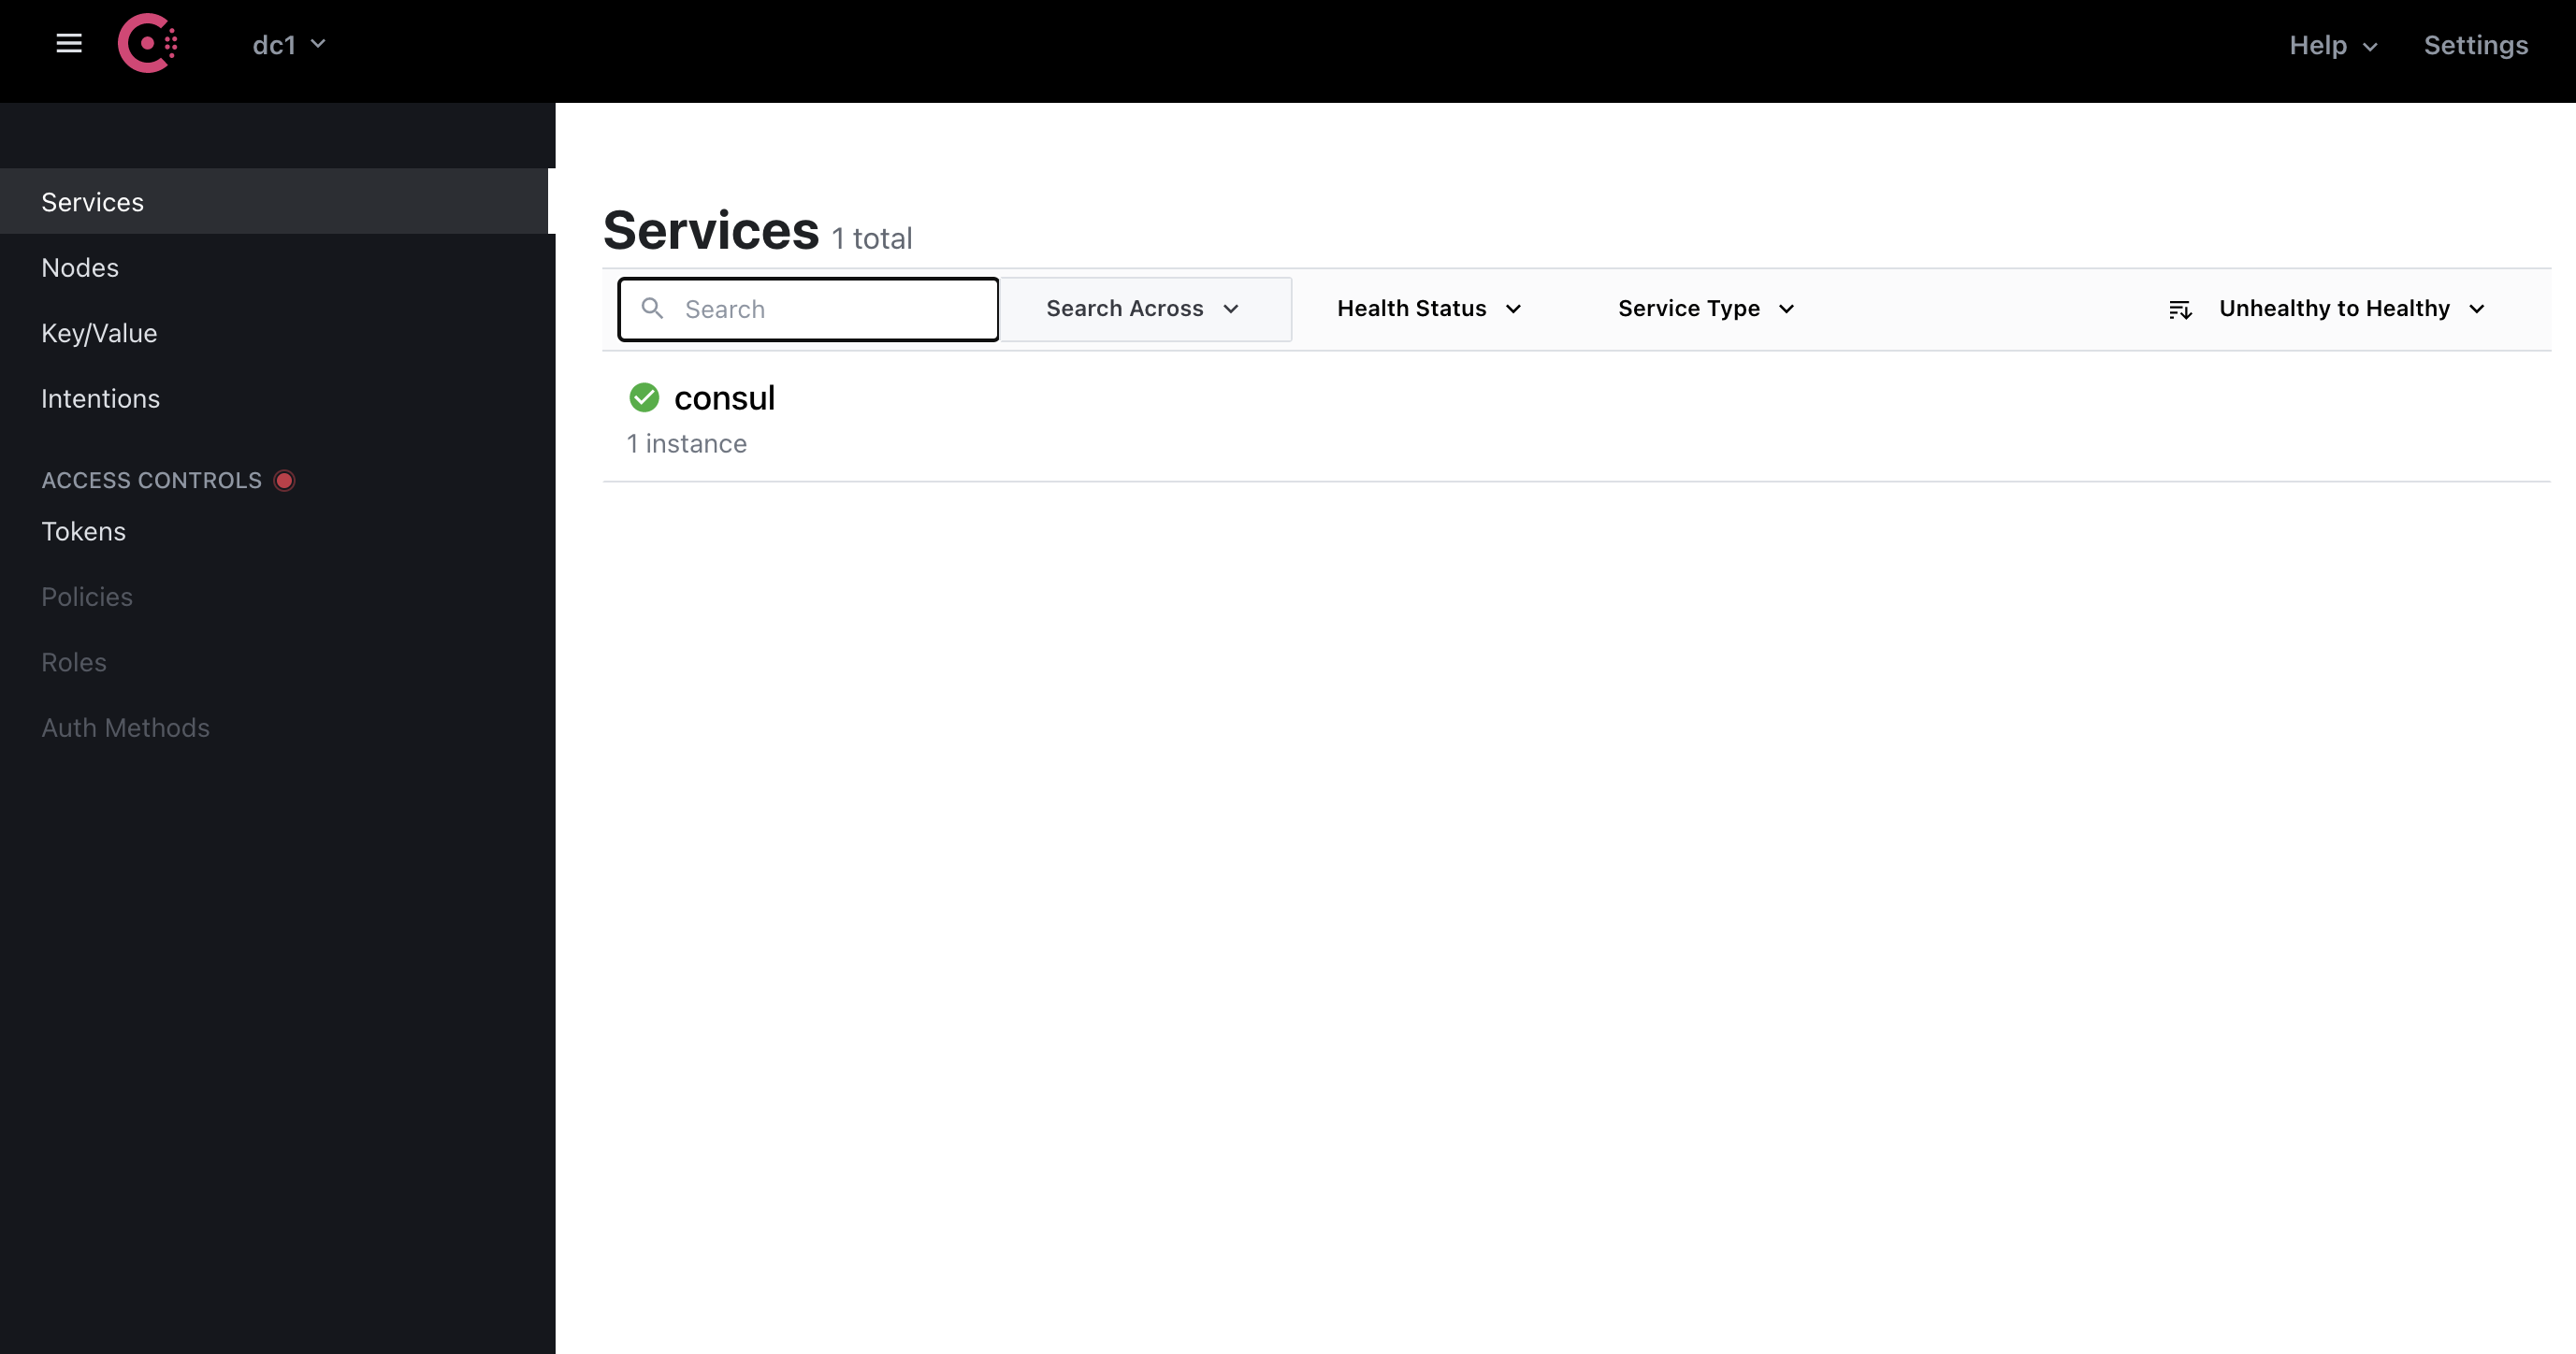
访问地址
http://172.16.0.2:8500
API 注册服务到 Consul
接下来,我们要注册服务到 Consul 中,可以通过其提供的 API 标准接口来添加。
注册服务
这里我们添加本机的node-exporter看下。api请求如下:
curl -X PUT -d '{
  "id": "prometheus",
  "name": "node-exporter",
  "address": "172.16.0.2",
  "port": 9100,
  "tags": ["prometheus"],
  "checks": [{"http": "http://172.16.0.2:9100/metrics", "interval": "30s"}]
}' http://localhost:8500/v1/agent/service/register
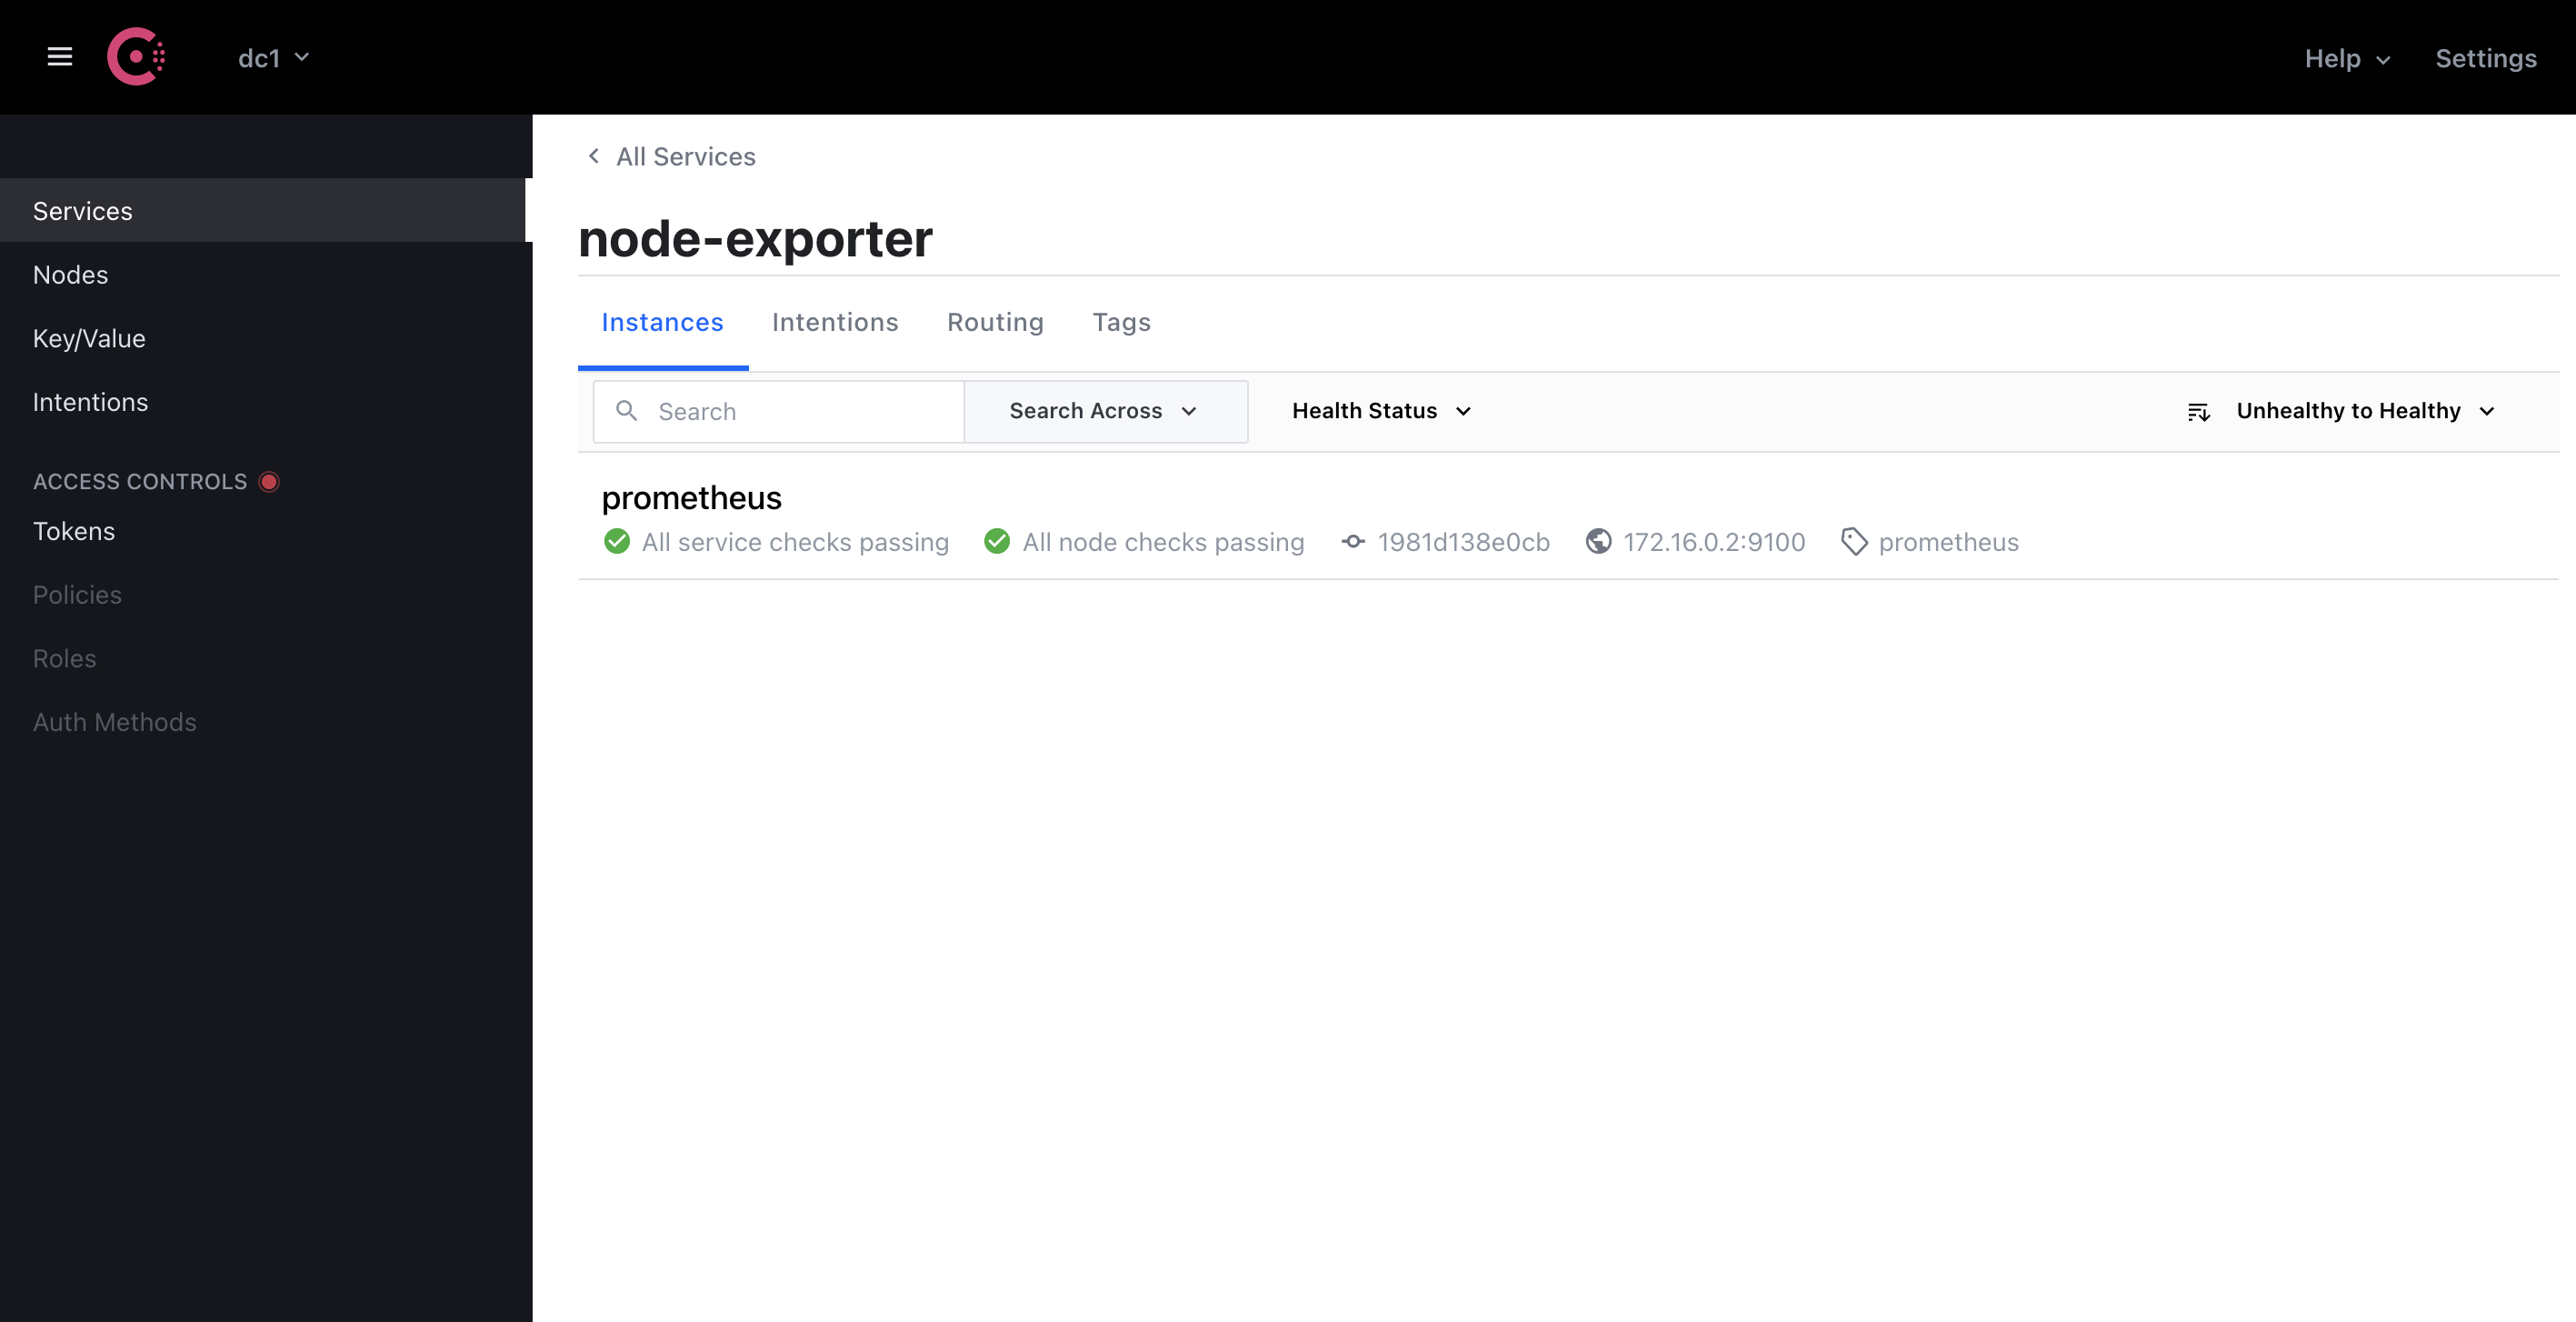
刷新页面后可以看到我们的node-exporter已经注册到consul了

删除服务
curl -X PUT http://localhost:8500/v1/agent/service/deregister/node-exporter

