keycloak高可用部署
添加keycloak应用
rancher应用商店模式添加keycloak仓库地址
rancher应用商店添加bitnami的helm仓库地址
https://charts.bitnami.com/bitnami
chart模式添加keycloak
添加对应chart包
安装keycloak
应用商店安装keycloak并且对yaml文件进行自定义
affinity: {}
args: []
auth:
  adminPassword: ''
  adminUser: admin #管理员用户名称,可更改
  createAdminUser: true
  existingSecret: ''
  existingSecretPerPassword: {}
  managementPassword: ''
  managementUser: manager
  tls:
    autoGenerated: false
    enabled: false
    existingSecret: ''
    jksSecret: ''
    keystoreFilename: ''
    keystorePassword: ''
    resources:
      limits: {}
      requests: {}
    truststoreFilename: ''
    truststorePassword: ''
    usePem: false
autoscaling:
  enabled: false
  maxReplicas: 11
  minReplicas: 1
  targetCPU: ''
  targetMemory: ''
cache:
  enabled: false
clusterDomain: cluster.local
command: []
commonAnnotations: {}
commonLabels: {}
configuration: ''
containerPorts:
  http: 8080
  https: 8443
  management: 9990
containerSecurityContext:
  enabled: true
  runAsNonRoot: true
  runAsUser: 1001
customLivenessProbe: {}
customReadinessProbe: {}
customStartupProbe: {}
diagnosticMode:
  args:
    - infinity
  command:
    - sleep
  enabled: false
existingConfigmap: ''
externalDatabase:
  database: bitnami_keycloak
  existingSecret: ''
  existingSecretPasswordKey: ''
  host: ''
  password: ''
  port: 5432
  user: bn_keycloak
extraDeploy: []
extraEnvVars: []
extraEnvVarsCM: ''
extraEnvVarsSecret: ''
extraStartupArgs: ''
extraVolumeMounts: []
extraVolumes: []
fullnameOverride: ''
global:
  imagePullSecrets: []
  imageRegistry: ''
  # 配置存储
  storageClass: ''
  cattle:
    systemProjectId: p-s7jhh
hostAliases: []
image:
  debug: false
  pullPolicy: IfNotPresent
  pullSecrets: []
  registry: docker.io
  repository: bitnami/keycloak
  tag: 18.0.0-debian-10-r6
ingress:
  annotations: {}
  apiVersion: ''
  enabled: false
  extraHosts: []
  extraPaths: []
  extraRules: []
  extraTls: []
  hostname: keycloak.local
  ingressClassName: ''
  path: /
  pathType: ImplementationSpecific
  secrets: []
  selfSigned: false
  servicePort: http
  tls: false
initContainers: []
initdbScripts: {}
initdbScriptsConfigMap: ''
keycloakConfigCli:
  annotations:
    helm.sh/hook: post-install,post-upgrade,post-rollback
    helm.sh/hook-delete-policy: hook-succeeded,before-hook-creation
    helm.sh/hook-weight: '5'
  args: []
  backoffLimit: 1
  command: []
  configuration: {}
  containerSecurityContext:
    enabled: true
    runAsNonRoot: true
    runAsUser: 1001
  enabled: false
  existingConfigmap: ''
  extraEnvVars: []
  extraEnvVarsCM: ''
  extraEnvVarsSecret: ''
  extraVolumeMounts: []
  extraVolumes: []
  hostAliases: []
  image:
    pullPolicy: IfNotPresent
    pullSecrets: []
    registry: docker.io
    repository: bitnami/keycloak-config-cli
    tag: 5.2.0-debian-10-r15
  podAnnotations: {}
  podLabels: {}
  podSecurityContext:
    enabled: true
    fsGroup: 1001
  resources:
    limits: {}
    requests: {}
kubeVersion: ''
lifecycleHooks: {}
livenessProbe:
  enabled: true
  failureThreshold: 3
  initialDelaySeconds: 300
  periodSeconds: 1
  successThreshold: 1
  timeoutSeconds: 5
metrics:
  enabled: false
  service:
    annotations:
      prometheus.io/port: '{{ .Values.metrics.service.ports.http }}'
      prometheus.io/scrape: 'true'
    ports:
      http: 9990
  serviceMonitor:
    enabled: false
    honorLabels: false
    interval: 30s
    jobLabel: ''
    labels: {}
    metricRelabelings: []
    namespace: ''
    relabelings: []
    scrapeTimeout: ''
    selector: {}
nameOverride: ''
networkPolicy:
  additionalRules: {}
  allowExternal: true
  enabled: false
nodeAffinityPreset:
  key: ''
  type: ''
  values: []
nodeSelector: {}
pdb:
  create: false
  maxUnavailable: ''
  minAvailable: 1
podAffinityPreset: ''
podAnnotations: {}
podAntiAffinityPreset: soft
podLabels: {}
podManagementPolicy: Parallel
podSecurityContext:
  enabled: true
  fsGroup: 1001
postgresql:
  architecture: standalone
  auth:
    database: bitnami_keycloak
    existingSecret: ''
    password: ''
    username: bn_keycloak
  enabled: true
priorityClassName: ''
proxy: passthrough
rbac:
  create: false
  rules: []
readinessProbe:
  enabled: true
  failureThreshold: 3
  initialDelaySeconds: 30
  periodSeconds: 10
  successThreshold: 1
  timeoutSeconds: 1
replicaCount: 1
resources:
  limits: {}
  requests: {}
schedulerName: ''
service:
  annotations: {}
  clusterIP: ''
  externalTrafficPolicy: Cluster
  extraPorts: []
  loadBalancerIP: ''
  loadBalancerSourceRanges: []
  nodePorts:
    http: ''
    https: ''
  ports:
    http: 80
    https: 443
  sessionAffinity: None
  type: ClusterIP
serviceAccount:
  annotations: {}
  automountServiceAccountToken: true
  create: true
  name: ''
sidecars: []
startupProbe:
  enabled: false
  failureThreshold: 60
  initialDelaySeconds: 30
  periodSeconds: 5
  successThreshold: 1
  timeoutSeconds: 1
terminationGracePeriodSeconds: ''
tolerations: []
topologySpreadConstraints: {}
updateStrategy:
  rollingUpdate: {}
  type: RollingUpdate
配置文件官方参考文档
https://github.com/bitnami/charts/tree/master/bitnami/keycloak/
获取admin用户的password
Plain Text
kubectl get secret keycloak -n {namespace}  -o jsonpath='{.data.admin-password}' |base64 -d
配置keycloak
登录后界面如下
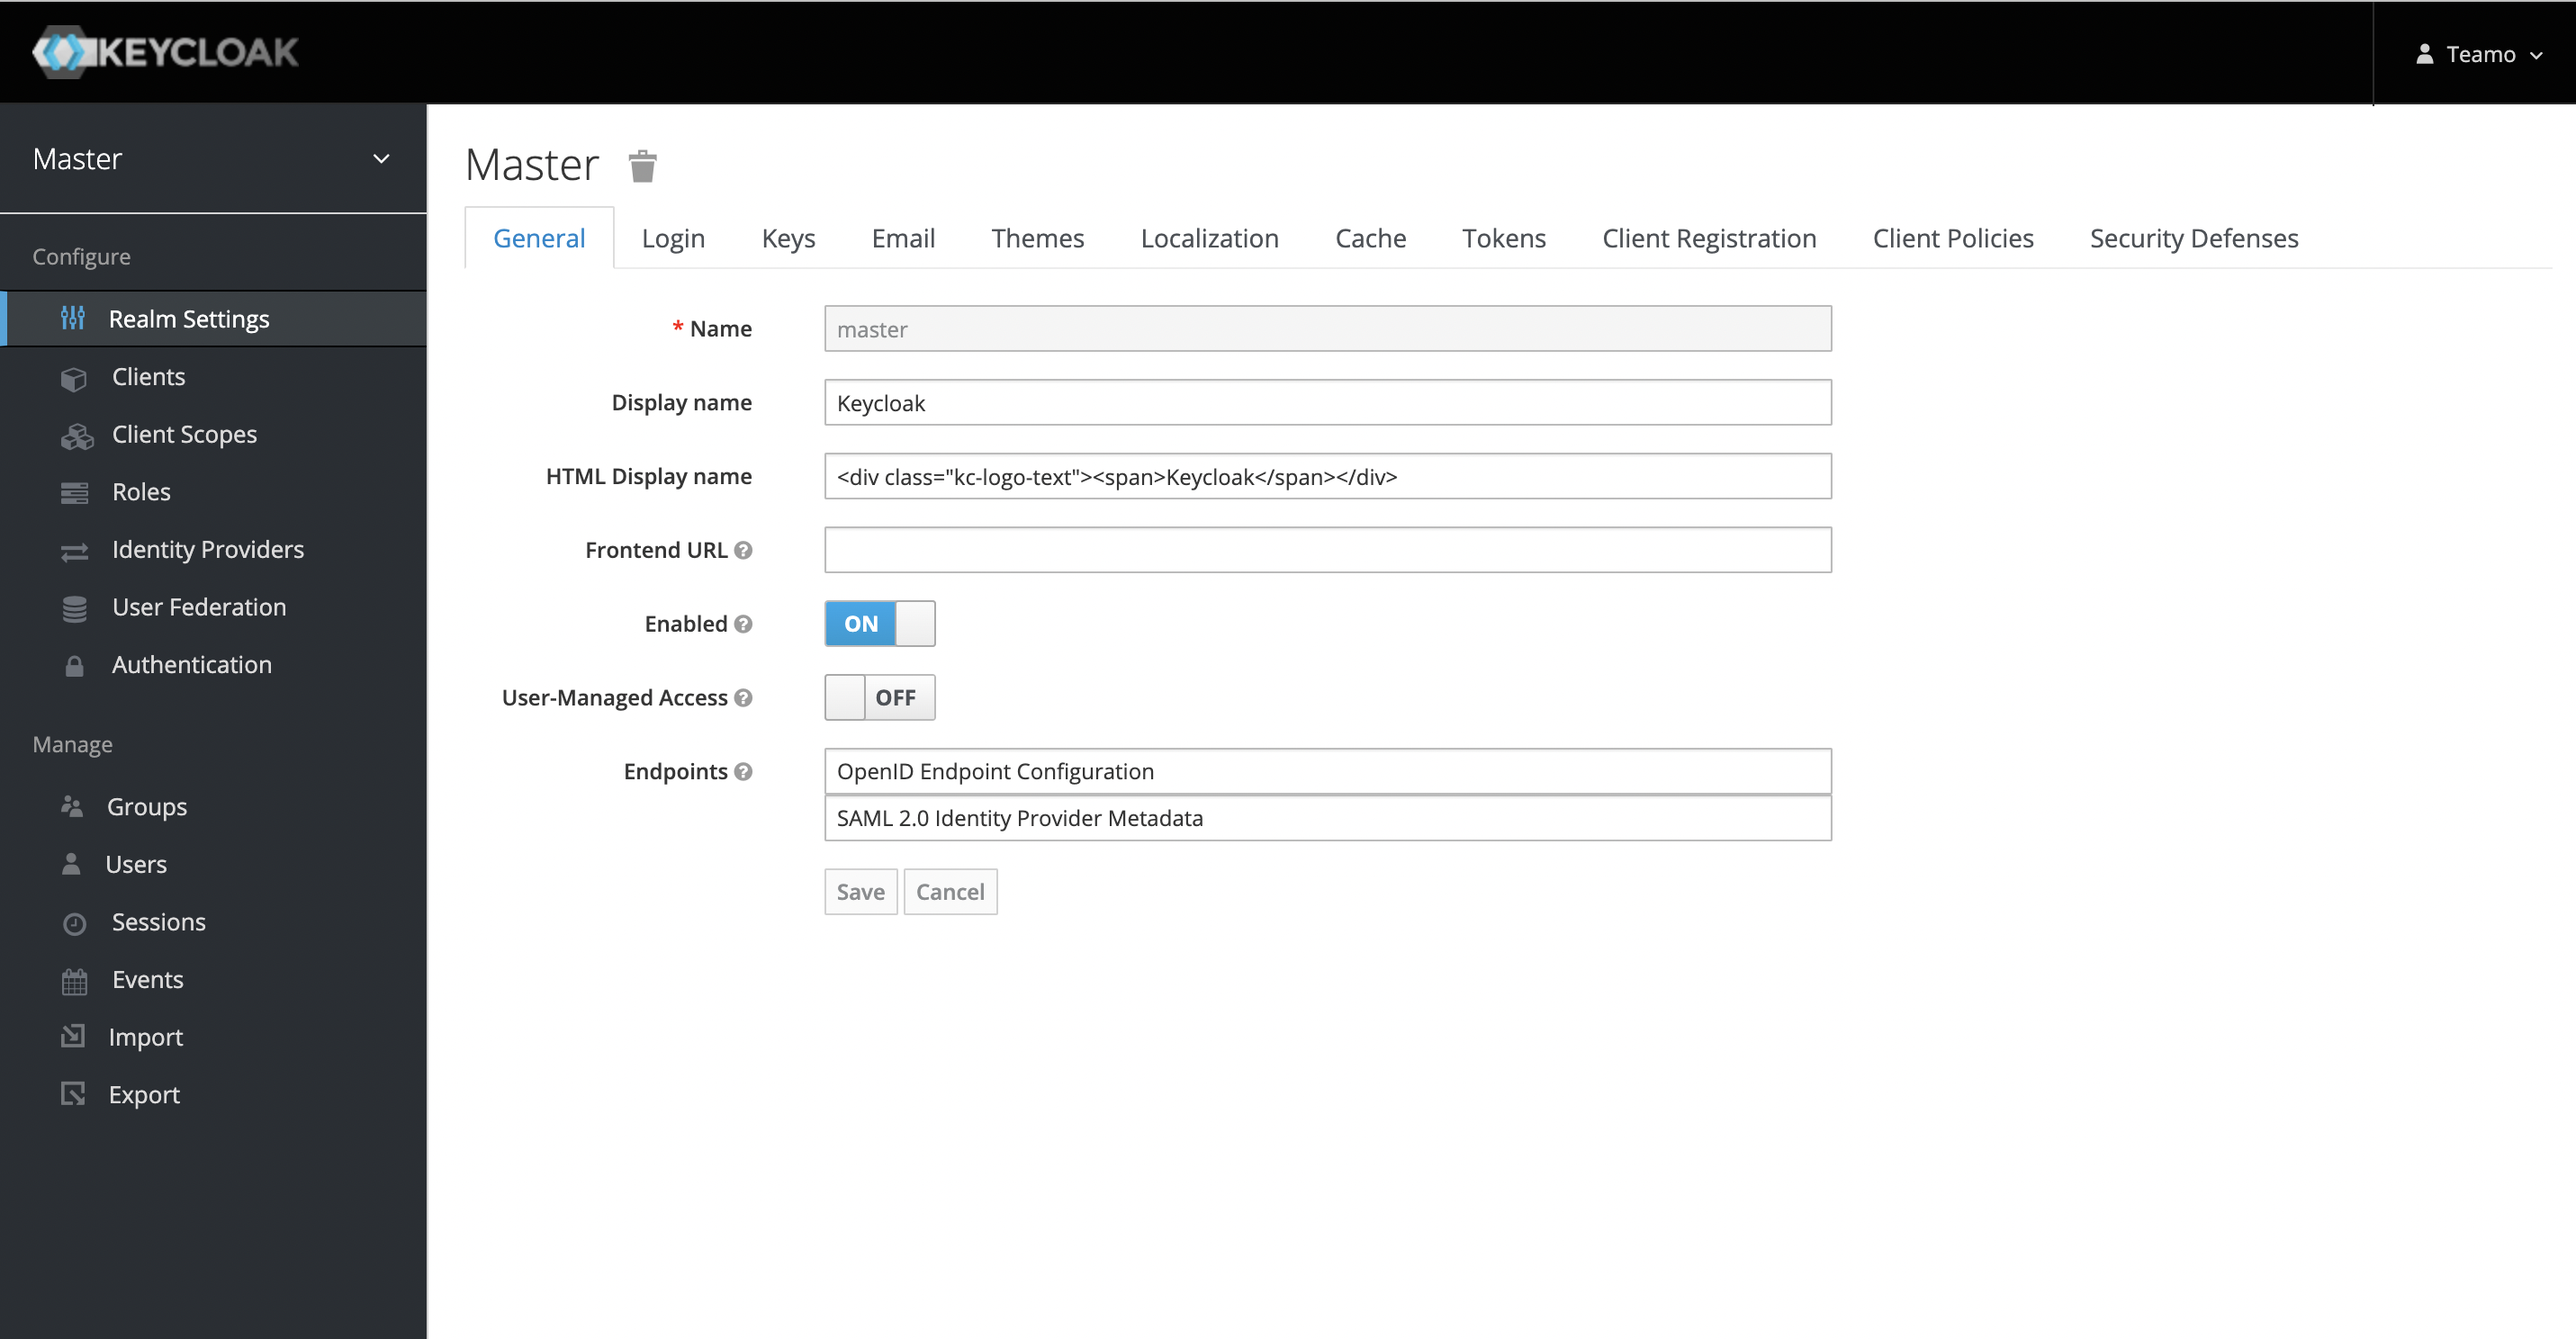
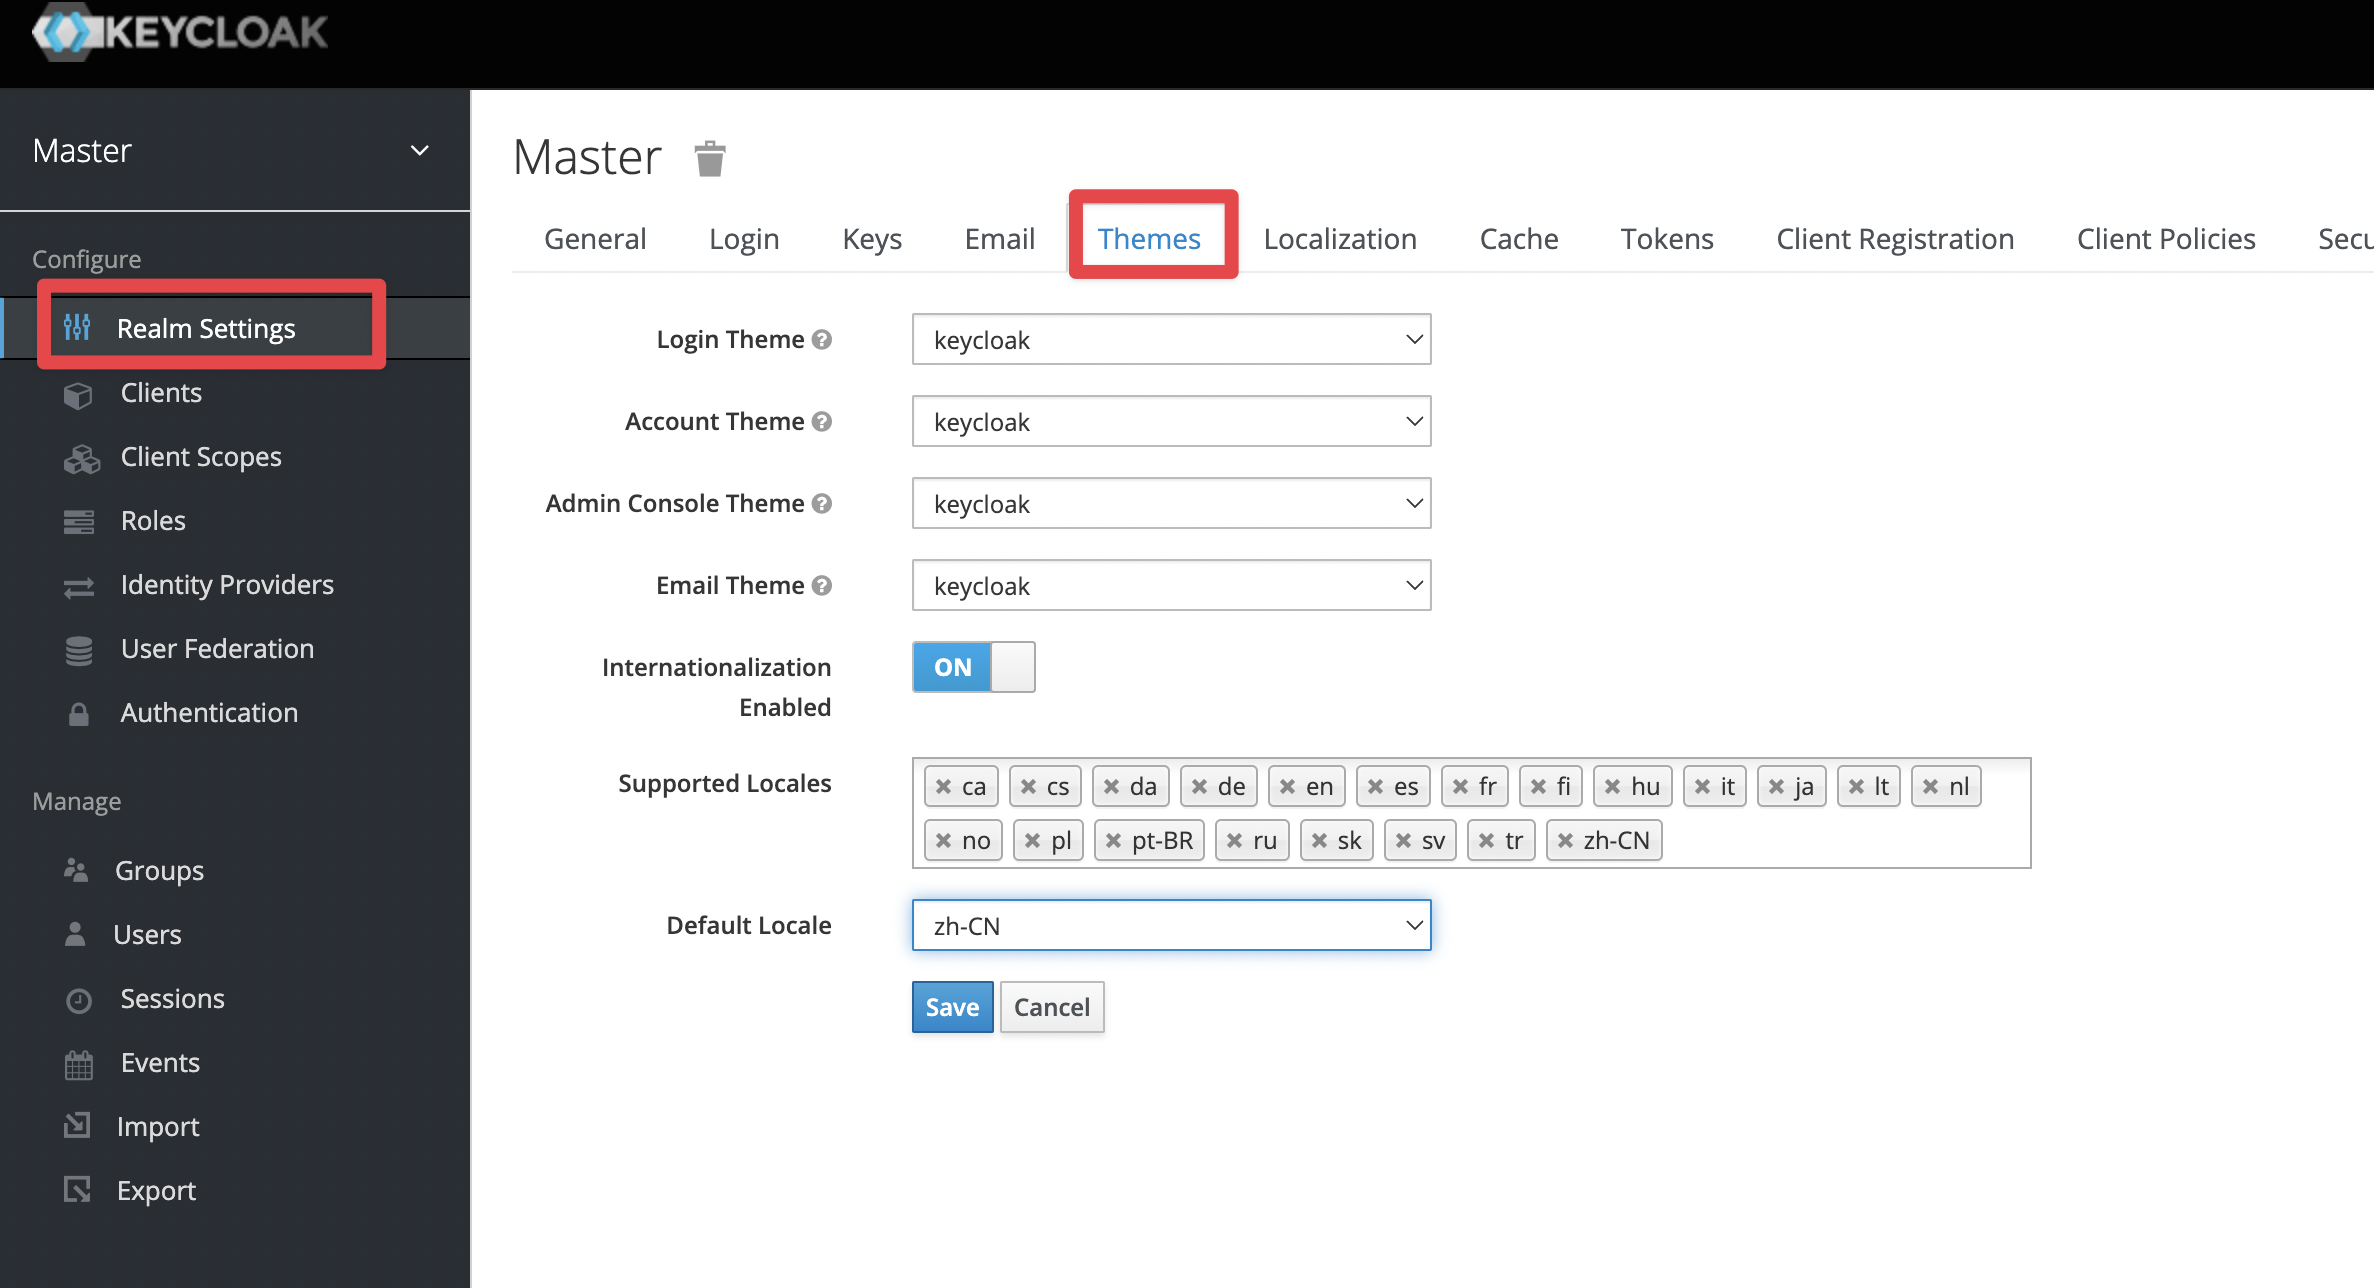
设置中文
如图进行设置
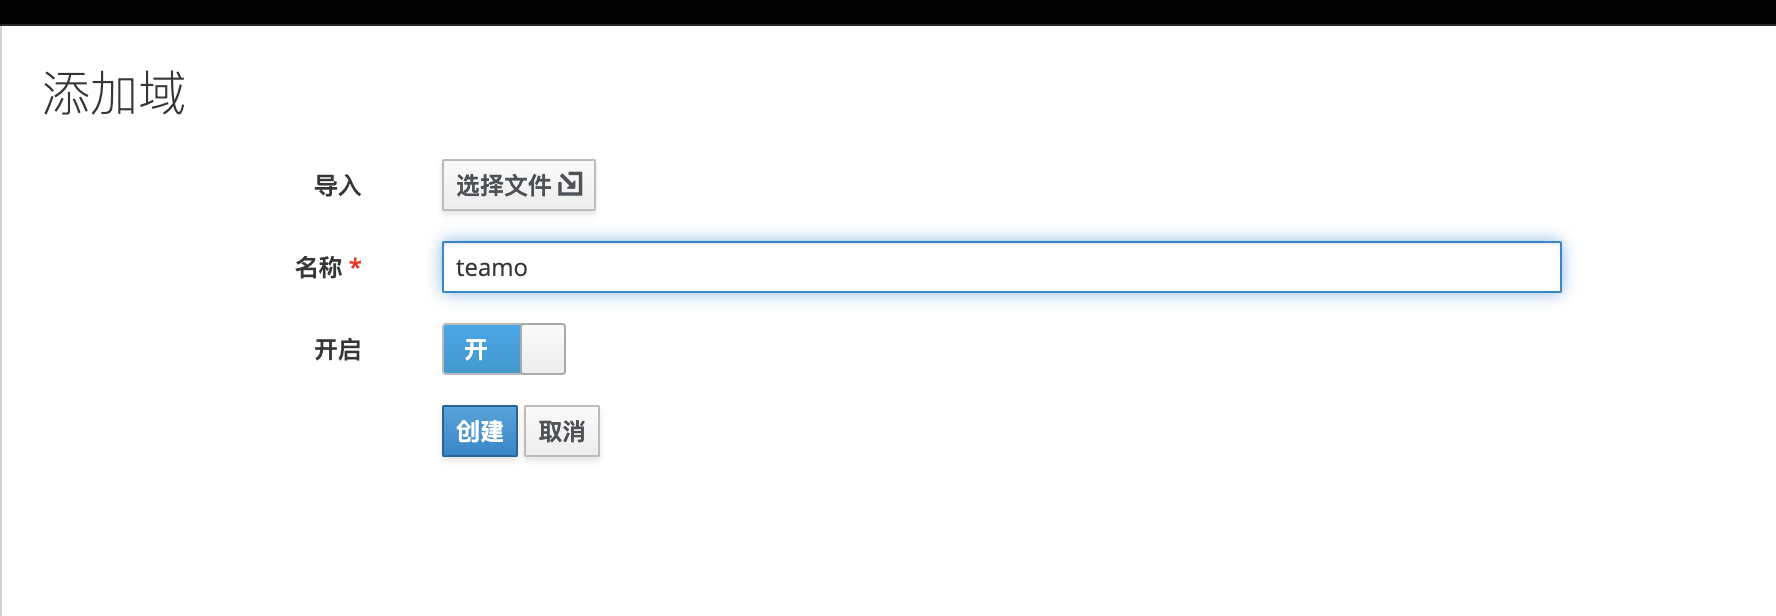
创建域
鼠标移动到左上角即可以创建域(realm),域是一个隔离的空间,在realm中我们可以创建users和applications。
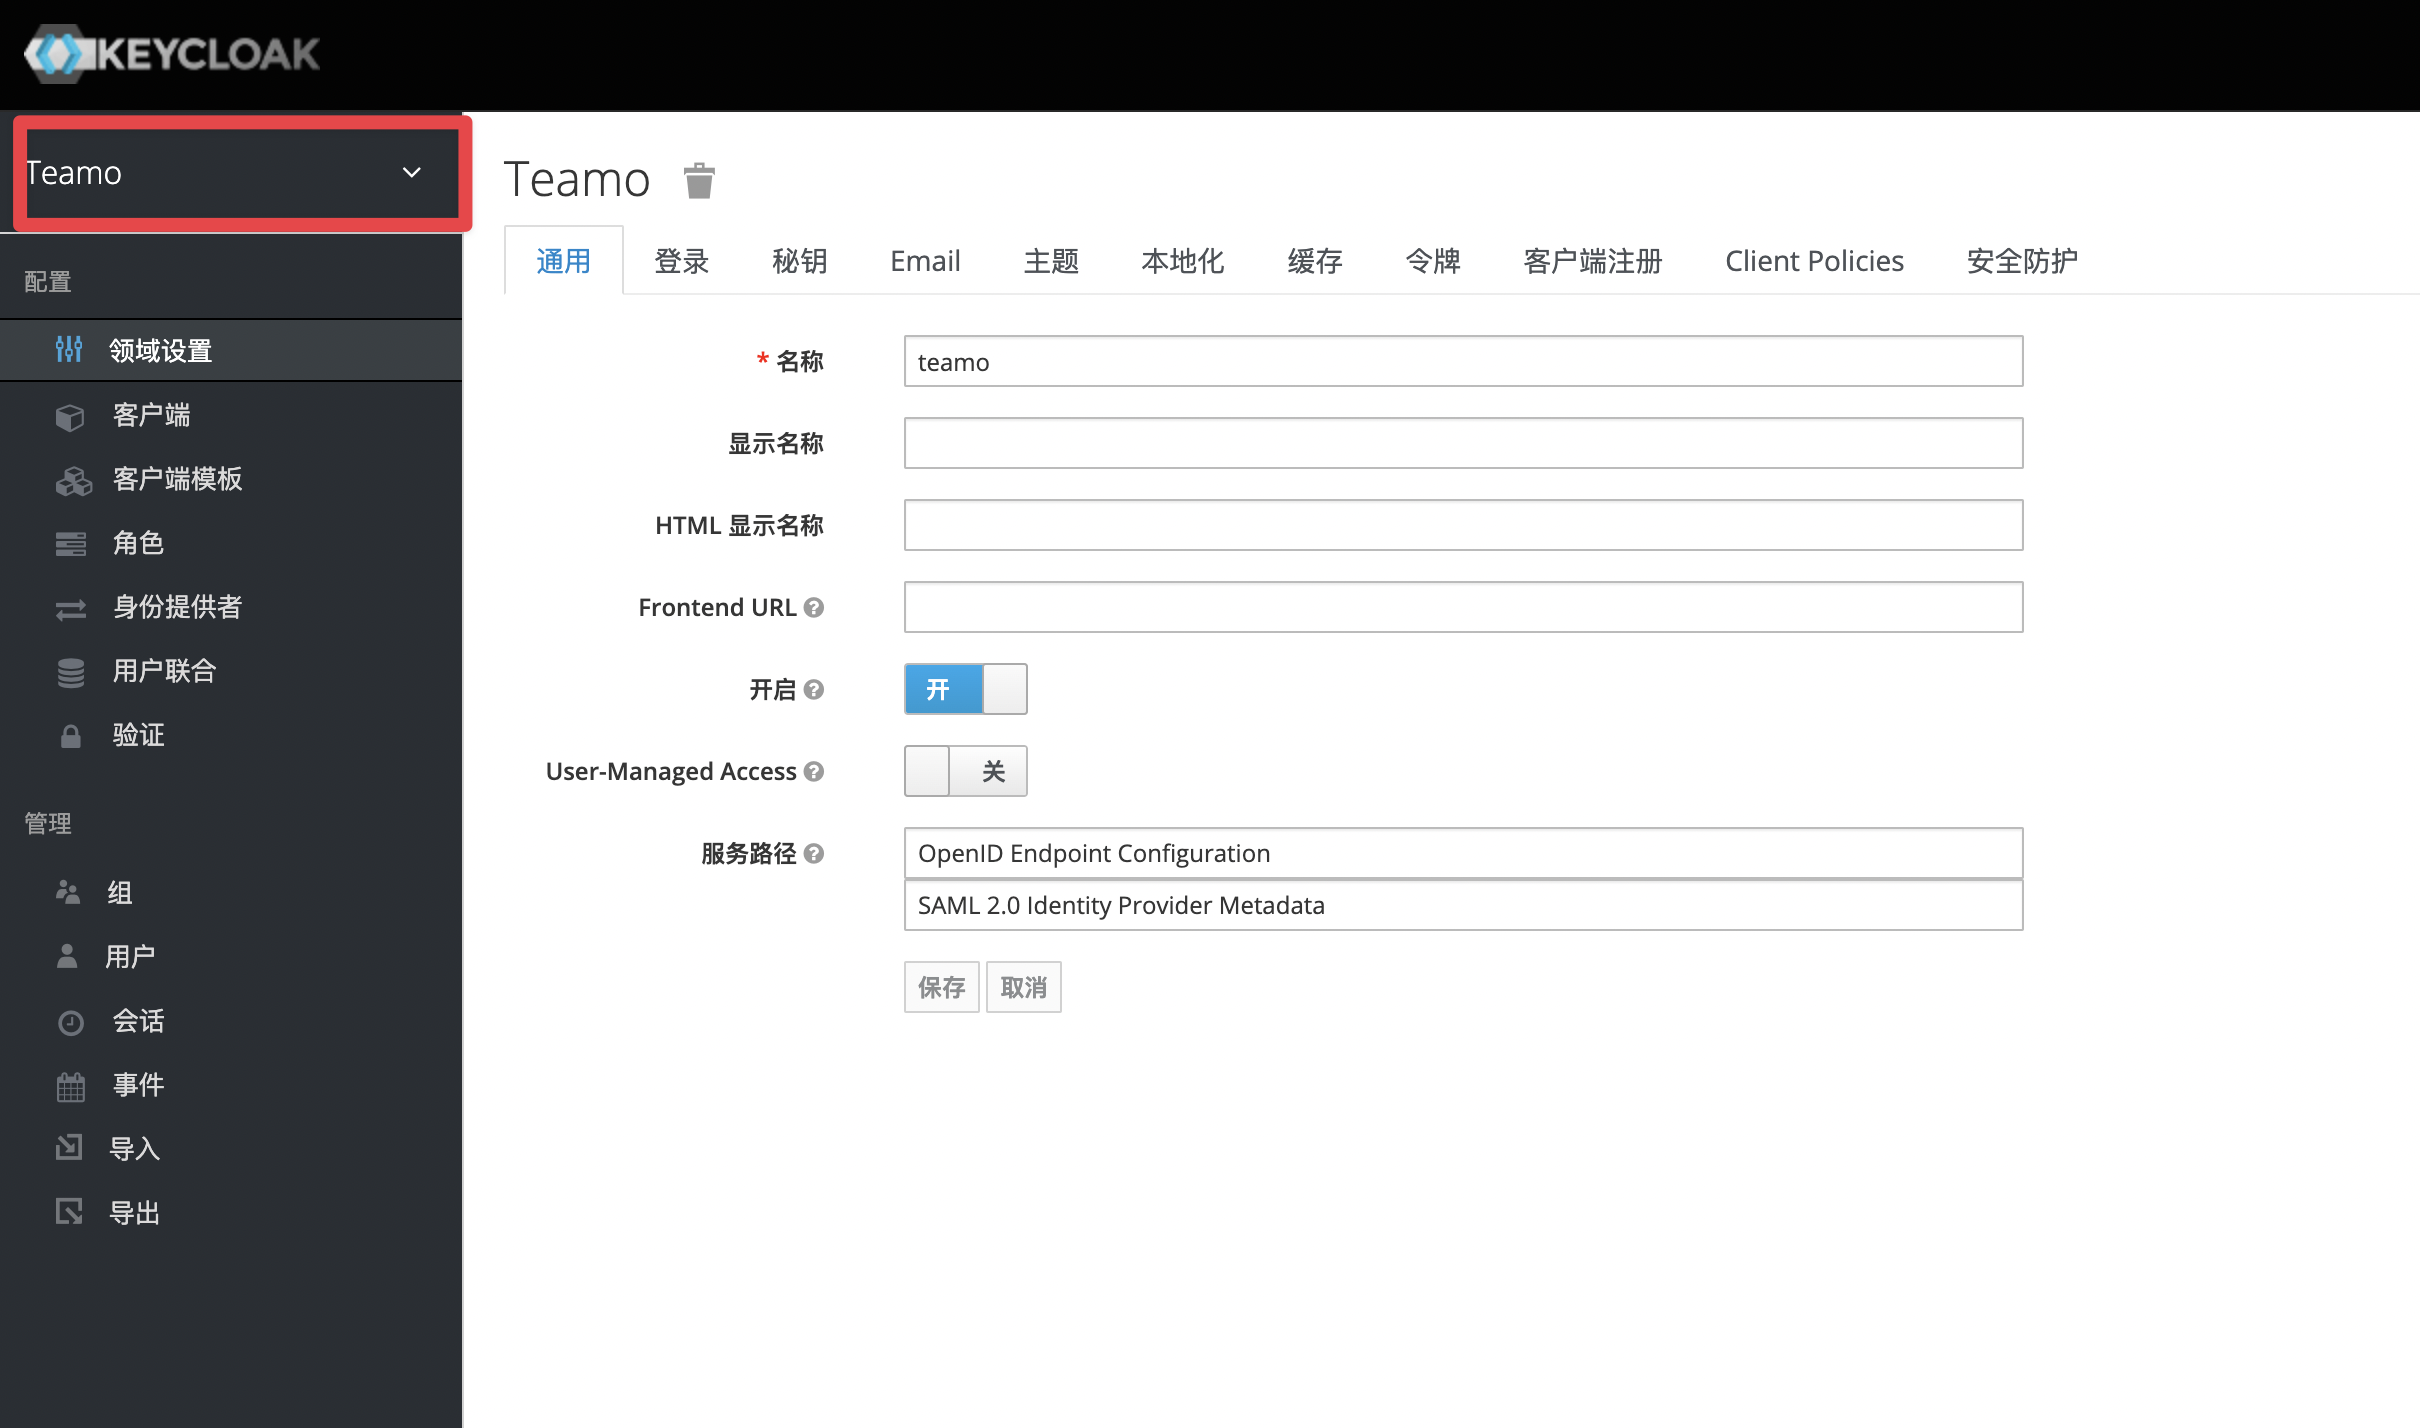
创建完成后可以看到我们已经切换到了刚刚创建的域
创建用户
接下来我们创建一个用户
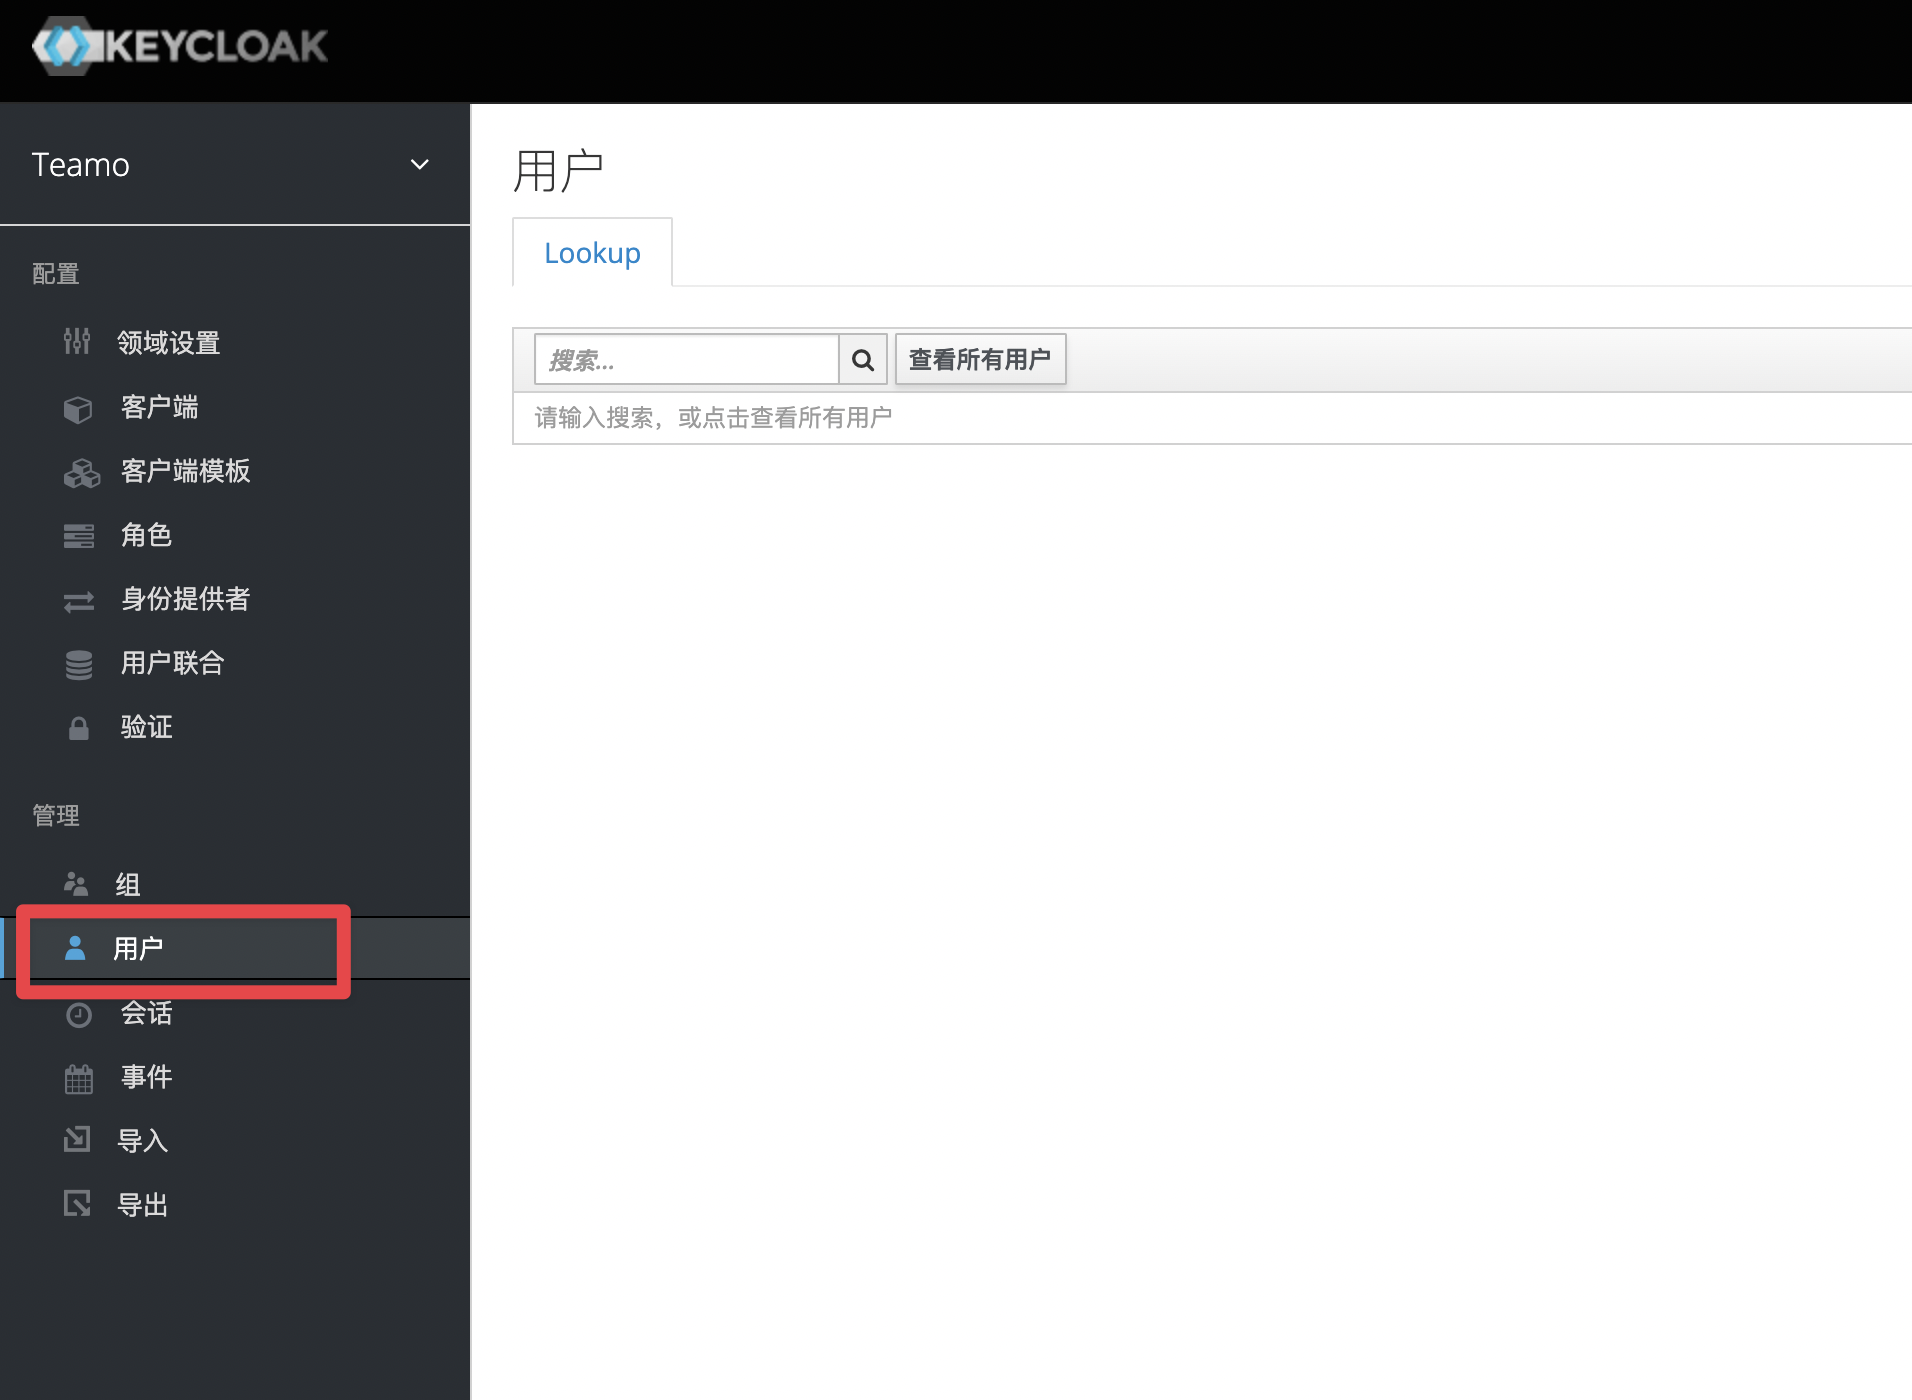
输入用户名确定即可
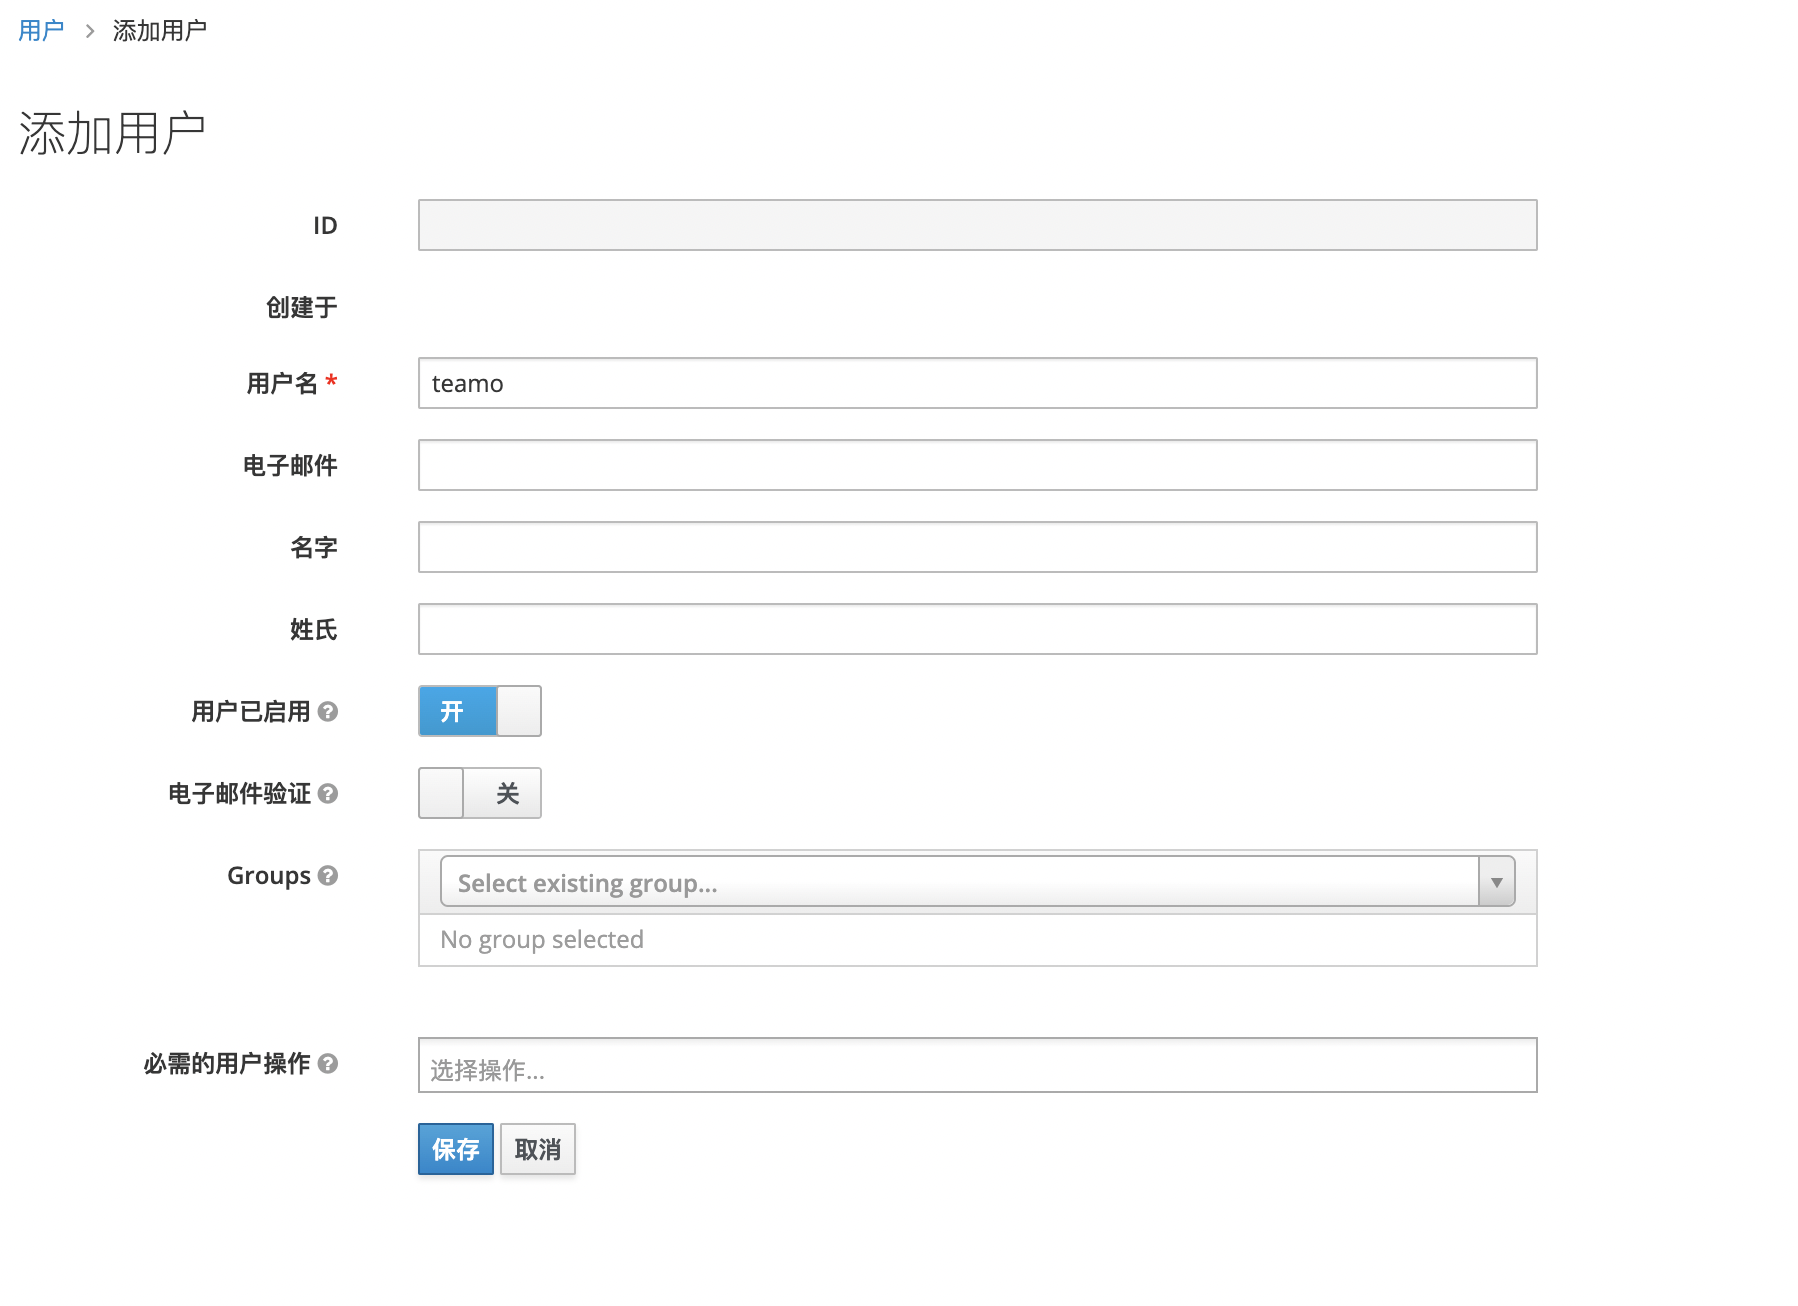
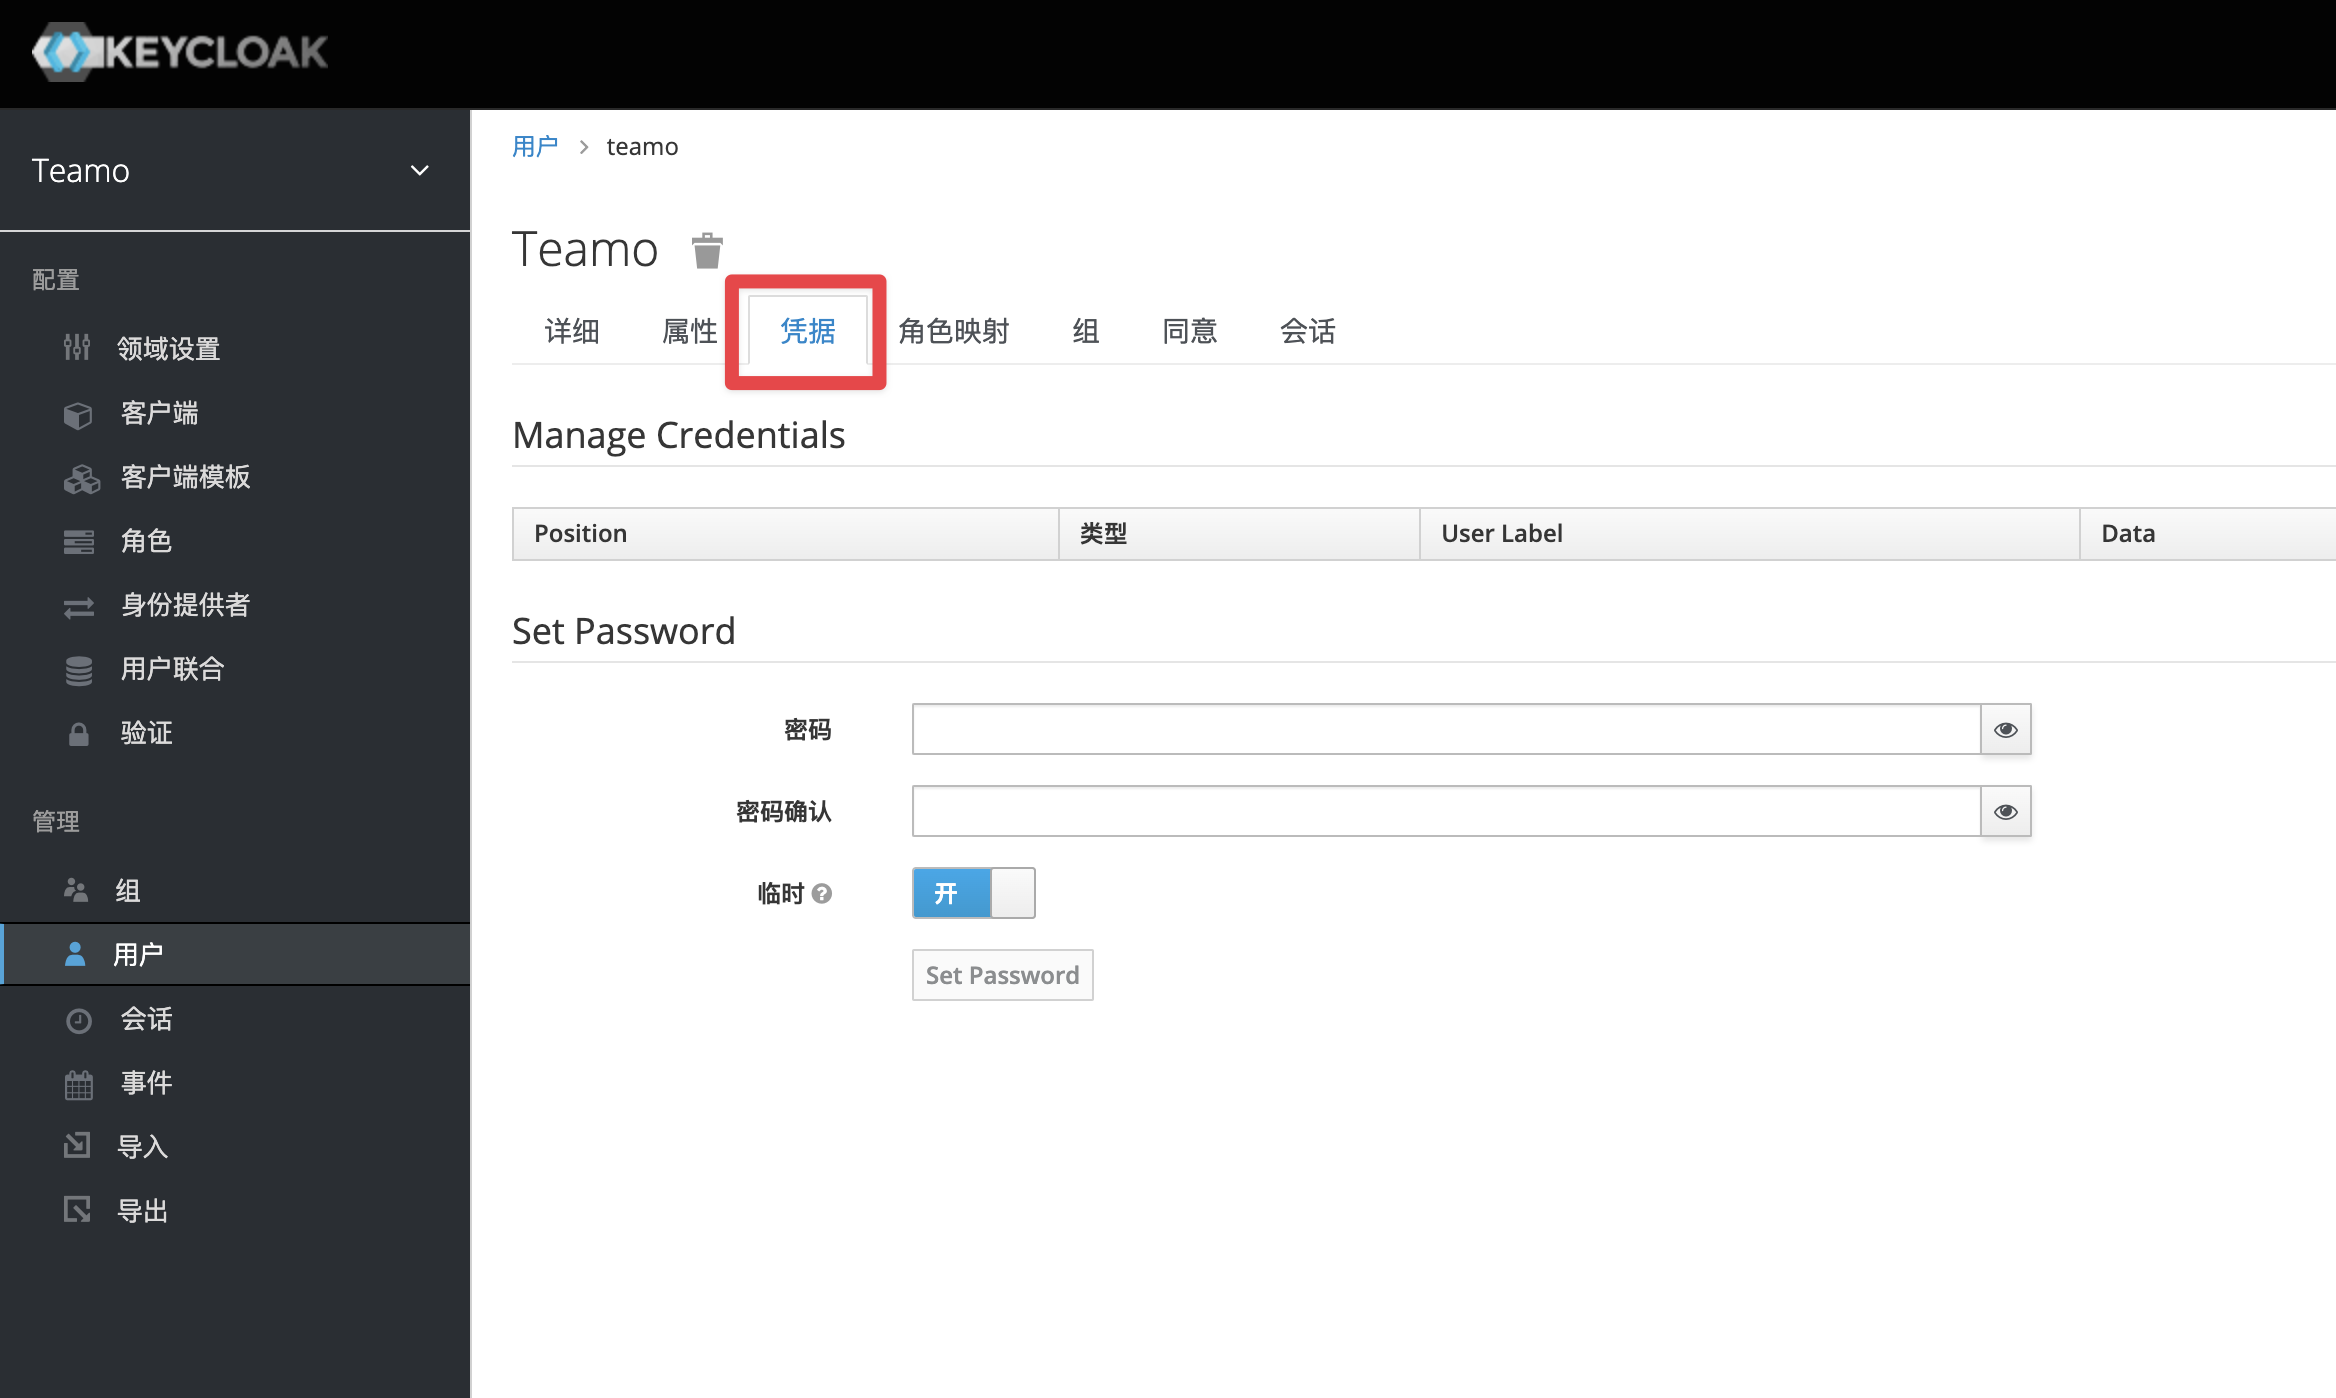
创建完成后选择到凭据页面为用户添加密码
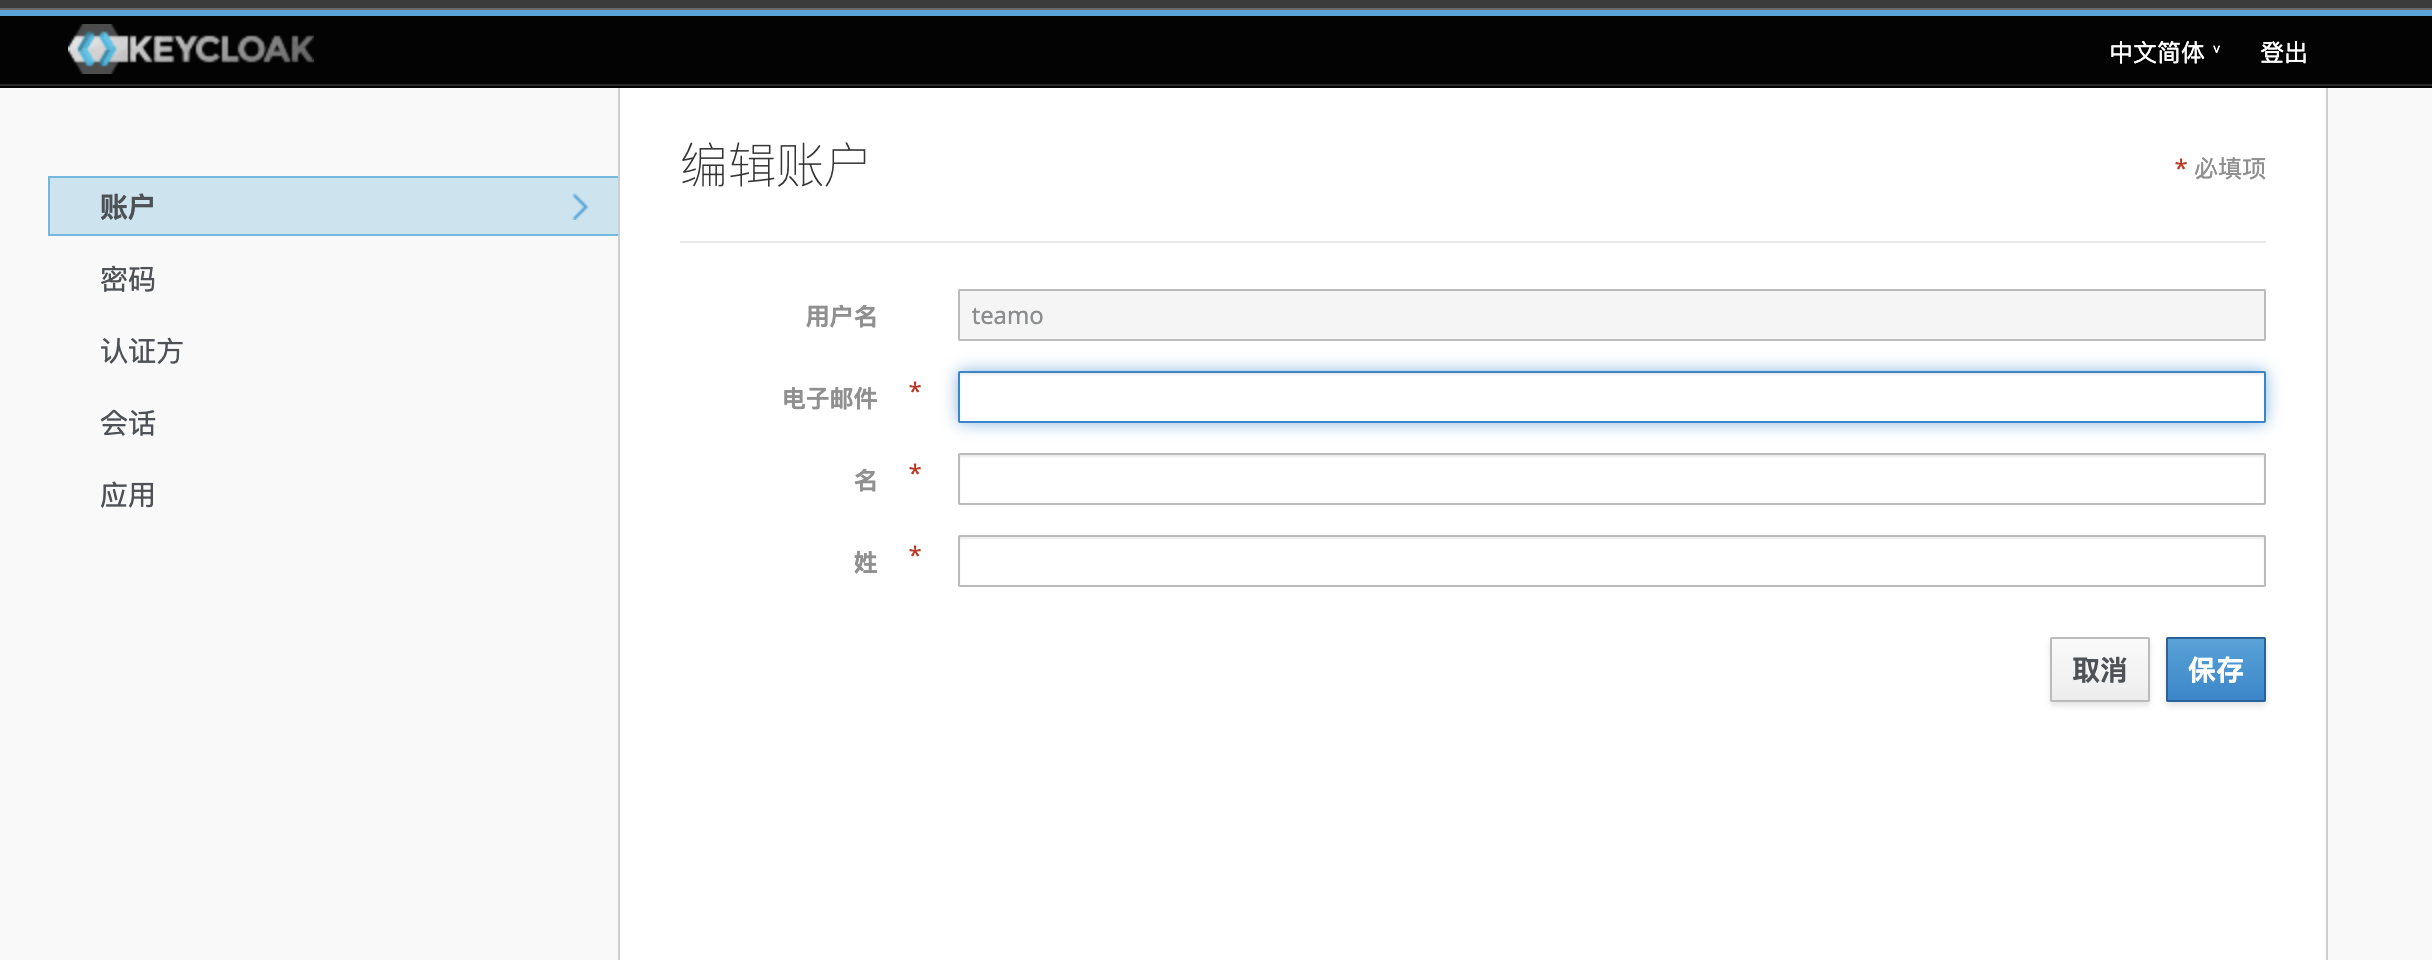
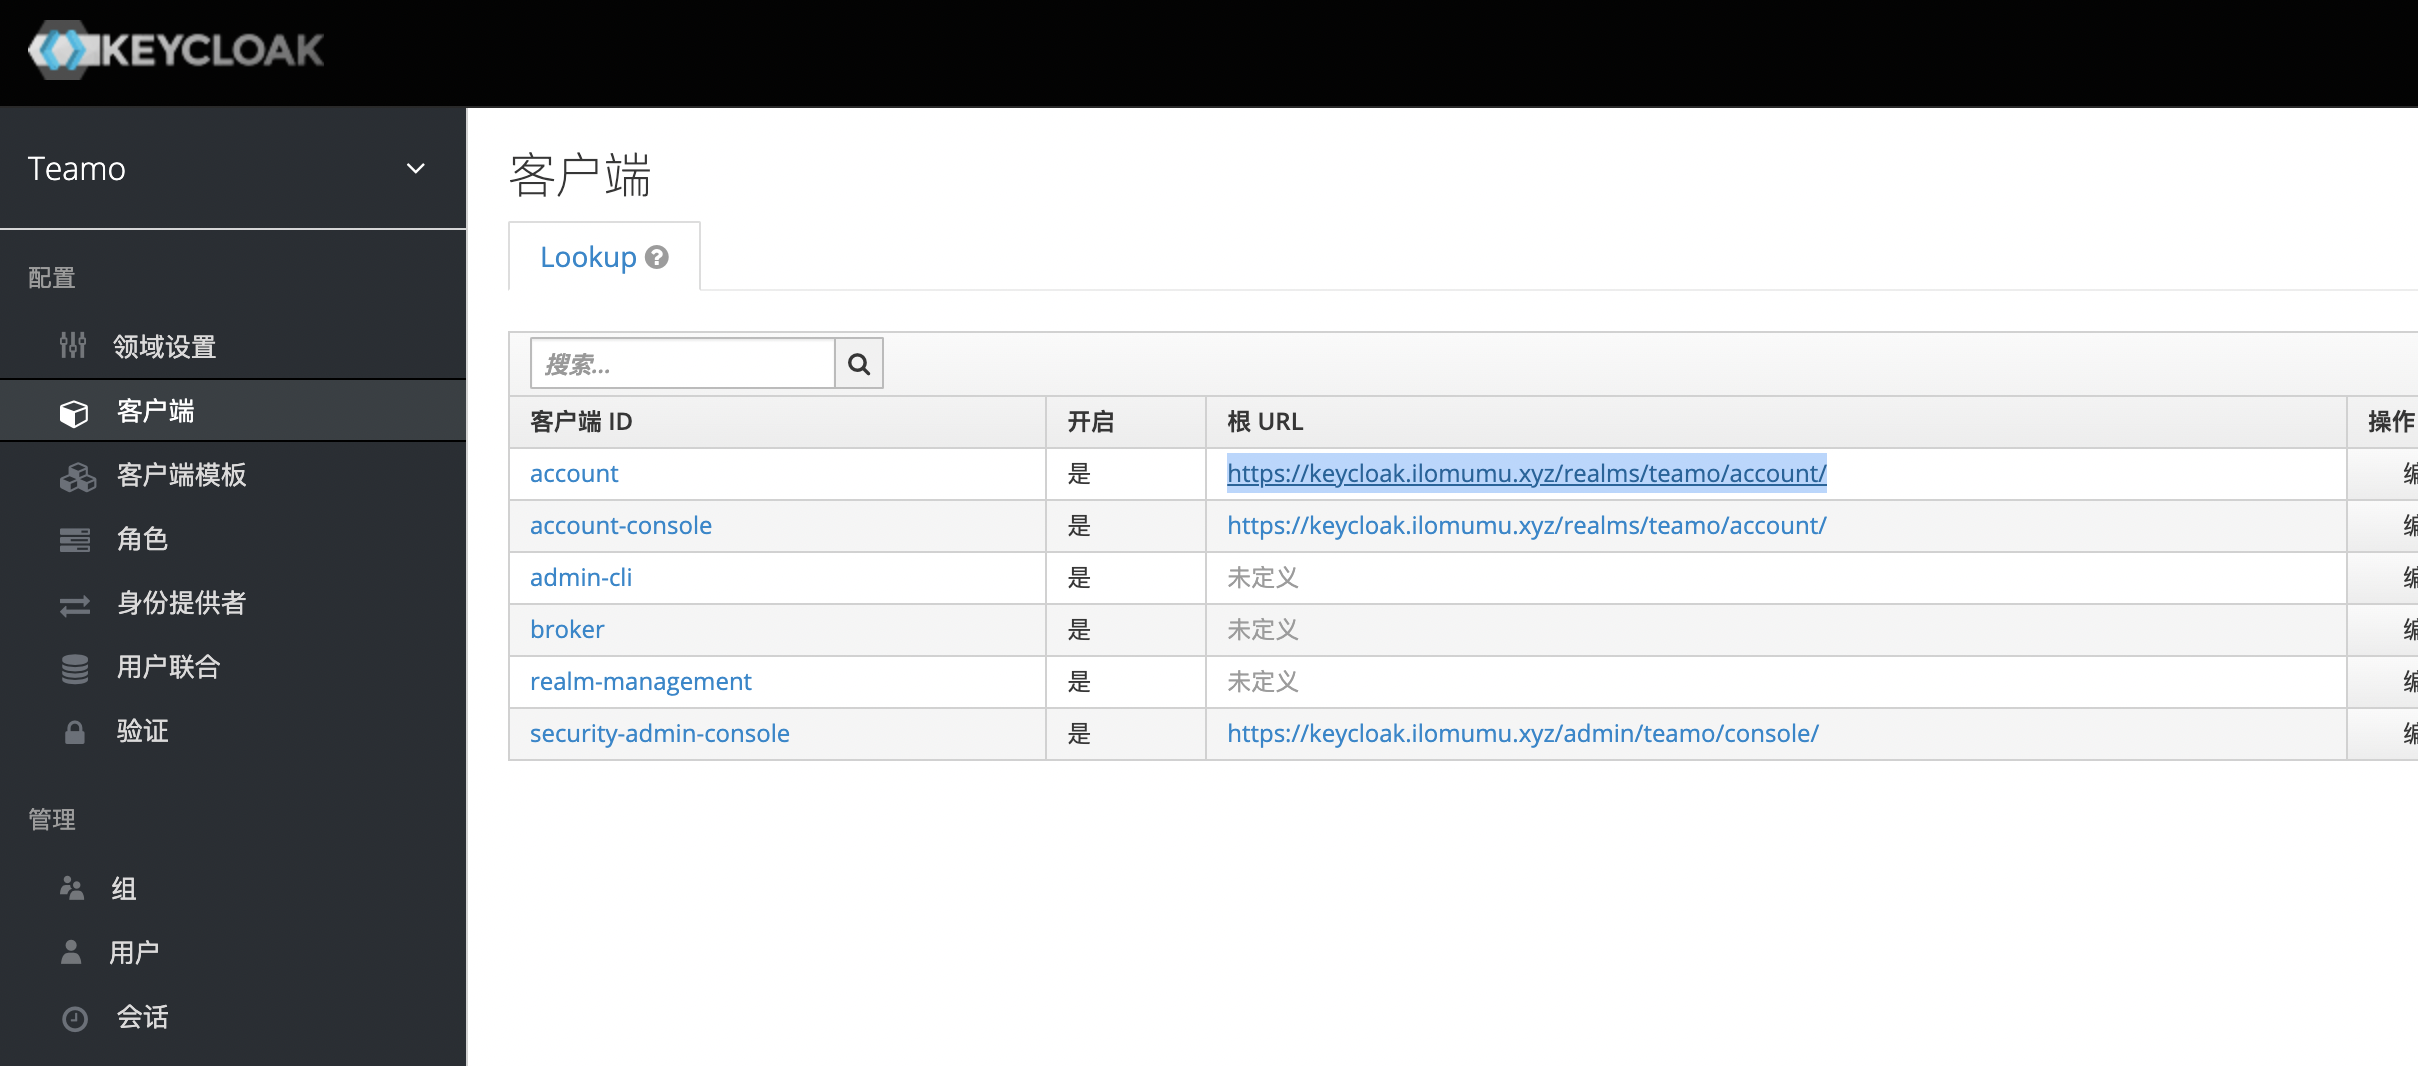
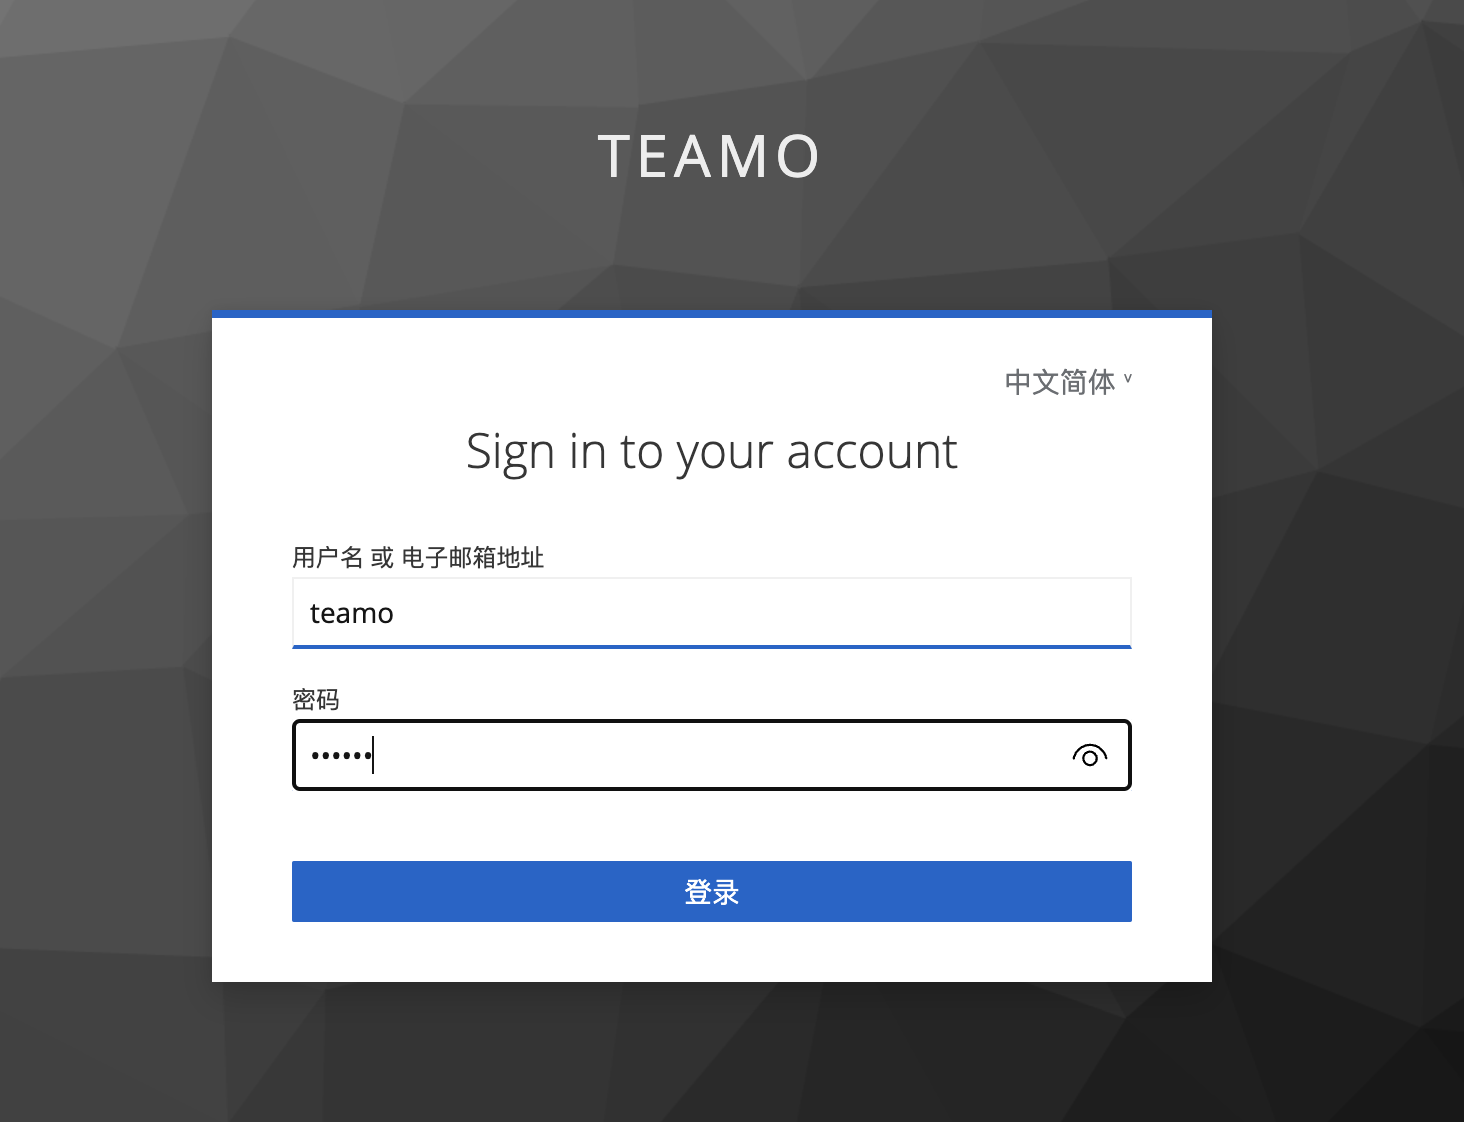
用户登录
在客户端页面我们可以看到我们这个域的登录链接
尝试进行登录
修改密码
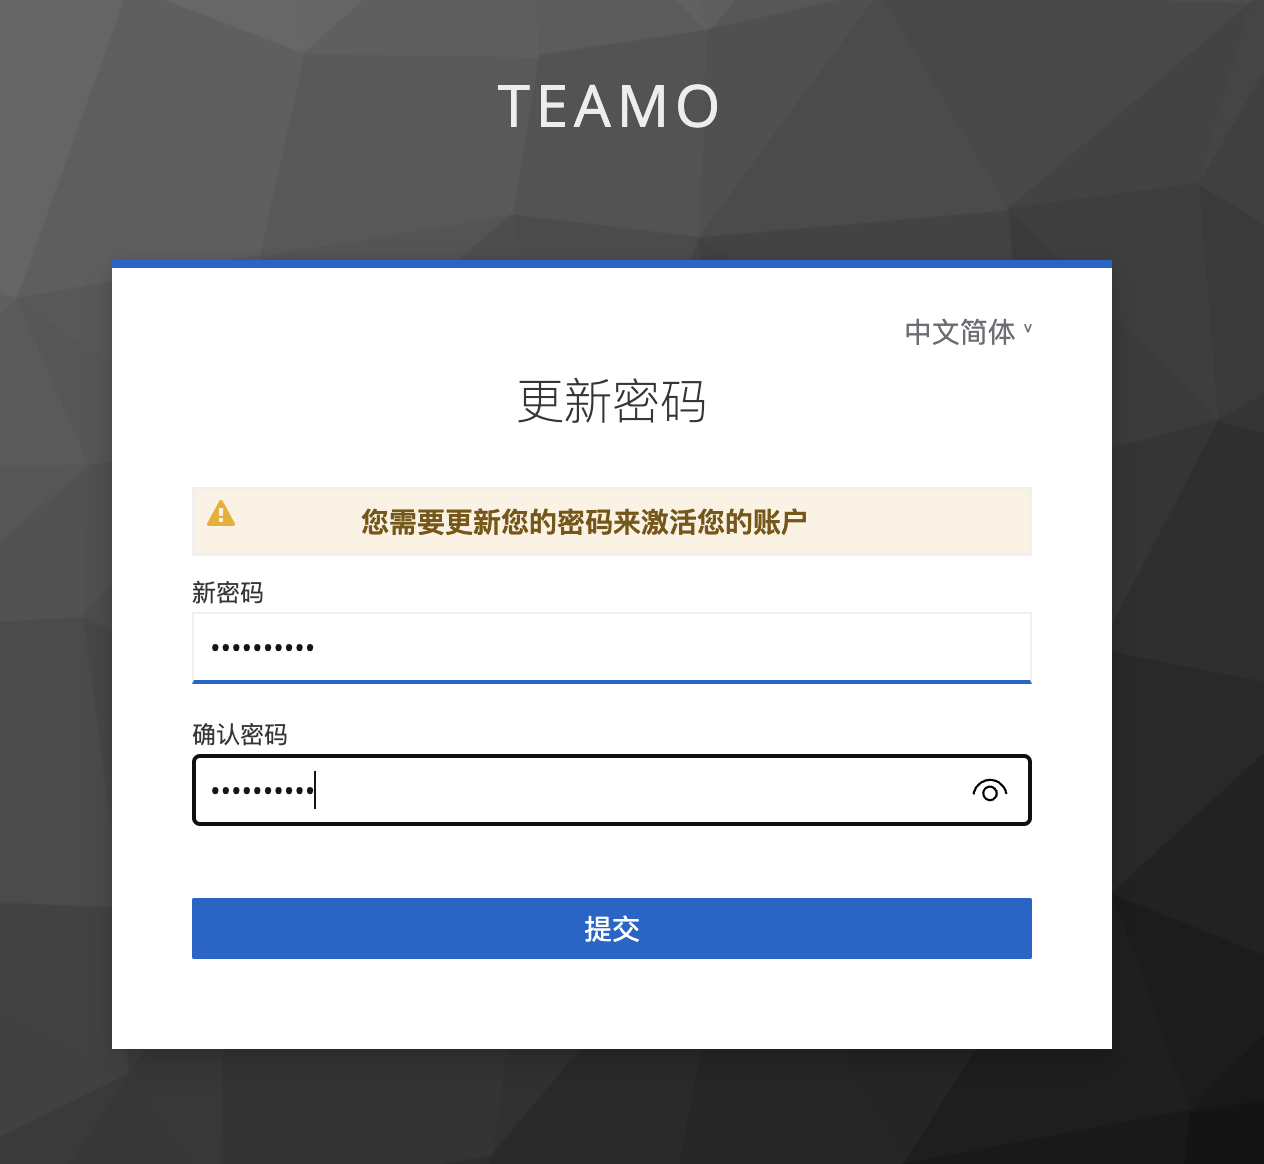
进行配置