CDP实操--集群扩容
一、前提准备工作
1.确保OS的yum源可以正常使用,通过yum repolist命令可以查看到匹配的OS的所有包
2.确保Cloudera Manager的yum源运行正常
3.hosts文件配置,需要将Gateway节点的IP和hostname加入到CDH集群节点的hosts文件中,并同步到所有机器包括Gateway节点
机房a节点host配置
127.0.0.1   localhost localhost.localdomain localhost4 localhost4.localdomain4
::1         localhost localhost.localdomain localhost6 localhost6.localdomain6
10.60.1.1 cdp01
10.60.1.2 cdp02
10.60.1.3 cdp03

#10.60.1.1 cdp01
#10.188.0.2 cdp02
#10.188.0.3 cdp03
10.168.54.100 cdp04
10.168.54.101 cdp05

##
10.168.52.121 kafka1
10.168.52.122 kafka2
10.168.52.123 kafka3
机房b节点host配置
127.0.0.1   localhost localhost.localdomain localhost4 localhost4.localdomain4
::1         localhost localhost.localdomain localhost6 localhost6.localdomain6
#10.60.1.1 cdp01
#10.60.1.2 cdp02
#10.60.1.3 cdp03

10.188.0.1 cdp01
10.188.0.2 cdp02
10.188.0.3 cdp03
10.168.54.100 cdp04
10.168.54.101 cdp05

##
10.168.52.121 kafka1
10.168.52.122 kafka2
10.168.52.123 kafka3
4.禁用SELinux
sed -i 's#SELINUX=enforcing#SELINUX=disabled#g' /etc/selinux/config
setenforce 0
5.关闭防火墙
systemctl stop firewalld
systemctl status firewalld
6、设置swap内存配置
echo "vm.swappiness = 1" >> /etc/sysctl.conf
sysctl -p
7、关闭透明大页面
echo never > /sys/kernel/mm/transparent_hugepage/defrag
echo never > /sys/kernel/mm/transparent_hugepage/enabled
echo 'echo never > /sys/kernel/mm/transparent_hugepage/defrag' >> /etc/rc.local
echo 'echo never > /sys/kernel/mm/transparent_hugepage/enabled' >> /etc/rc.local
8、配置时钟同步
yum -y install chrony
调整配置文件/etc/chrony.conf
# Use public servers from the pool.ntp.org project.
# Please consider joining the pool (http://www.pool.ntp.org/join.html).
#server 0.centos.pool.ntp.org iburst
#server 1.centos.pool.ntp.org iburst
#server 2.centos.pool.ntp.org iburst
#server 3.centos.pool.ntp.org iburst
server ntp1.aliyun.com iburst

# Record the rate at which the system clock gains/losses time.
driftfile /var/lib/chrony/drift

# Allow the system clock to be stepped in the first three updates
# if its offset is larger than 1 second.
makestep 1.0 3

# Enable kernel synchronization of the real-time clock (RTC).
rtcsync

# Enable hardware timestamping on all interfaces that support it.
#hwtimestamp *

# Increase the minimum number of selectable sources required to adjust
# the system clock.
#minsources 2

# Allow NTP client access from local network.
#allow 192.168.0.0/16

# Serve time even if not synchronized to a time source.
#local stratum 10

# Specify file containing keys for NTP authentication.
#keyfile /etc/chrony.keys

# Specify directory for log files.
logdir /var/log/chrony

# Select which information is logged.
#log measurements statistics tracking
重启服务
systemctl restart chronyd
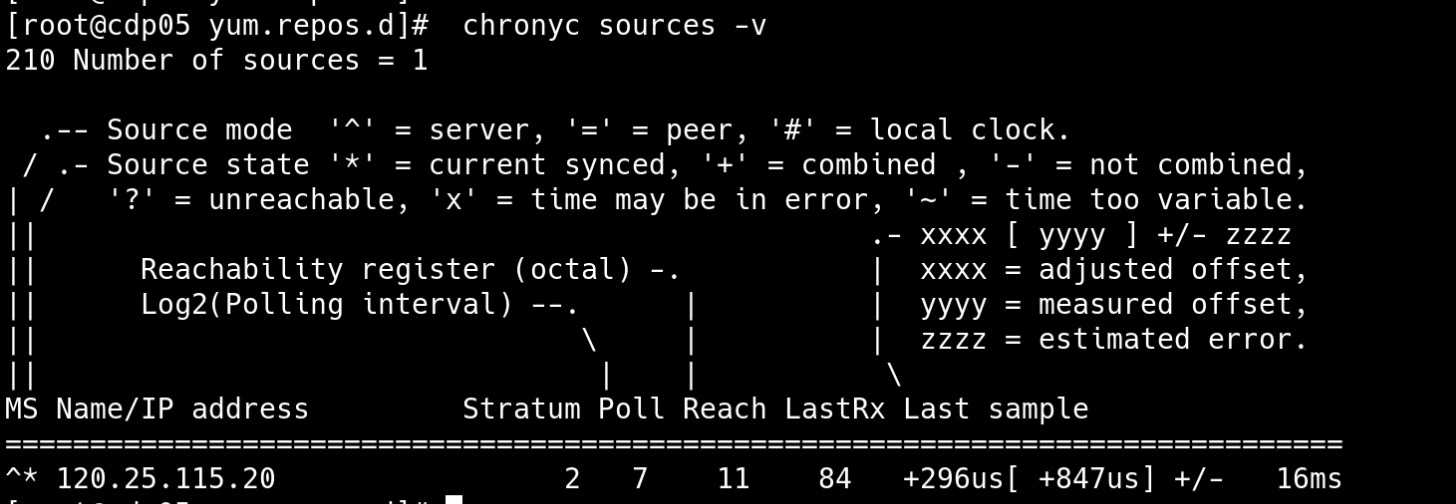
验证时钟是否同步
chronyc sources -v
9、为待上线节点安装Kerberos客户端并配置krb5.conf文件
yum -y install krb5-libs krb5-workstation openldap-client
调整配置文件/etc/krb5.conf为
[libdefaults]
default_realm = HADOOP.NBGTEST.LOCAL
dns_lookup_kdc = false
dns_lookup_realm = false
ticket_lifetime = 86400
renew_lifetime = 604800
forwardable = true
default_tgs_enctypes = rc4-hmac aes256-cts
default_tkt_enctypes = rc4-hmac aes256-cts
permitted_enctypes = rc4-hmac aes256-cts
udp_preference_limit = 1
kdc_timeout = 3000
[realms]
HADOOP.NBGTEST.LOCAL = {
kdc = cdp02
admin_server = cdp02
}
[domain_realm]
10、安装jdk
二、页面增加节点
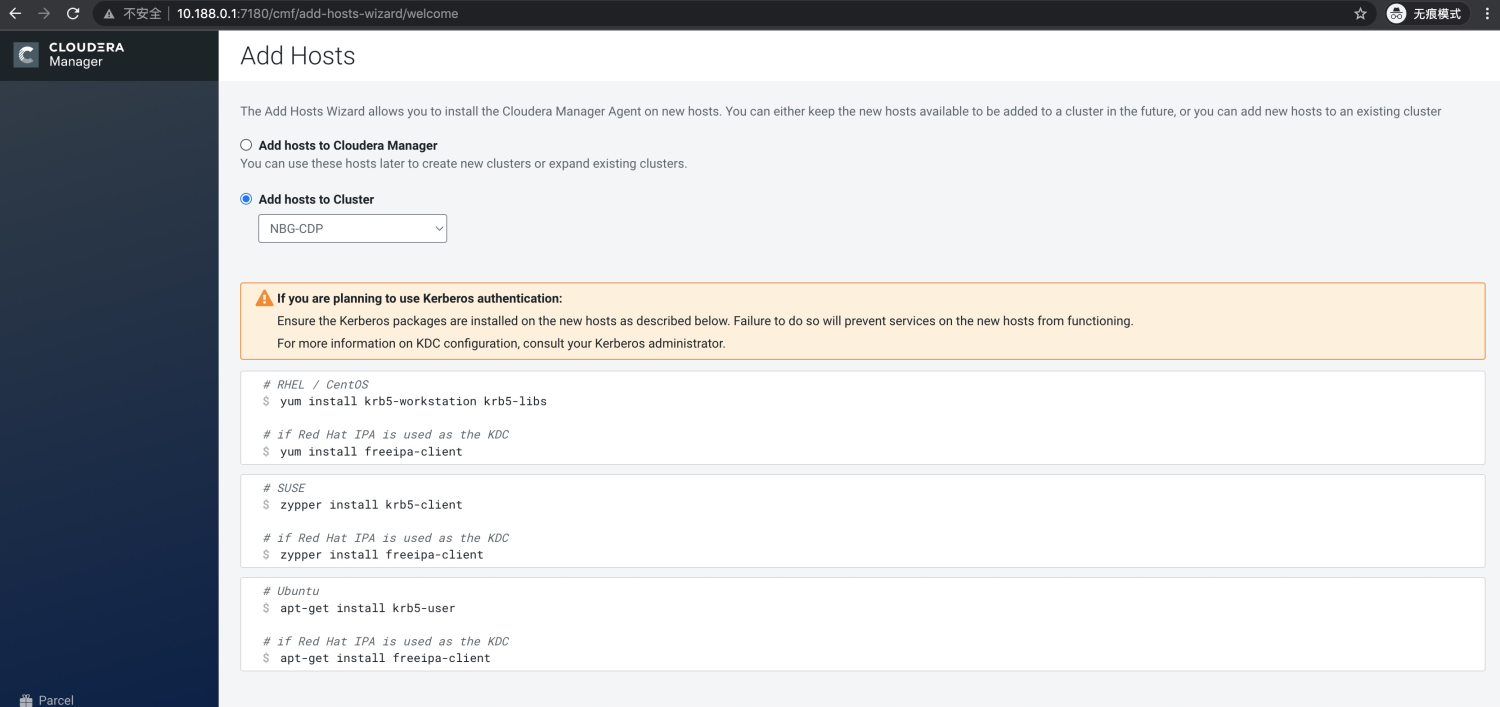
1、所有主机页面增加新节点

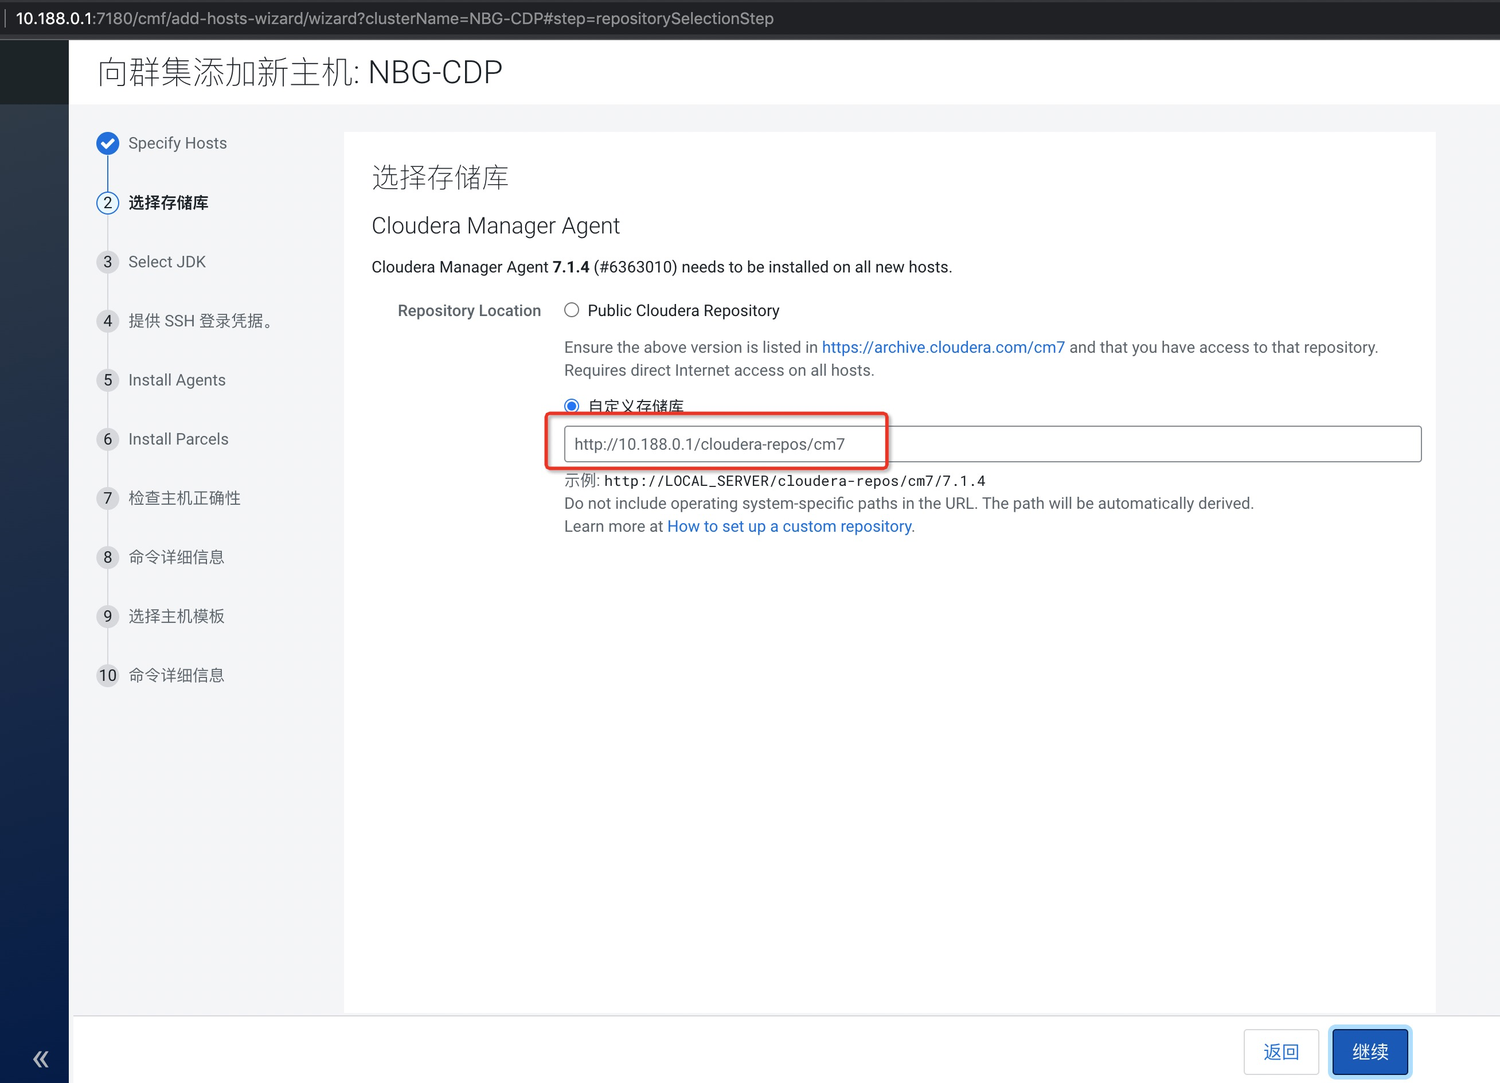
2、选择存储库
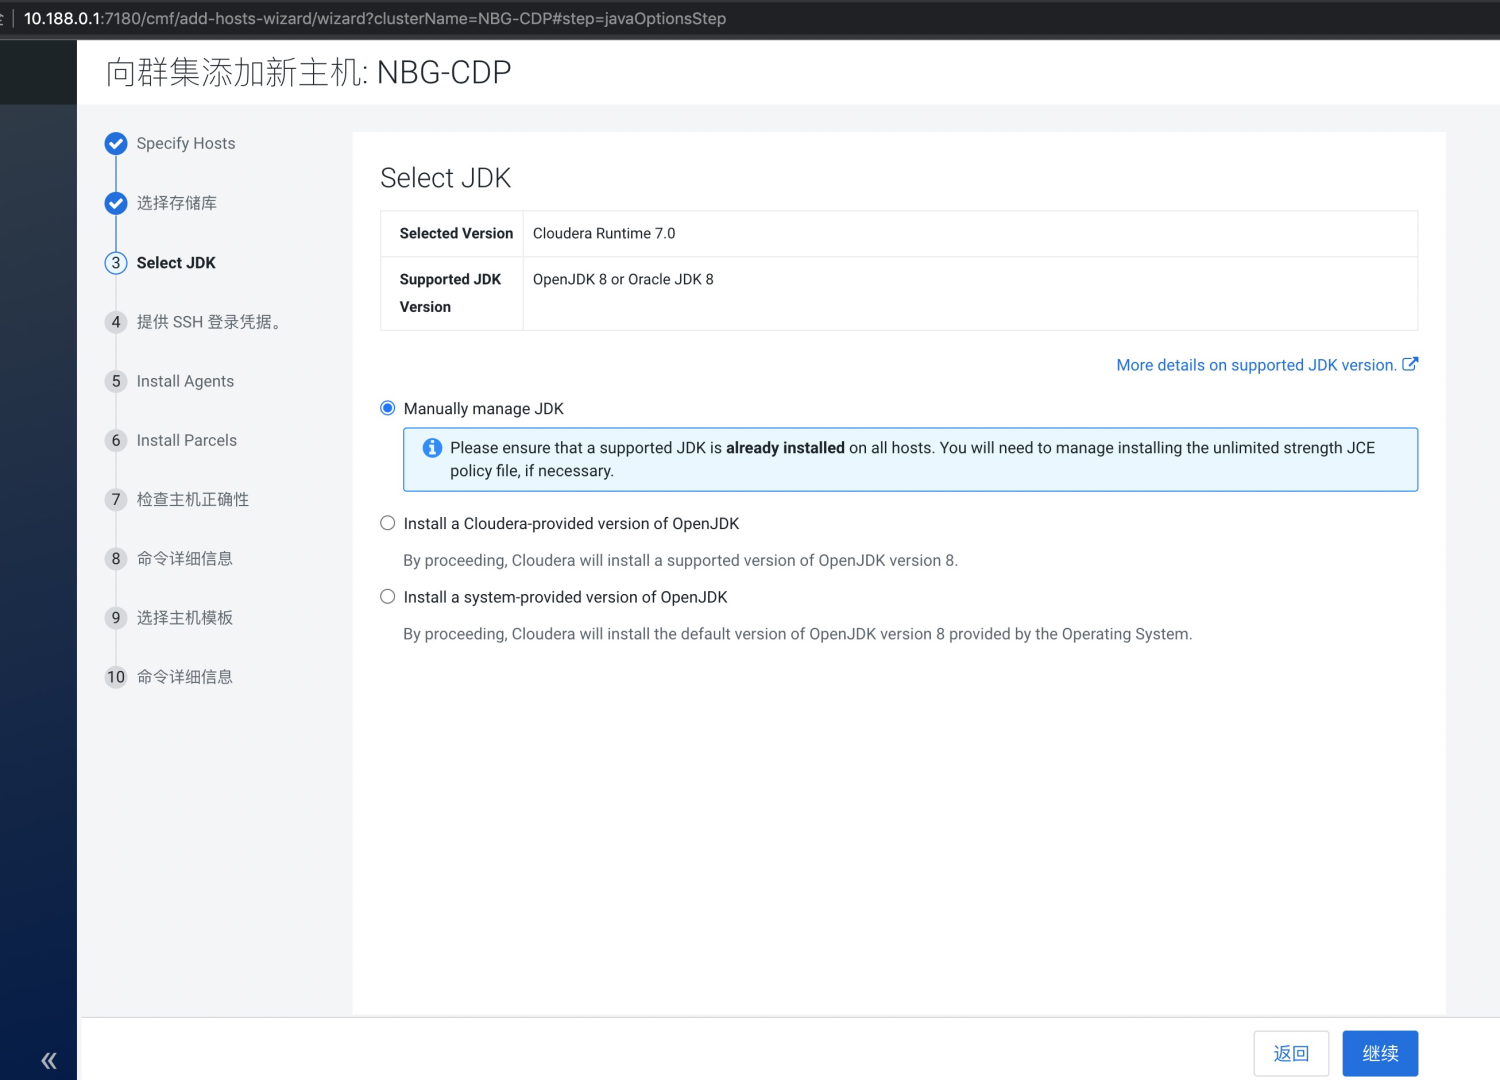
3、安装jdk
由于前置准备中已经安装,所以选Manually manage JDK,然后继续
4、提供ssh登录凭证
由于两个机房密码不一致,所以选私钥方式,将cdp01节点的私钥进行上传

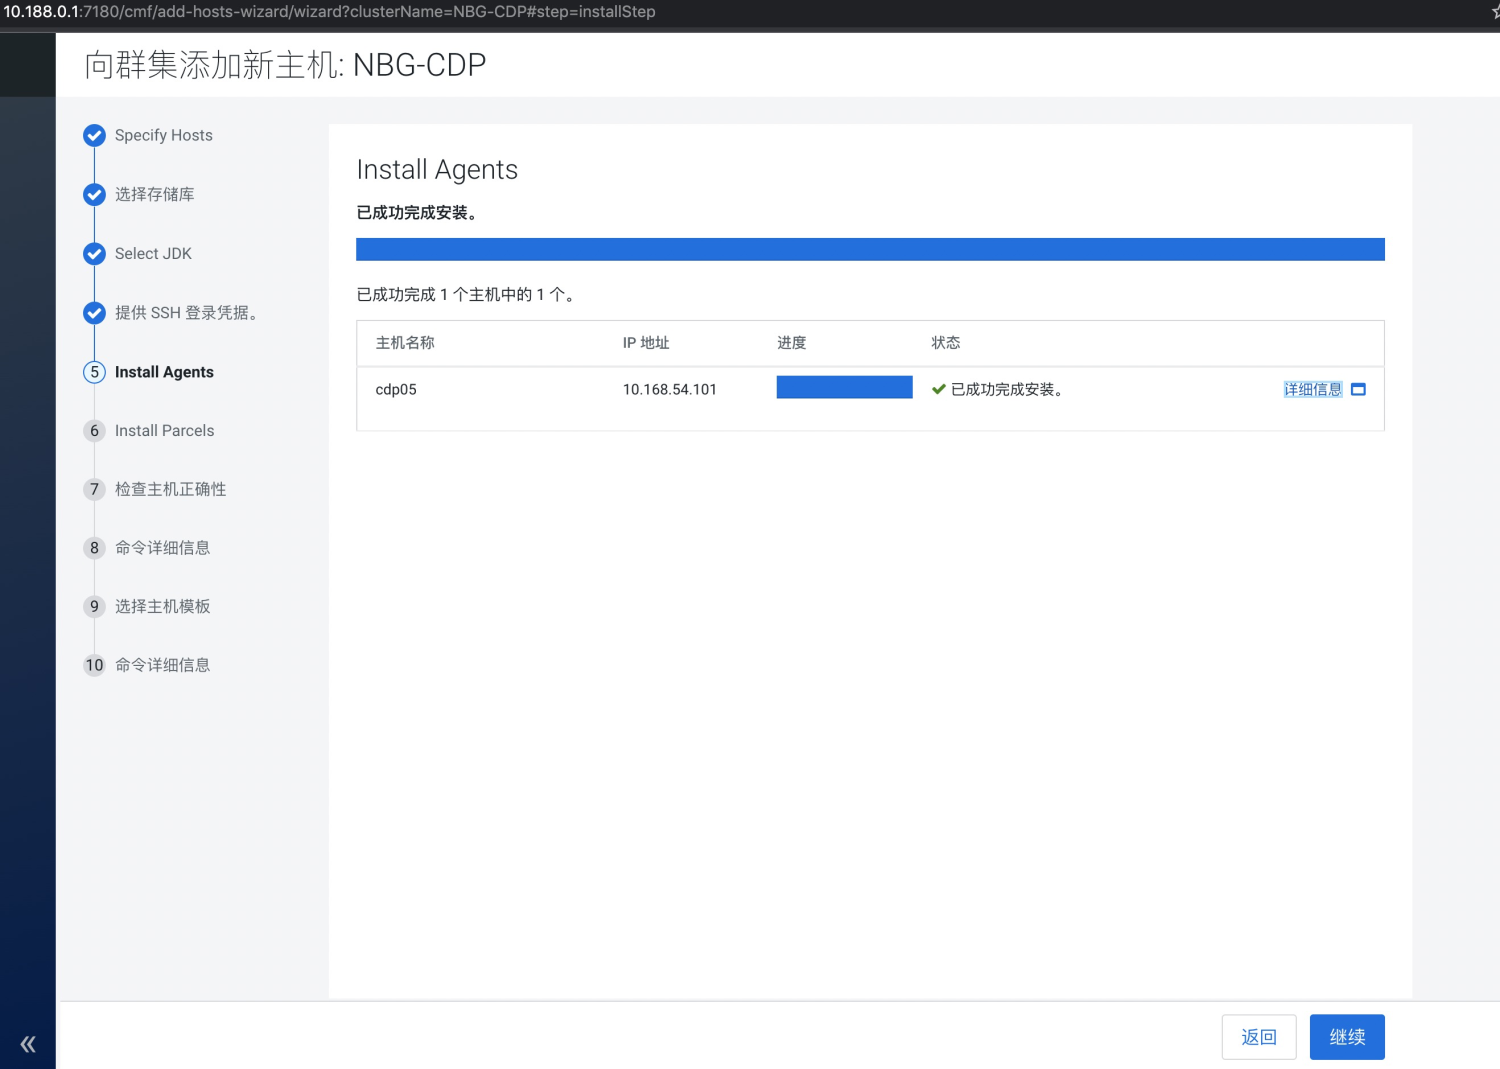
5、install agents
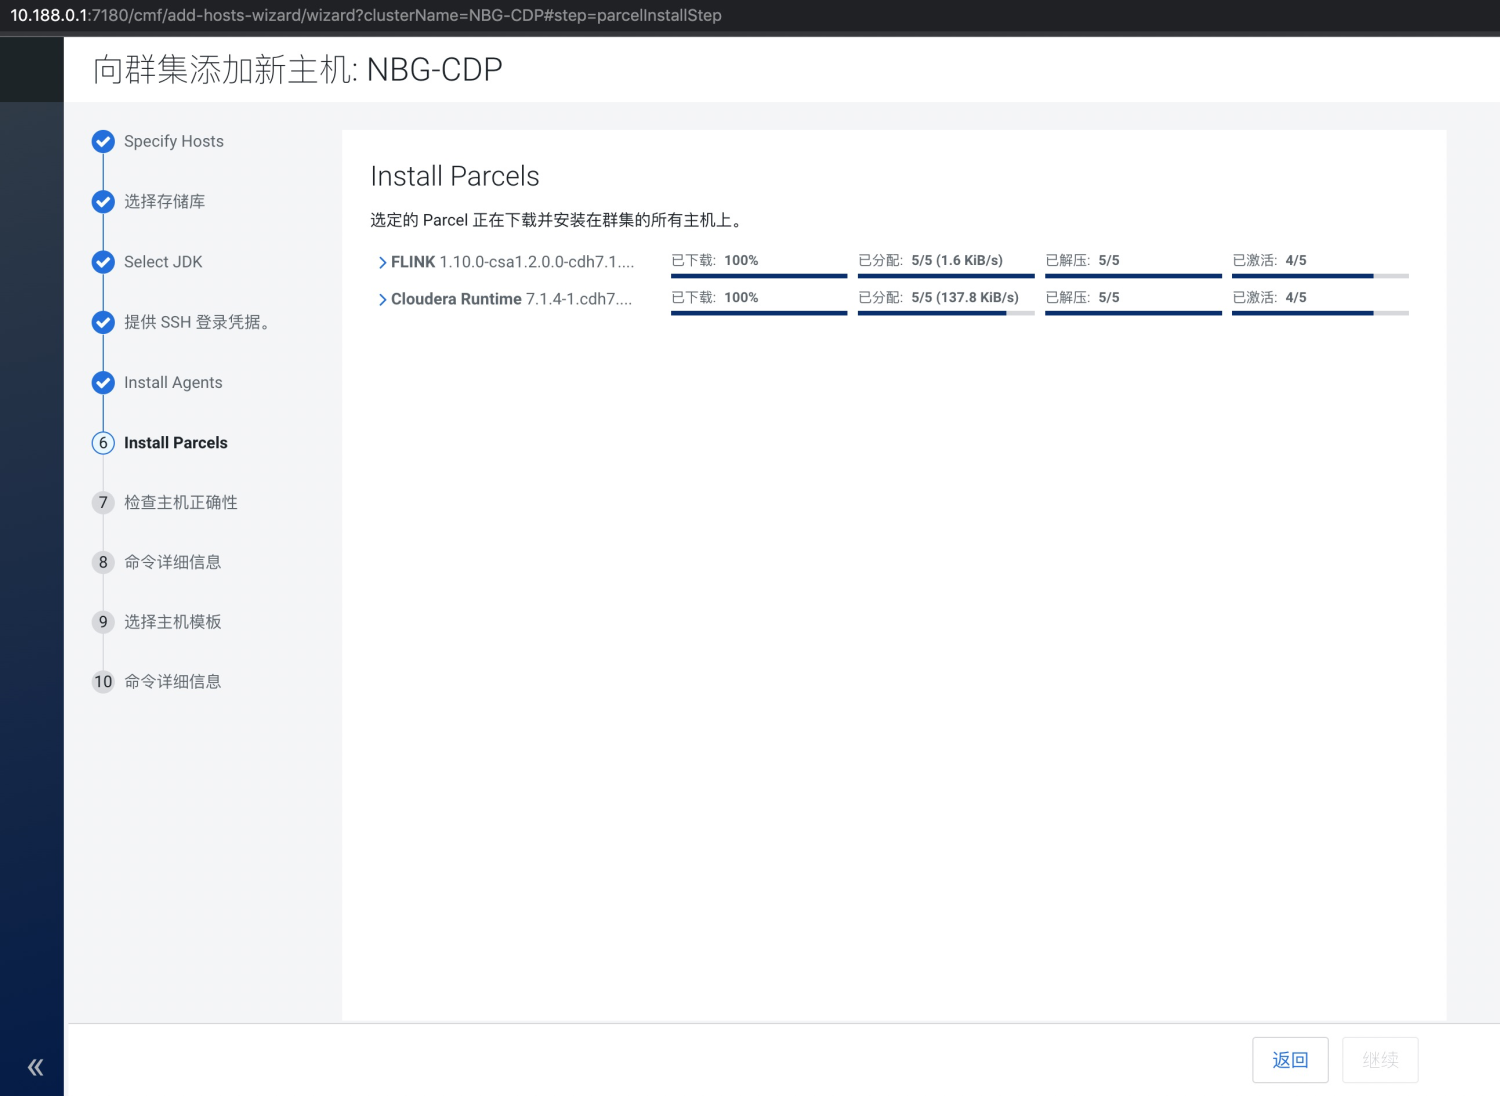
6、install parcels
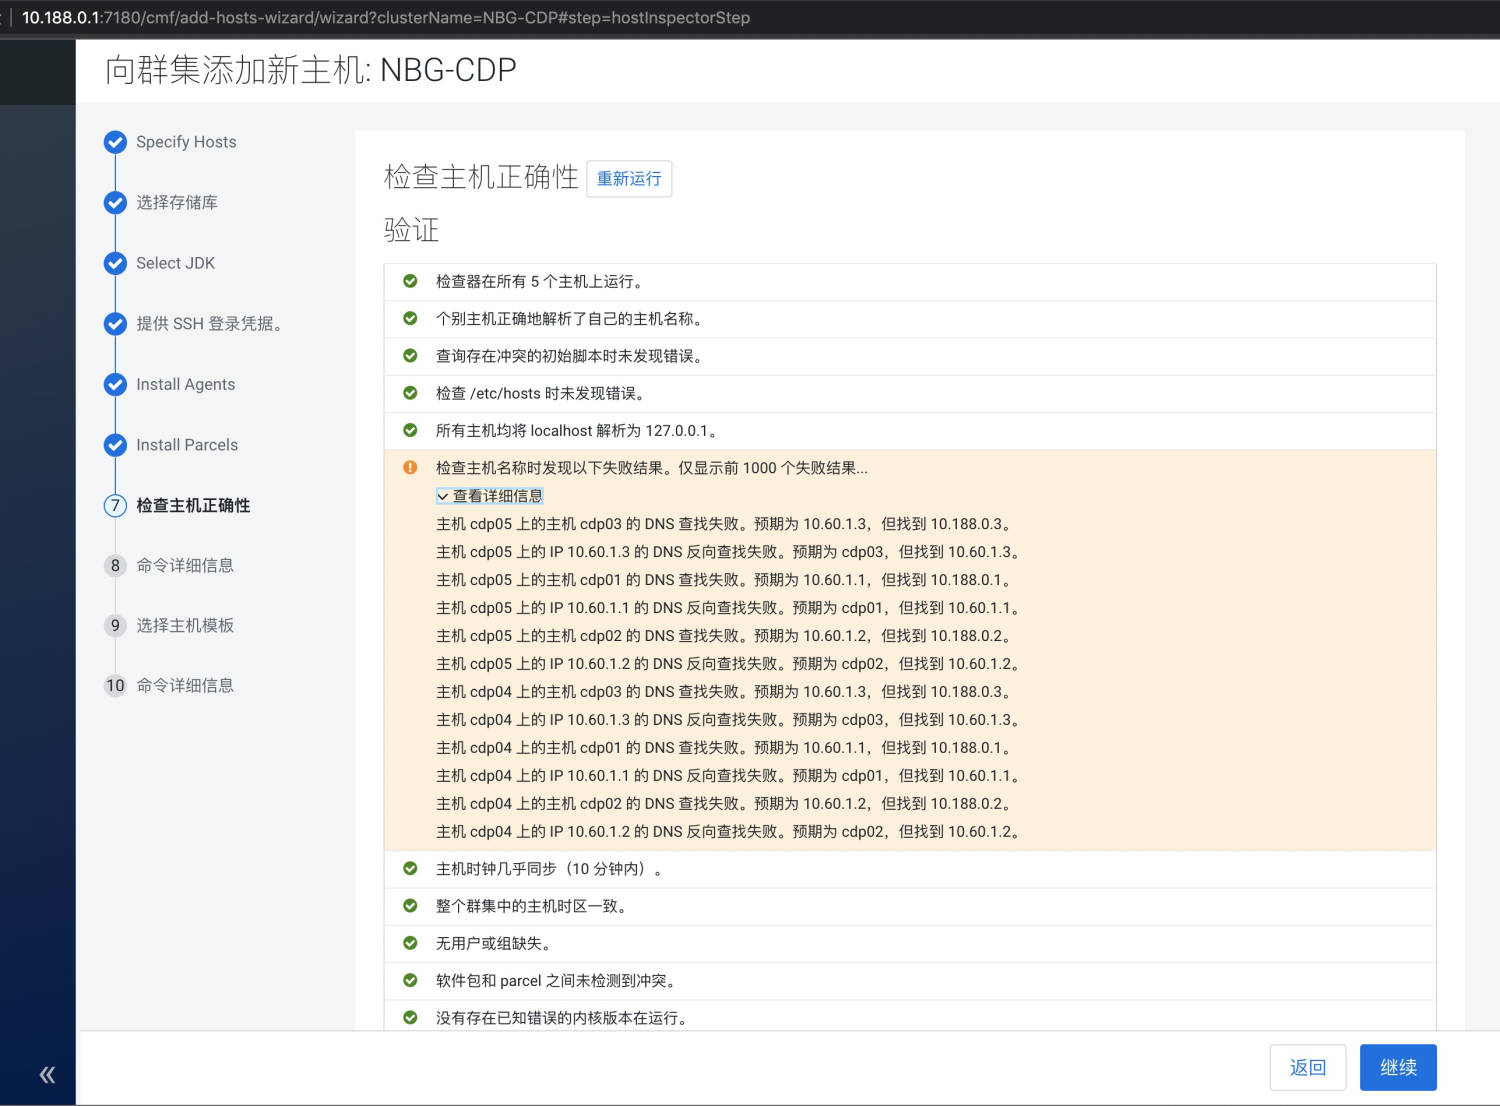
7、检查主机正确性
忽略继续
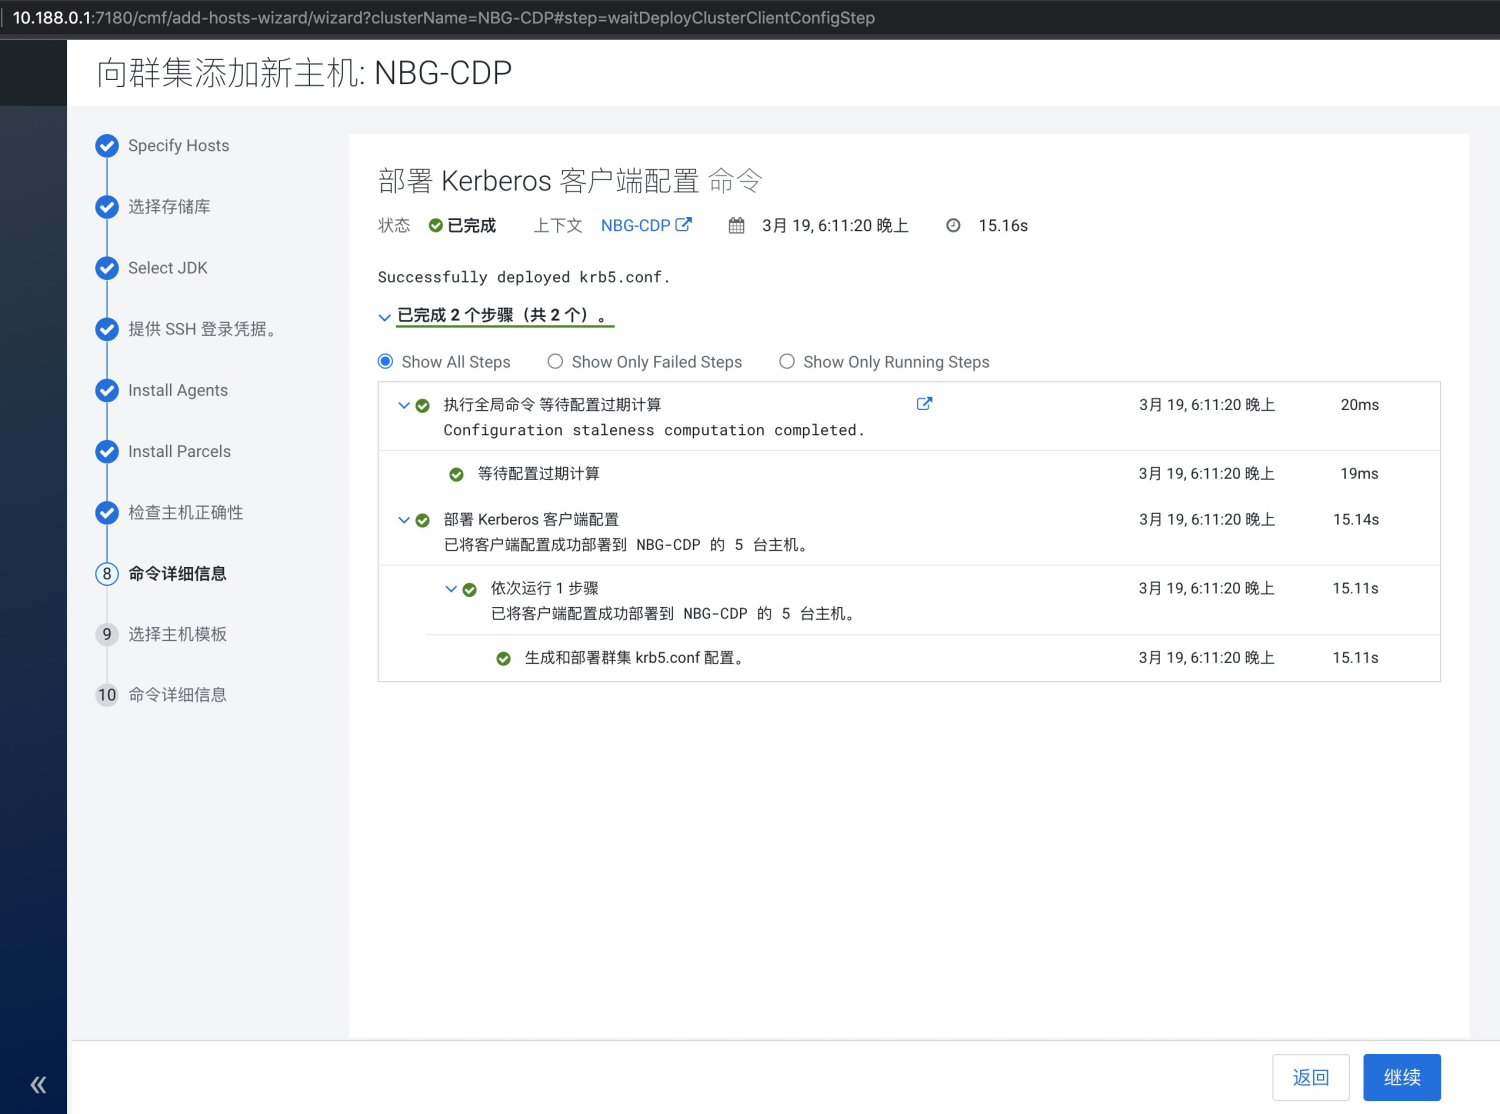
8、命令详细信息
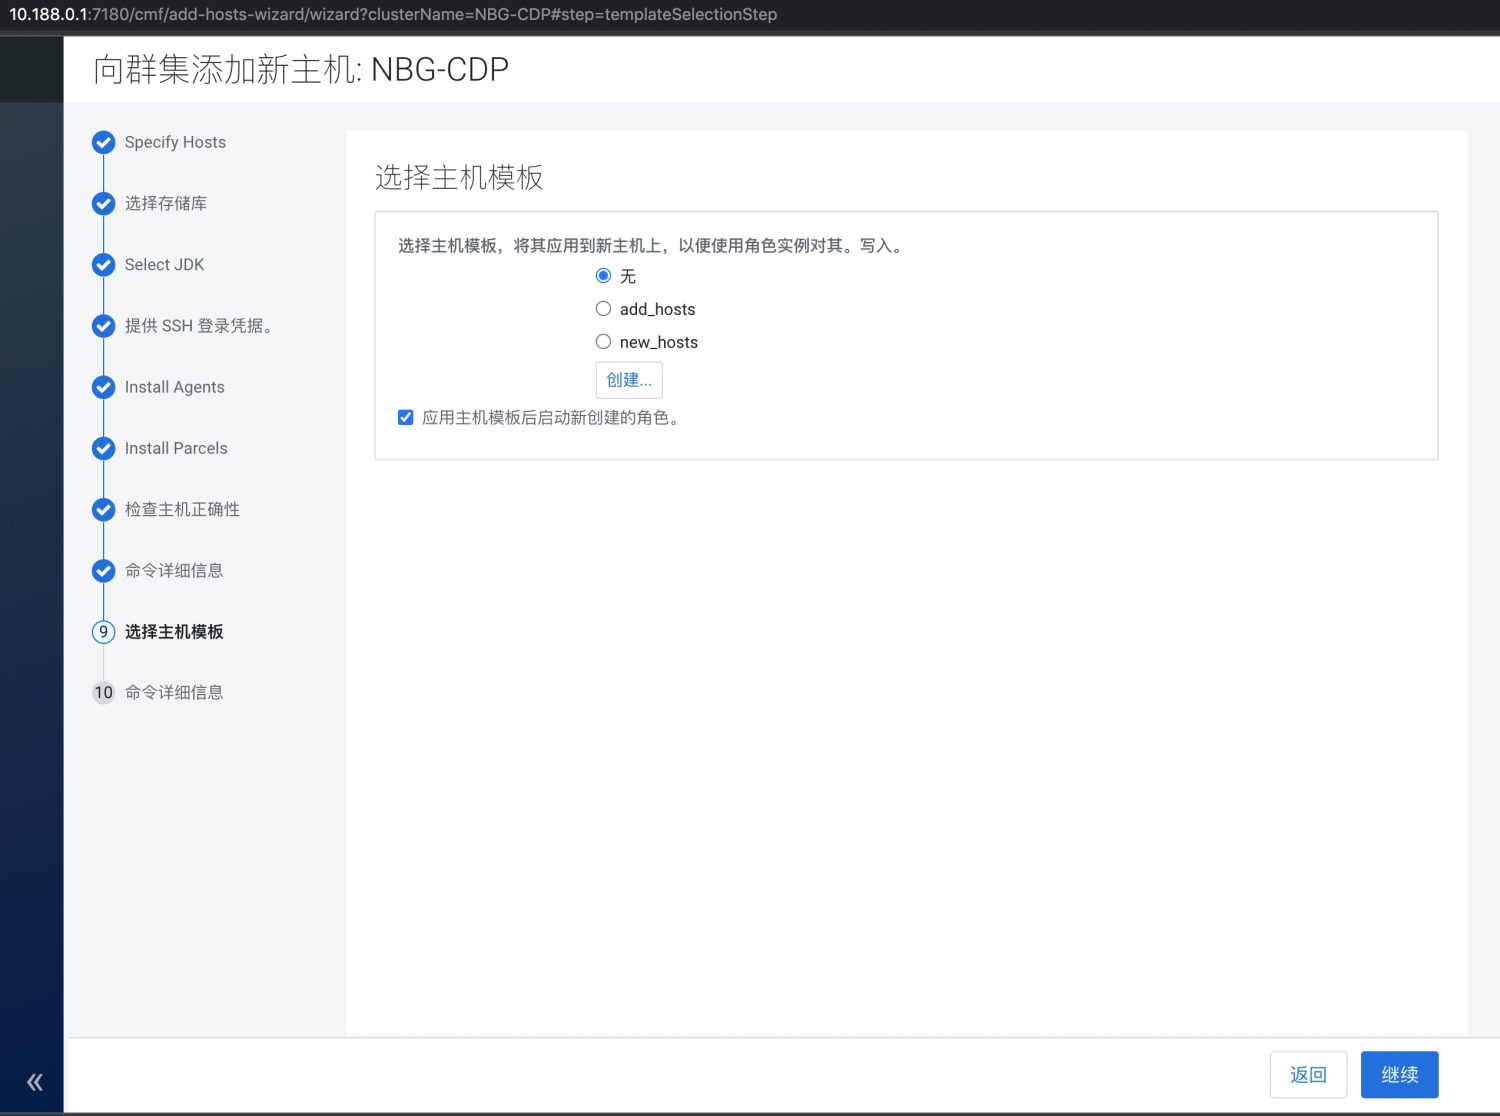
9、选择主机模版
由于cdp04新增节点中已经添加数据组件的角色,cdp05节点暂不设置组件
10、命令详细信息
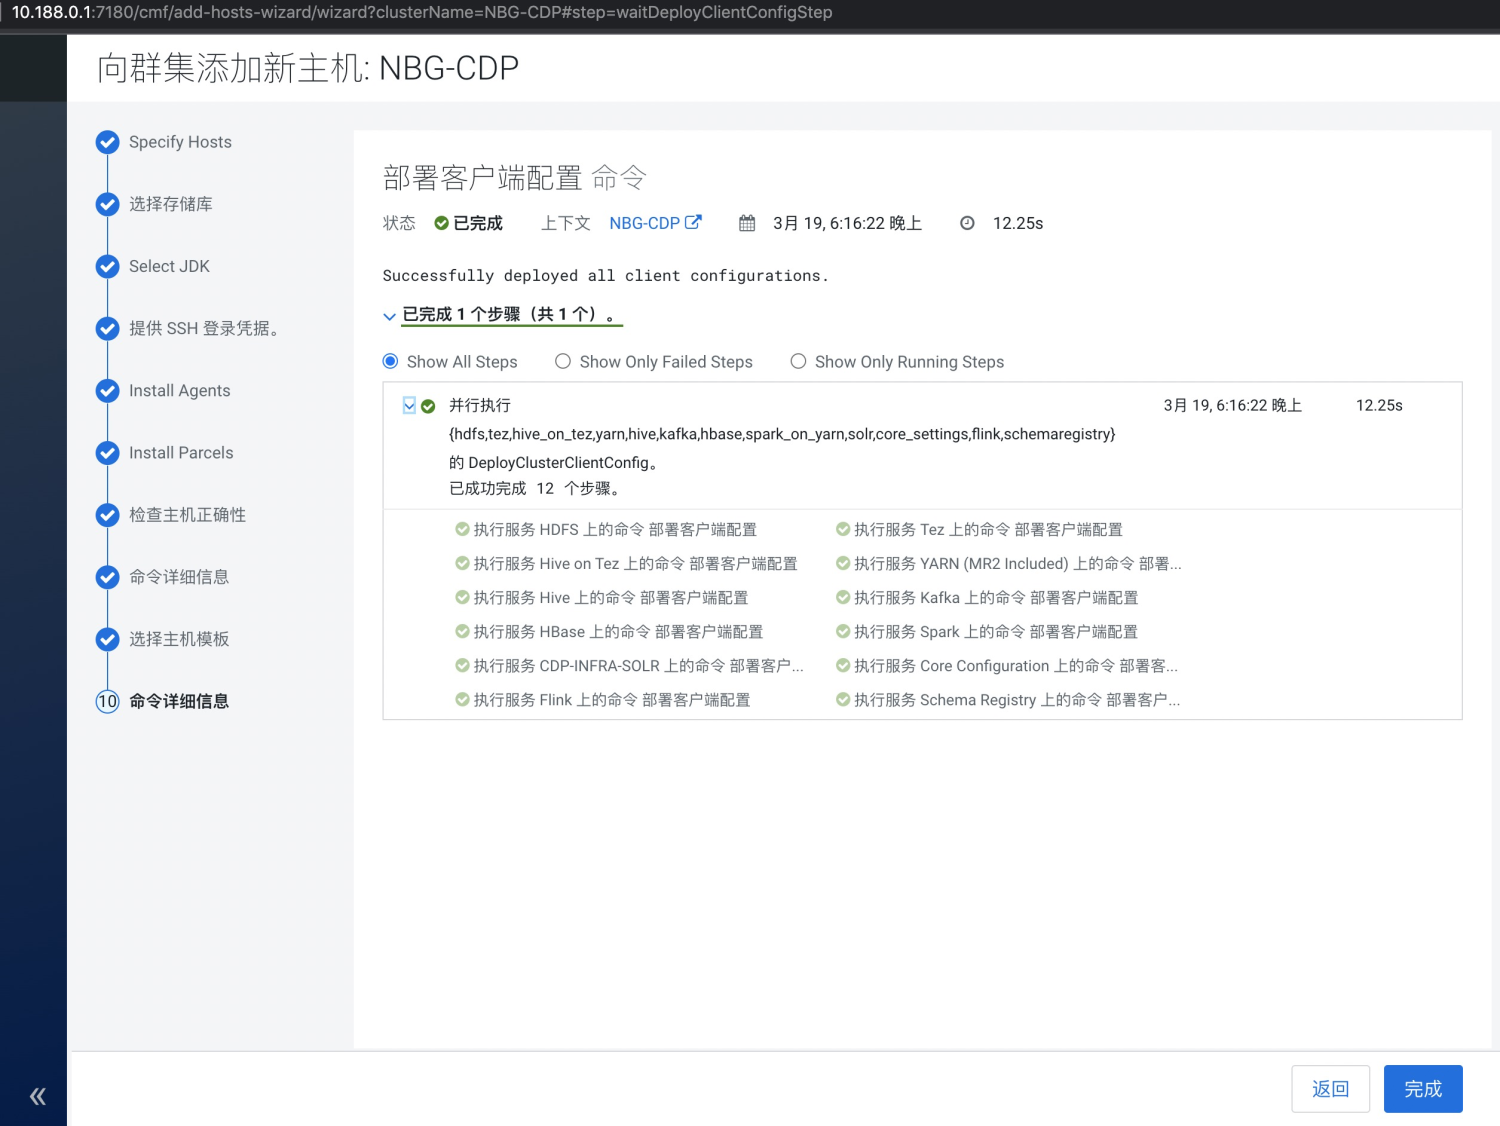
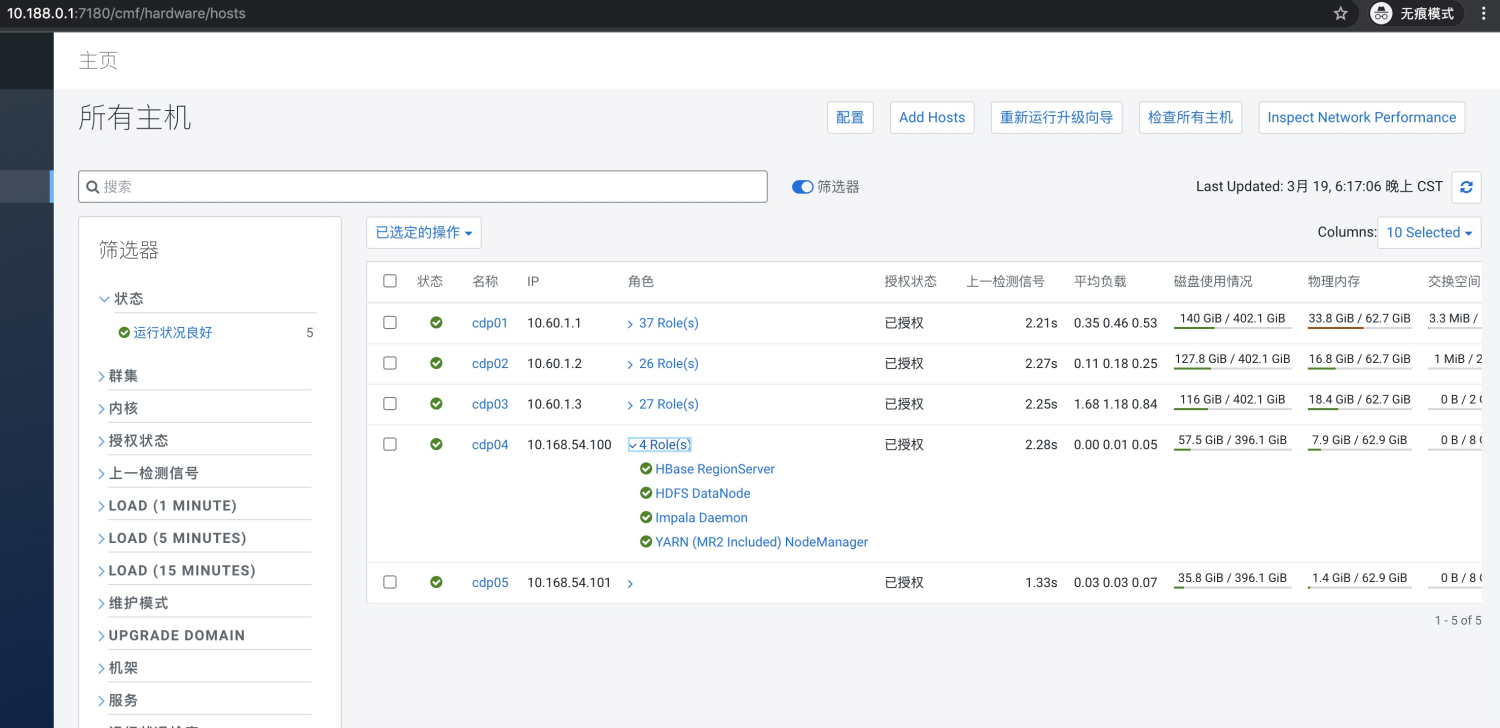
11、查看主机情况
