Trino配置yanagishima-23.0(包含编译)
1 环境介绍
1.1 本文采用
trino 359
yanagishima v23.0
2 编译yanagishima
2.1 安装编译yanagishima需要的工具
安装编译yanagishima需要的工具
wget https://services.gradle.org/distributions/gradle-6.8.2-bin.zip
unzip gradle-6.8.2-bin.zip
export GRADLE_HOME="/opt/gradle-6.8.2"
export PATH=$PATH:$GRADLE_HOME/bin
gradle -v
wget https://nodejs.org/dist/v10.16.3/node-v10.16.3-linux-x64.tar.xz
tar -xf node-v10.16.3-linux-x64.tar.xz
mv node-v10.16.3-linux-x64 nodejs
chown -R root:root nodejs
nodejs/bin/node -v
ln -s /opt/software/nodejs/bin/node /usr/local/bin
ln -s /opt/software/nodejs/bin/npm /usr/local/bin
ll /usr/local/bin/
npm config set unsafe-perm
npm config -g set unsafe-perm
npm install -g mirror-config-china --registry=http://registry.npm.taobao.org
npm install node-sass
2.2 开始编译yanagishima
git clone https://github.com/yanagishima/yanagishima.git
cd yanagishima
#查询当前可供选择的tag
git tag
#切换对应的分支,选择 22.0 版本,安装jdk11版本,必须使用20.0之后的分支
git checkout -b 22.0 refs/tags/22.0
#查看当前所在分支
git branch
2.3 修改编译所需要的源码(注意这个必须要做)
重新修改 Yanagishima 源码,将 presto相关的部分改为trino
https://github.com/yanagishima/yanagishima/pull/298/files
注意:trino的版本需要你本地版本一直,不如上面修改的代码里trino版本需要改为我的本地trino版本 359
2.4 编辑编译文件 build.gradle
repositories {
mavenCentral()
maven { url 'http://maven.aliyun.com/nexus/content/groups/public/' }
maven { url 'http://maven.aliyun.com/nexus/content/repositories/jcenter' }
maven { url "https://repo.hortonworks.com/repository/jetty-hadoop" }
maven { url "https://repo.hortonworks.com/content/repositories/releases" }
maven { url "https://repo.hortonworks.com/content/groups/public" }
maven { url "https://plugins.gradle.org/m2/" }
}
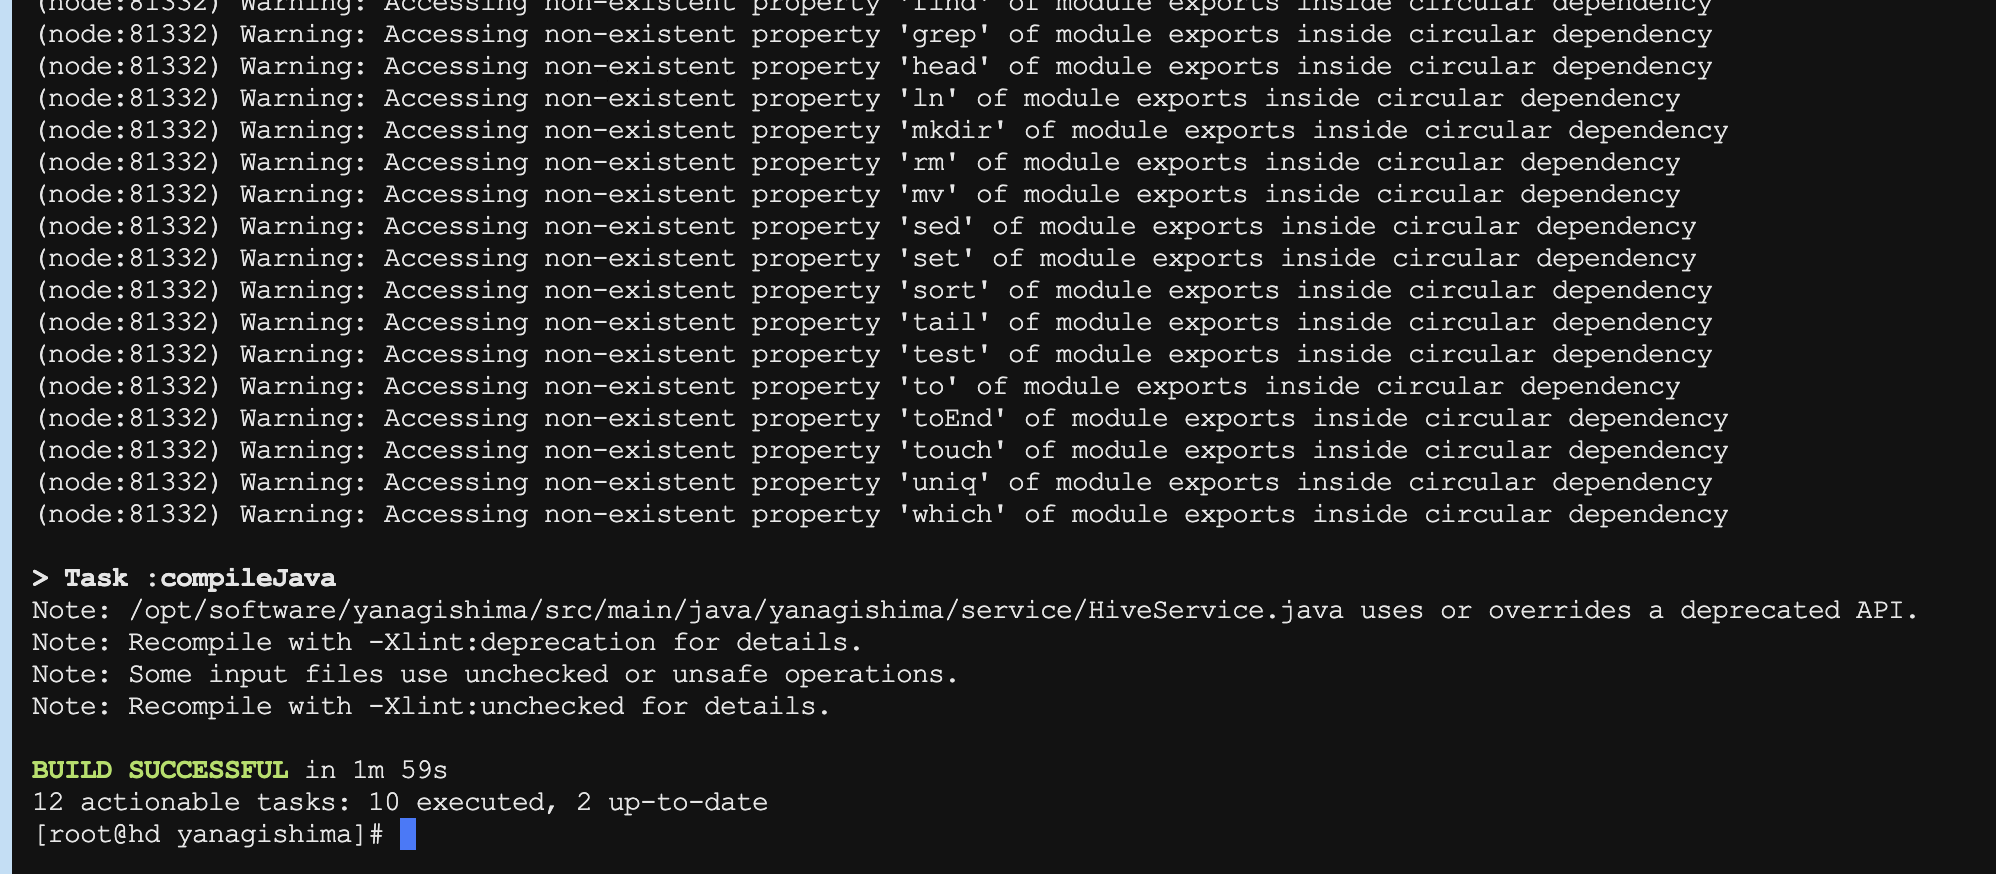
冲冲冲 开始编译
./gradlew distZip
这个编译比较快
3 配置并启动yanagishima
编译好的压缩包在 build/distributions 下
拷贝到需要部署的位置 解压后
3.1 修改配置文件yanagishima-23.0/config/application.yml
如下是配置:(标红的要特别注意,关于其他Hive、Spark、ES可以删除掉的)
server:
port: 38081
jetty:
max-http-form-post-size: 2GB
spring:
application:
name: yanagishima
datasource:
driver-class-name: com.mysql.jdbc.Driver
username: drpeco
password: DT@Stack#123
url: jdbc:mysql://172.16.121.149:3306/test?allowPublicKeyRetrieval=true&useSSL=false
initialization-mode: always
resources:
static-locations: file:web
# Metrics
management:
metrics:
export.prometheus.enabled: true
distribution:
percentiles:
http.server.requests: 0.5, 0.75, 0.95, 0.99
endpoint:
metrics.enabled: true
prometheus.enabled: true
heapdump.enabled: false
health:
show-details: always
env:
keys-to-sanitize: .*password.*
endpoints:
web.exposure.include: ‘*'
# Datasources
sql.query.engines: presto,hive,spark,elasticsearch
check.datasource: false
select.limit: 500
audit.http.header.name: some.auth.header
use.audit.http.header.name: false
to.values.query.limit: 500
cors.enabled: true
# Trino
presto.datasources: emr-trino
presto.query.max-run-time-seconds: 1800
presto.max-result-file-byte-size: 1073741824
auth.emr-trino: false
presto.coordinator.server.emr-trino: http://172.16.121.143:8081
presto.redirect.server.emr-trino: http://172.16.121.143:8081/ui
catalog.emr-trino: hive
schema.emr-trino: default
# Hive
hive.datasources: docker-hive
hive.jdbc.url.docker-hive: jdbc:hive2://localhost:10000/default
hive.jdbc.user.docker-hive: yanagishima
hive.jdbc.password.docker-hive: yanagishima
hive.query.max-run-time-seconds: 3600
hive.query.max-run-time-seconds.docker-hive: 3600
resource.manager.url.docker-hive: http://localhost:8088
hive.max-result-file-byte-size: 1073741824
# Spark
spark.datasources: docker-spark
spark.jdbc.url.docker-spark: jdbc:hive2://localhost:10001
spark.web.url.docker-spark: http://localhost:14040
resource.manager.url.docker-spark: http://localhost:18088
# Elasticsearch
elasticsearch.datasources: docker-elasticsearch
elasticsearch.jdbc.url.docker-elasticsearch: jdbc:es://localhost:9200
3.2 修改了yanagishima-run.sh启动脚本
我这边使用的是java11的启动的
#!/bin/bash
export JAVA_HOME=/opt/zulu11.60.19-ca-jdk11.0.17-linux_x64/
bin=$(cd "$(dirname $0)"; pwd)
. "${bin}/yanagishima-config.sh"
exec $JAVA_HOME/bin/java $YANAGISHIMA_OPTS -cp $CLASSPATH yanagishima.YanagishimaApplication --spring.config.location=$YANAGISHIMA_CONF_DIR "$@"
3.3 yanagishima的启停
# 启动。注意:务必进入到yanagishima-23.0目录下启动,否则页面会报 404
cd yanagishima-23.0/
nohup bin/yanagishima-run.sh >y.log 2>&1 &
# 停止
yanagishima-23.0/bin/yanagishima-shutdown.sh
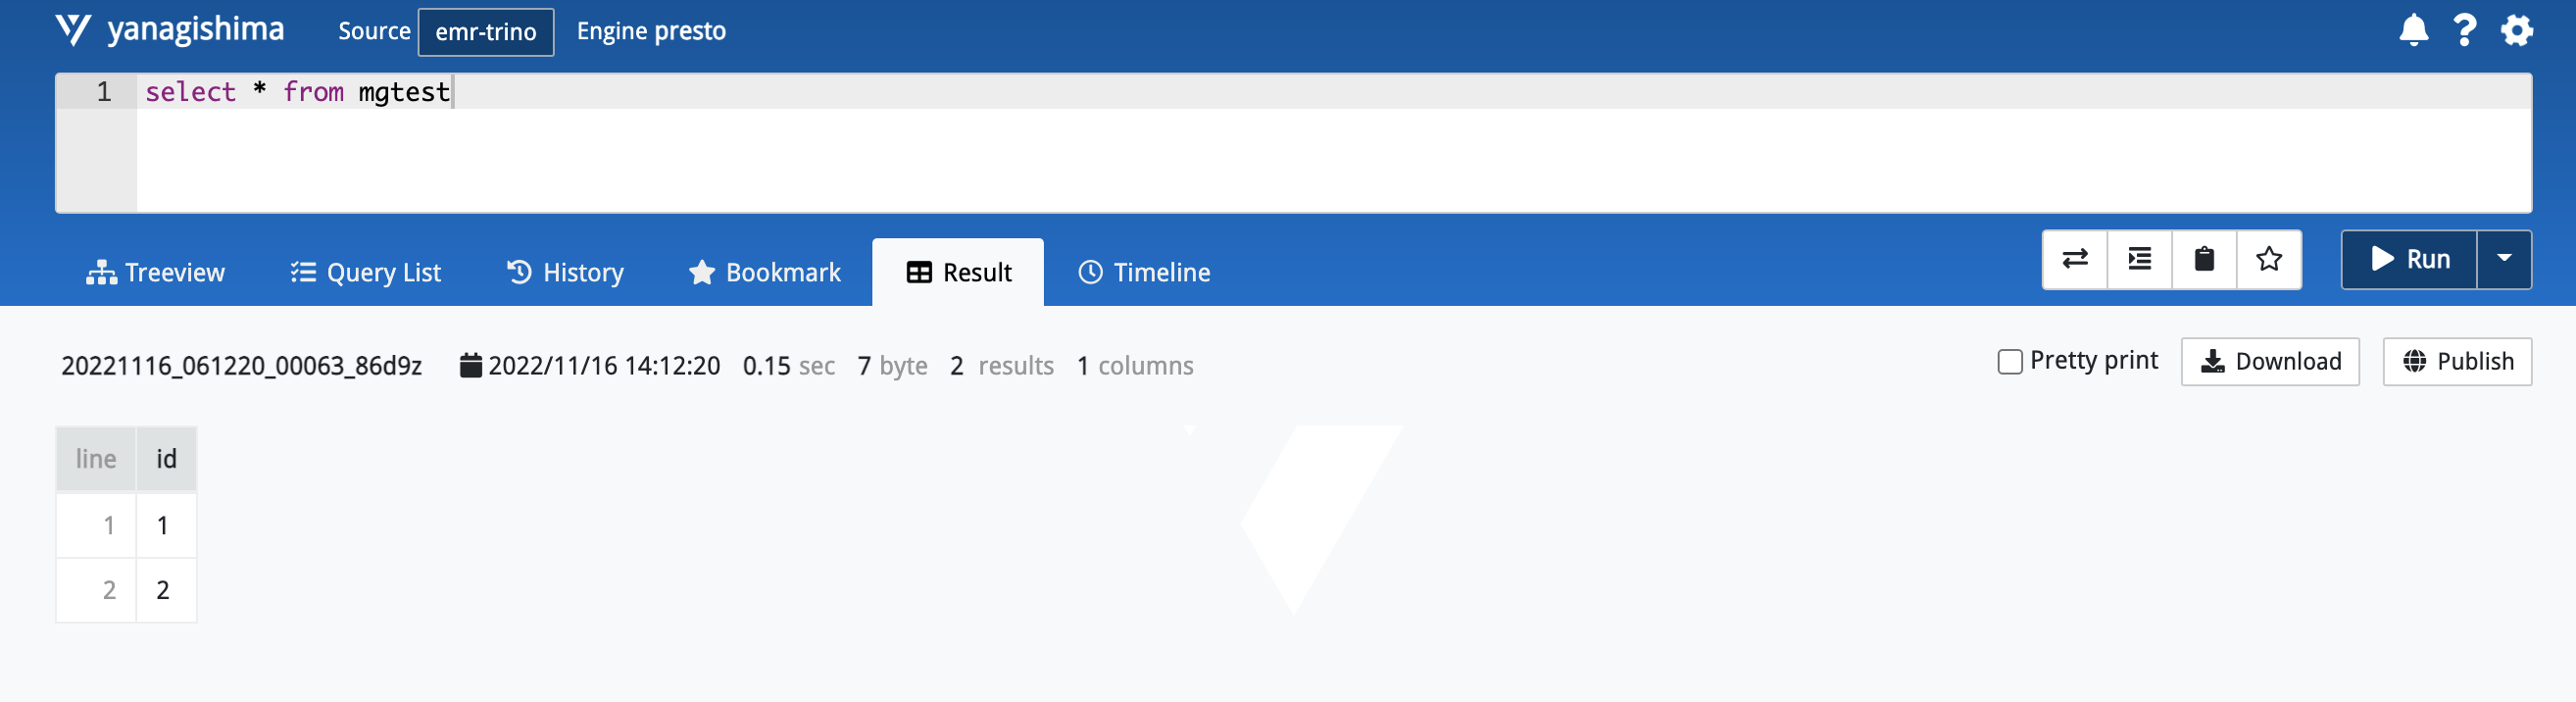
3.4 yanagishima web访问
web 访问:
http://172.16.121.143:38081/
3.5 测试功能使用
完成。